Disassembly Note
B2-70prose procedureDisassembly Note
Connecting rod cap
Before removing the connecting rod caps, measure the connecting rod side clearance. (Refer to page B2-95.)
Piston and connecting rod assembly
- 1Before removing the piston and connecting rod assembly, measure the connecting rod bearing oil clearance by using Plastigage. (Refer to page B2-94.)
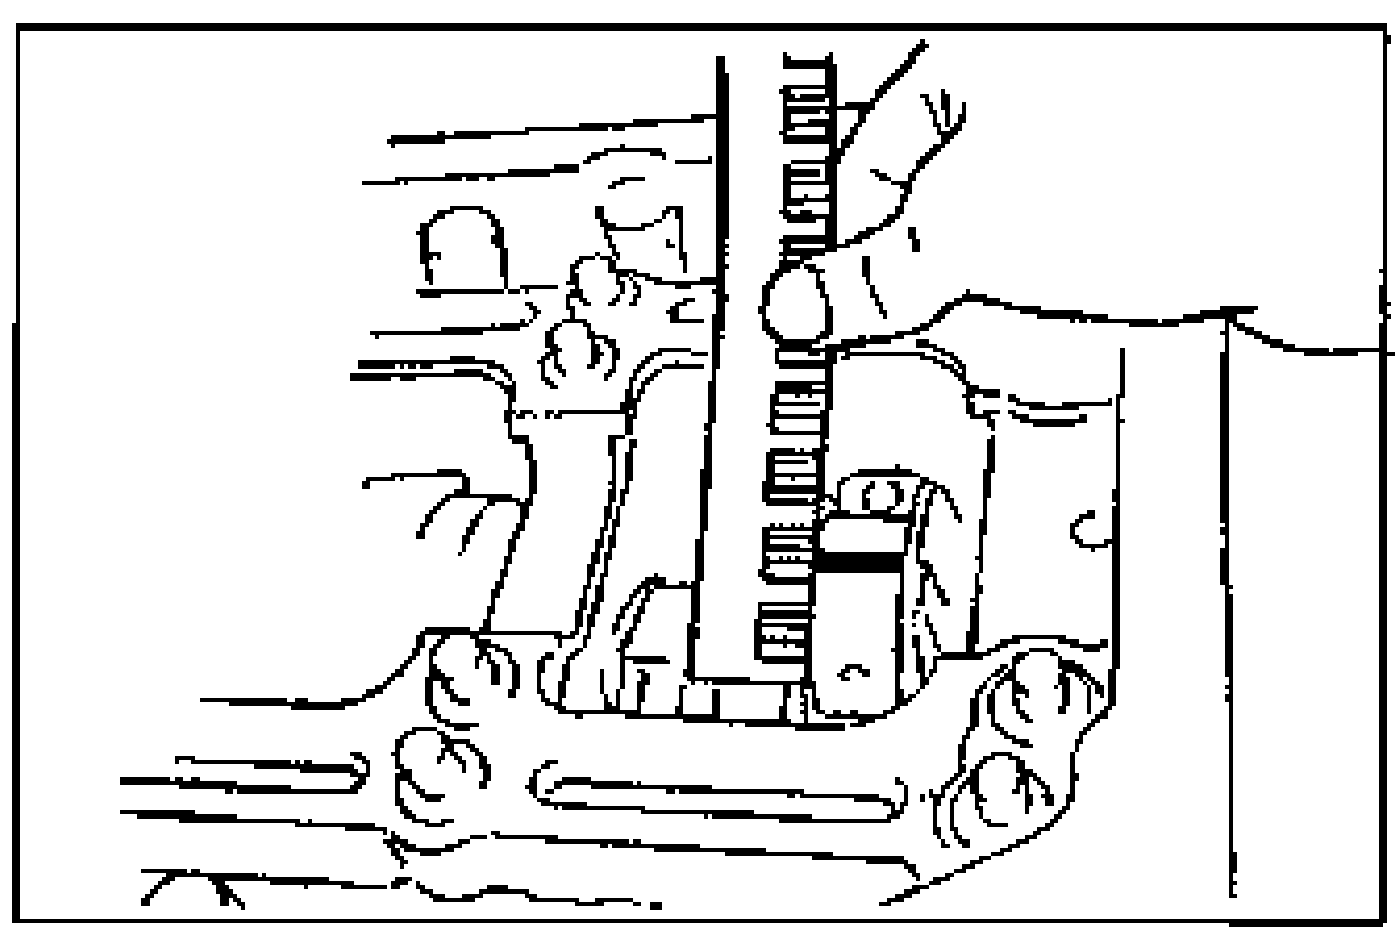
- 2Remove the Plastigage from the crank pin journals.
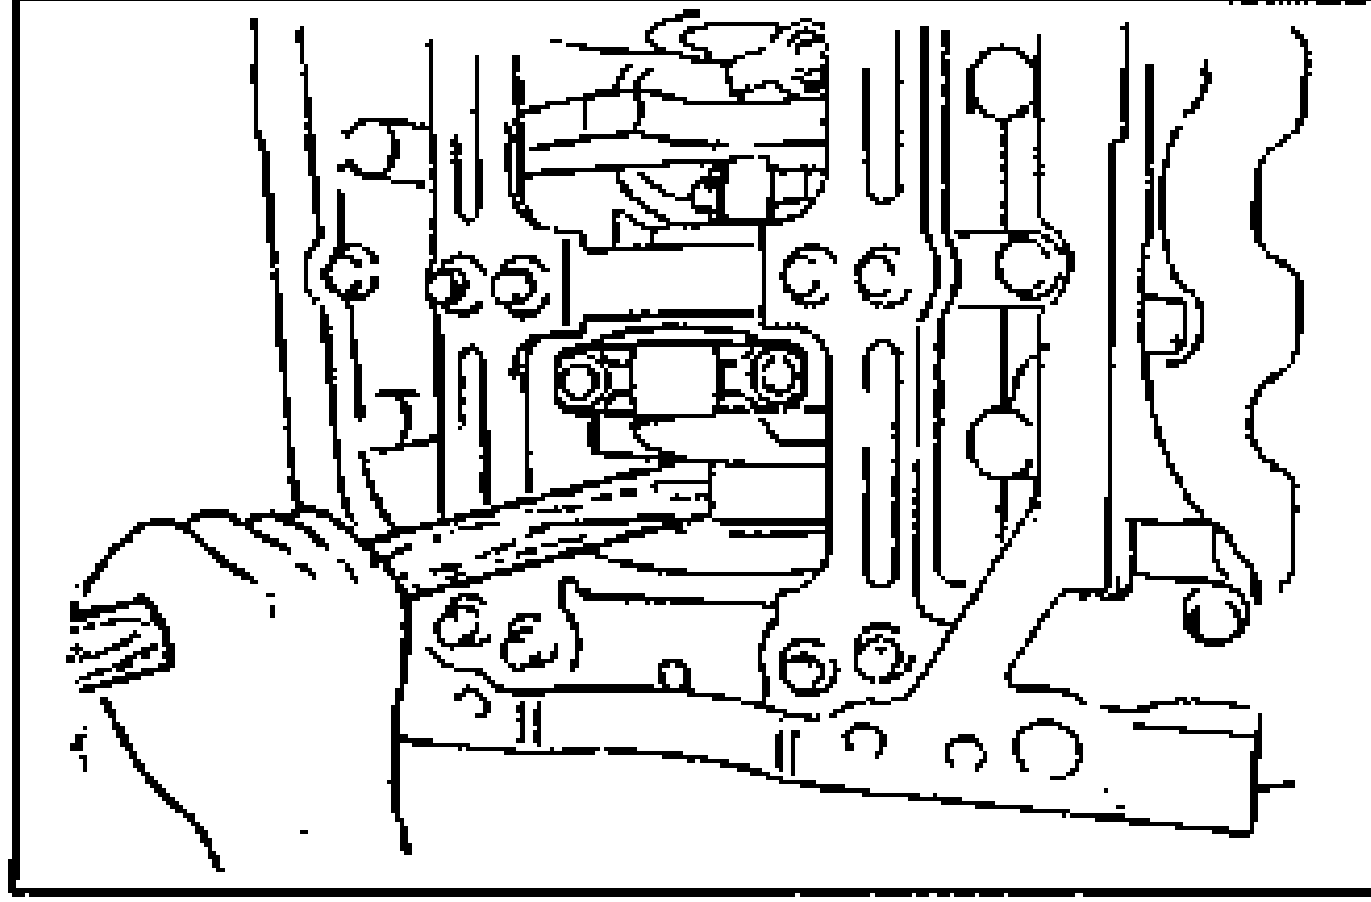
- 3Use the handle of a hammer to push the piston and connecting rod assembly through the top of the cylinder block.
Piston ring
Remove the piston rings by using a piston ring expander.
Piston pin
CAUTION
The connecting rods must be reinstalled in the same positions from which they were removed. If they are not, it can cause premature and uneven wear.
NOTE
Mark the connecting rods to show their original positions.
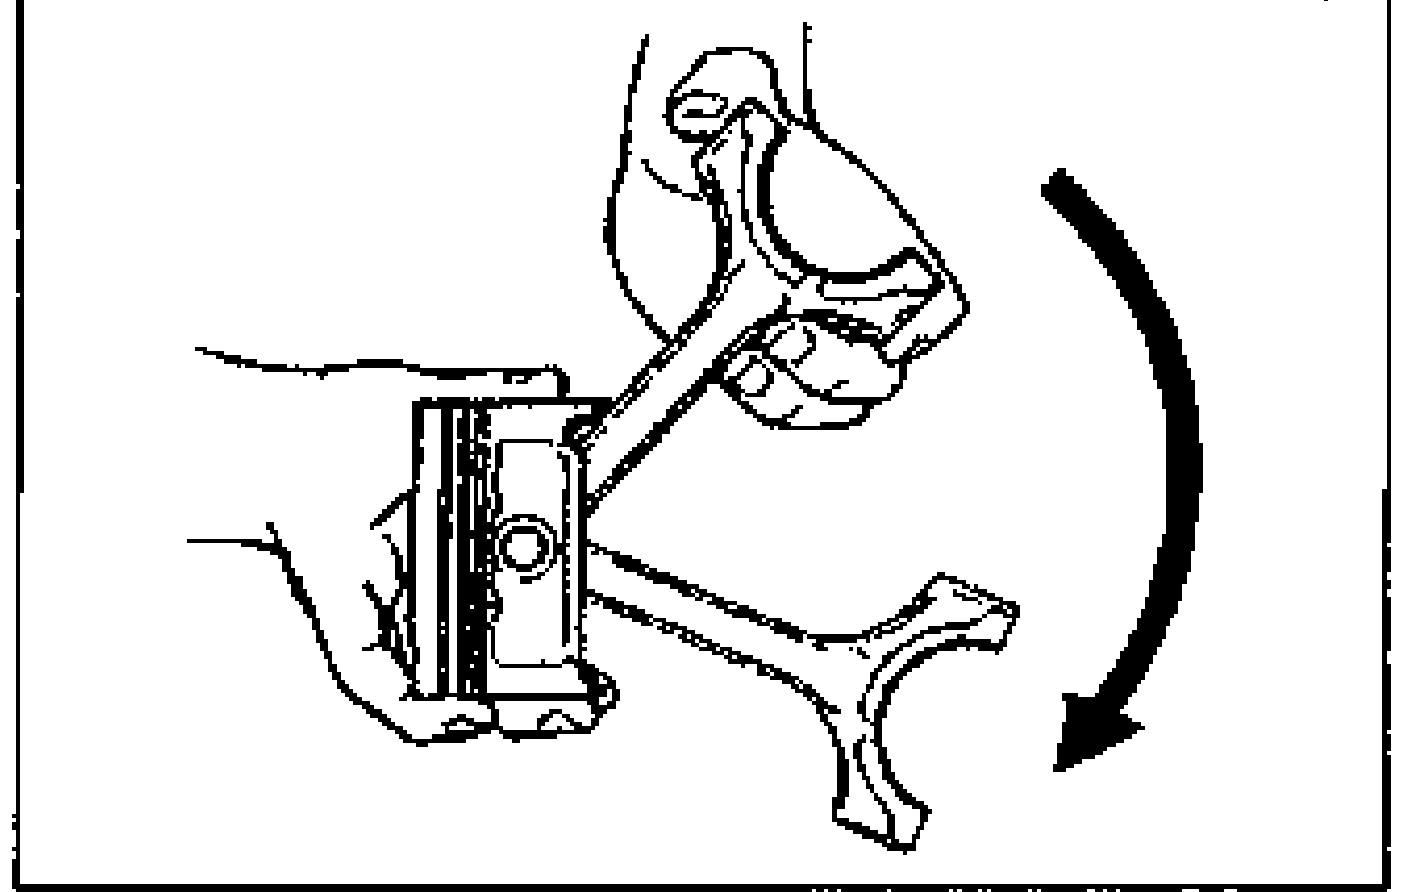
Piston pin
- 1Before disassembling the piston and connecting rod, check the oscillation torque as shown. If the large end does not drop by its own weight, replace the piston or the piston pin.