
DISASSEMBLY — Disassembly Note (Crankshaft pulley, Timing belt, Timing belt pulley)
B2-61prose procedureMTX (flywheel) vs ATX (drive plate) distinction for holding during crankshaft pulley bolt removal.
Disassembly Note
Crankshaft pulley
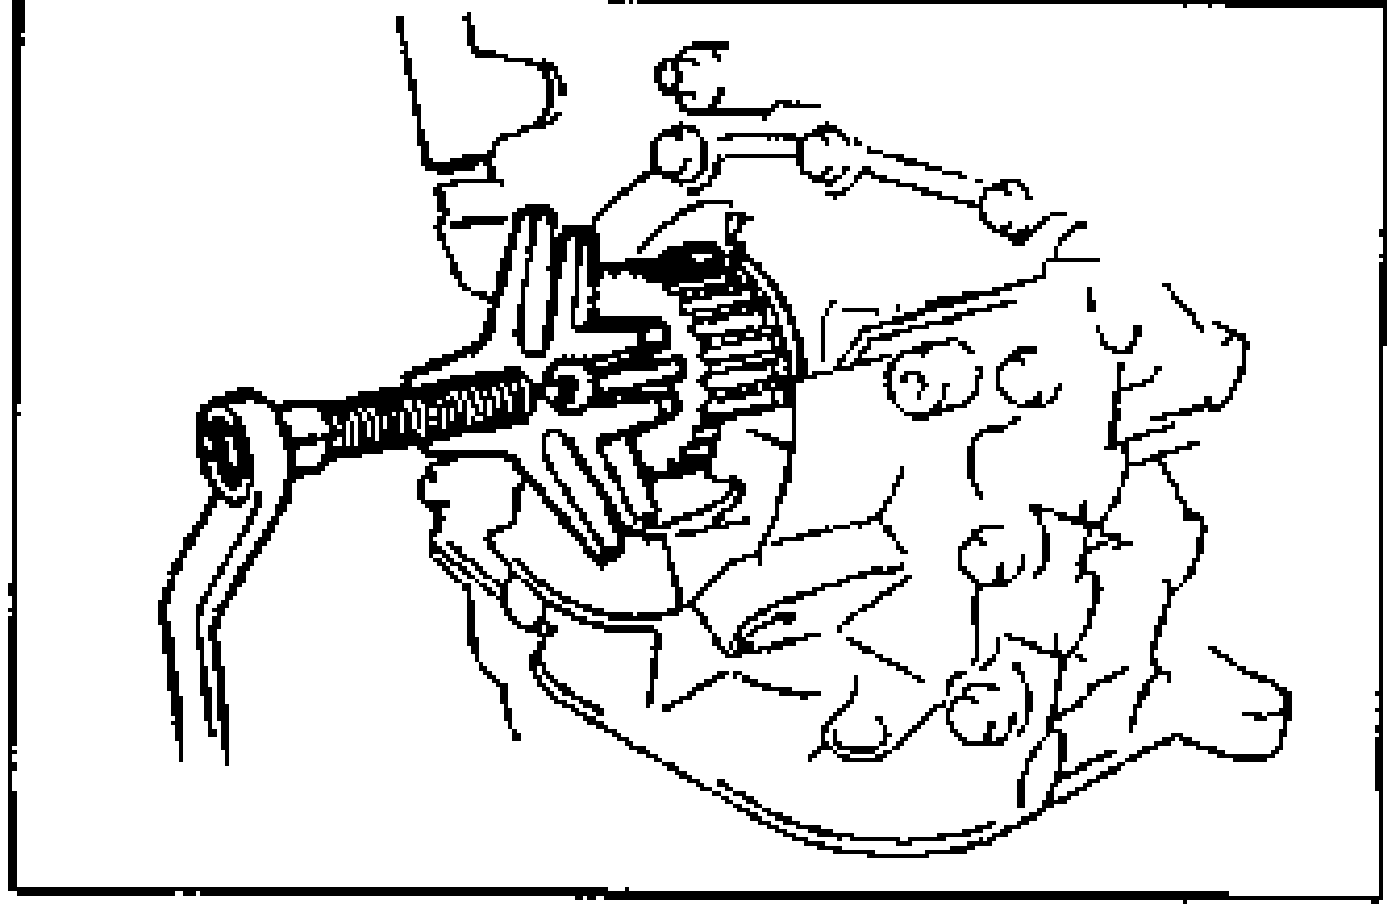
- 1Hold the flywheel (MTX) or drive plate (ATX) by using the SST.
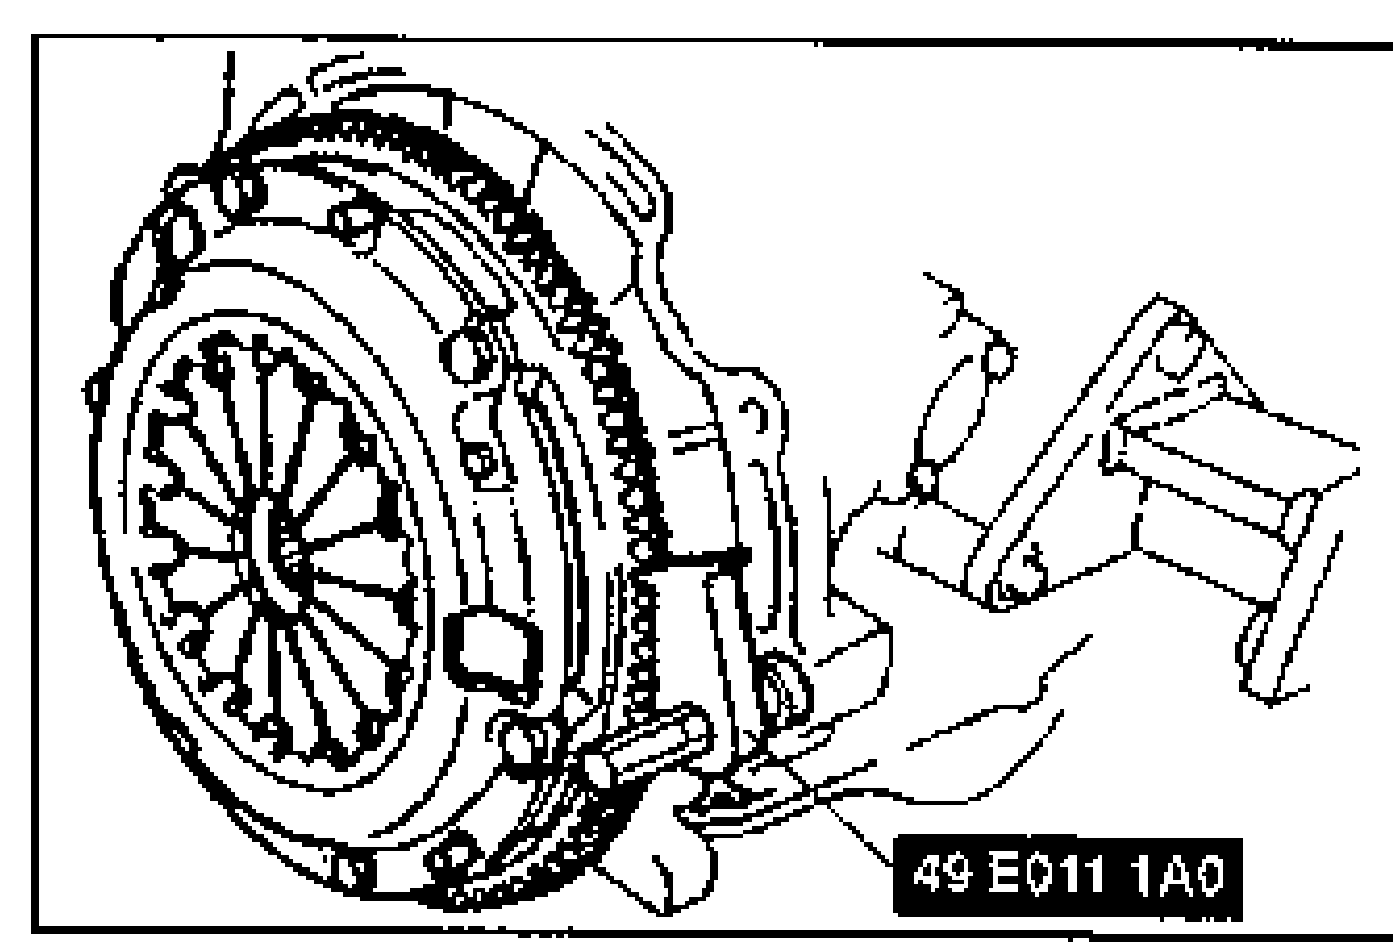 49 E011 1A0
 - 2Remove the pulley bolt.
- 3Remove the crankshaft pulley.
Timing belt
- 1Temporarily install the crankshaft pulley bolt.
- 2Turn the crankshaft clockwise to align the timing marks of the pulleys.
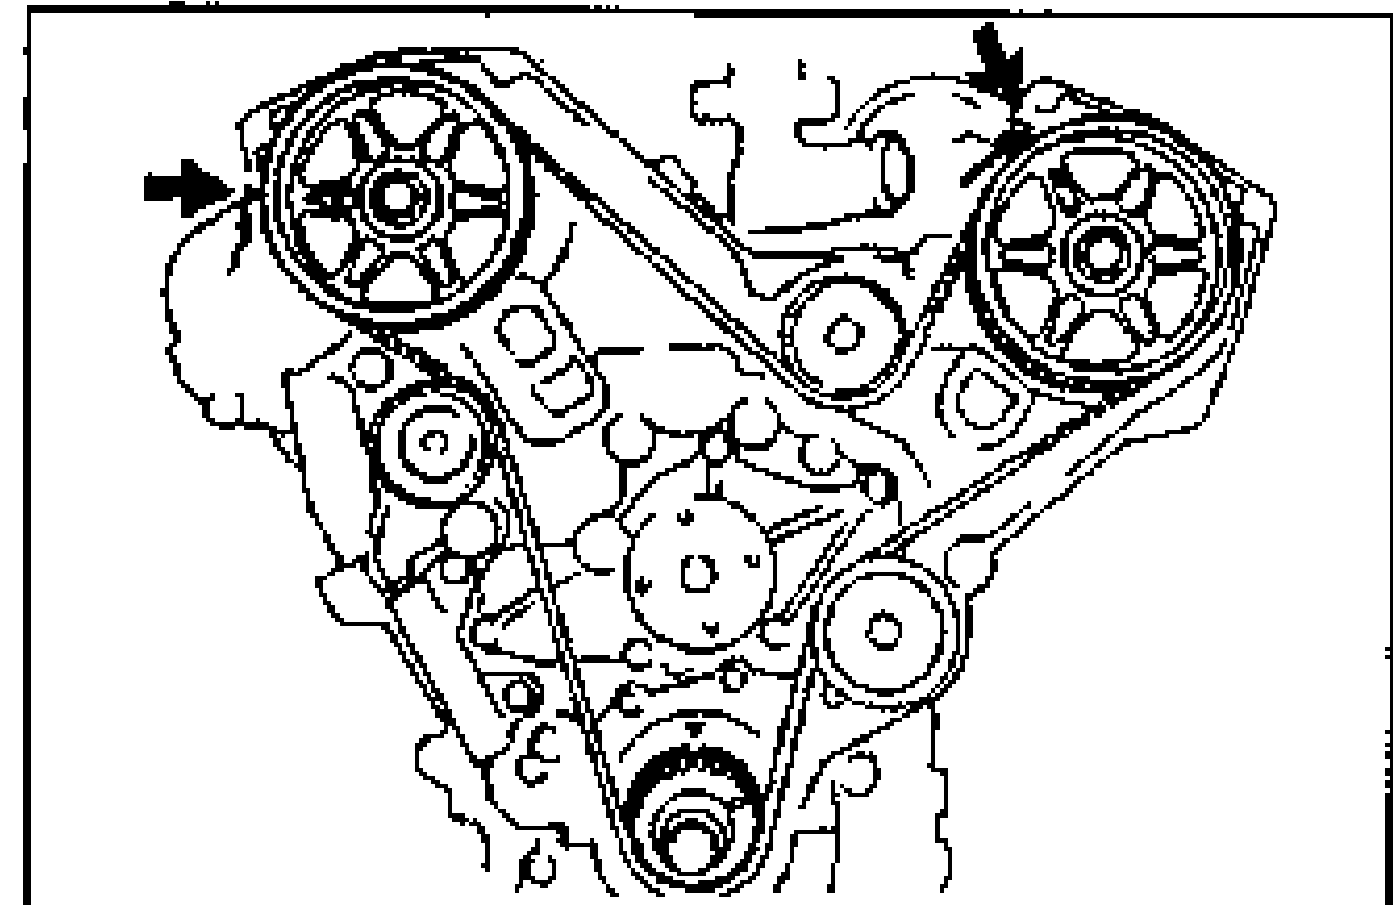
- 3Mark the timing belt rotation for proper reinstallation.When removing the bolt, hold the tensioner so that the bolt holes are aligned, otherwise the threads can be damaged.
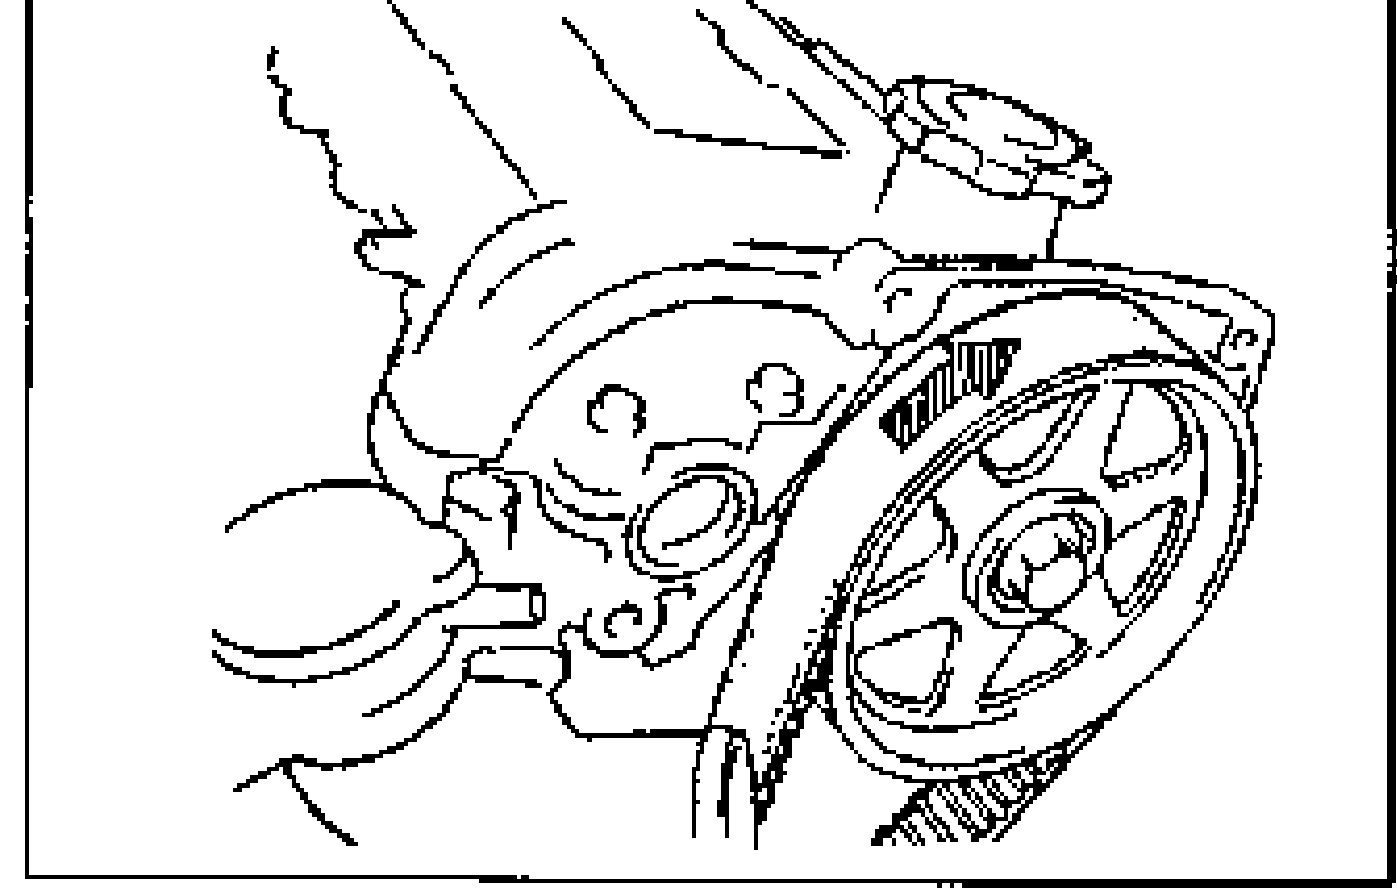
- 4Remove the auto tensioner bolts gradually in five or six steps in the order shown.The following will damage the belt and shorten its life; Forcefully twisting it, turning it inside out, bending it, or allowing oil or grease on it.
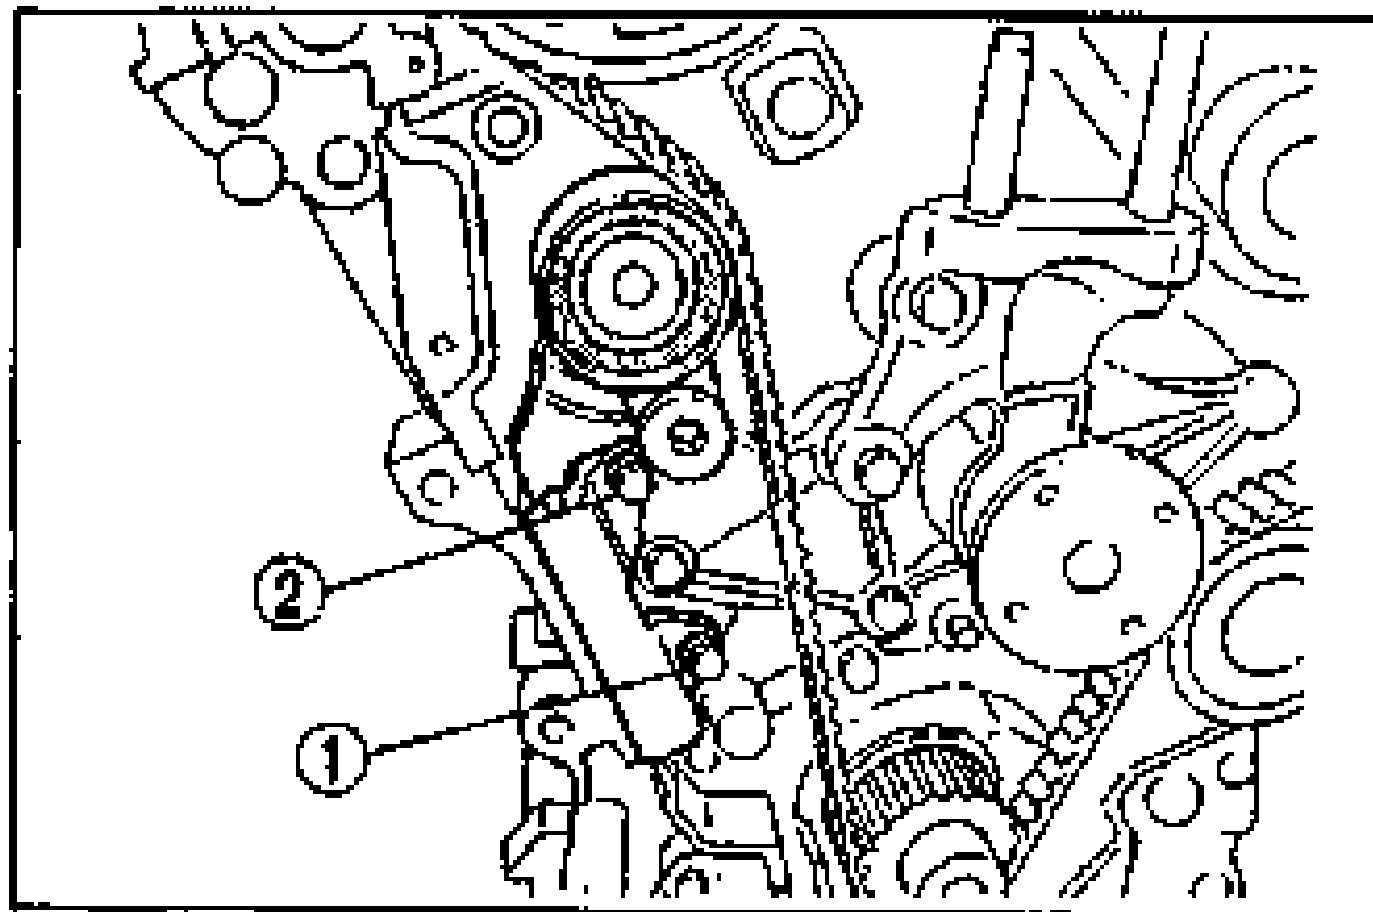
- 5Remove the timing belt.
Timing belt pulley
- 1Remove the timing belt pulley.
- 2Remove the crankshaft key.If necessary, remove the pulley with a steering wheel puller.