ON-VEHICLE MAINTENANCE — Camshaft
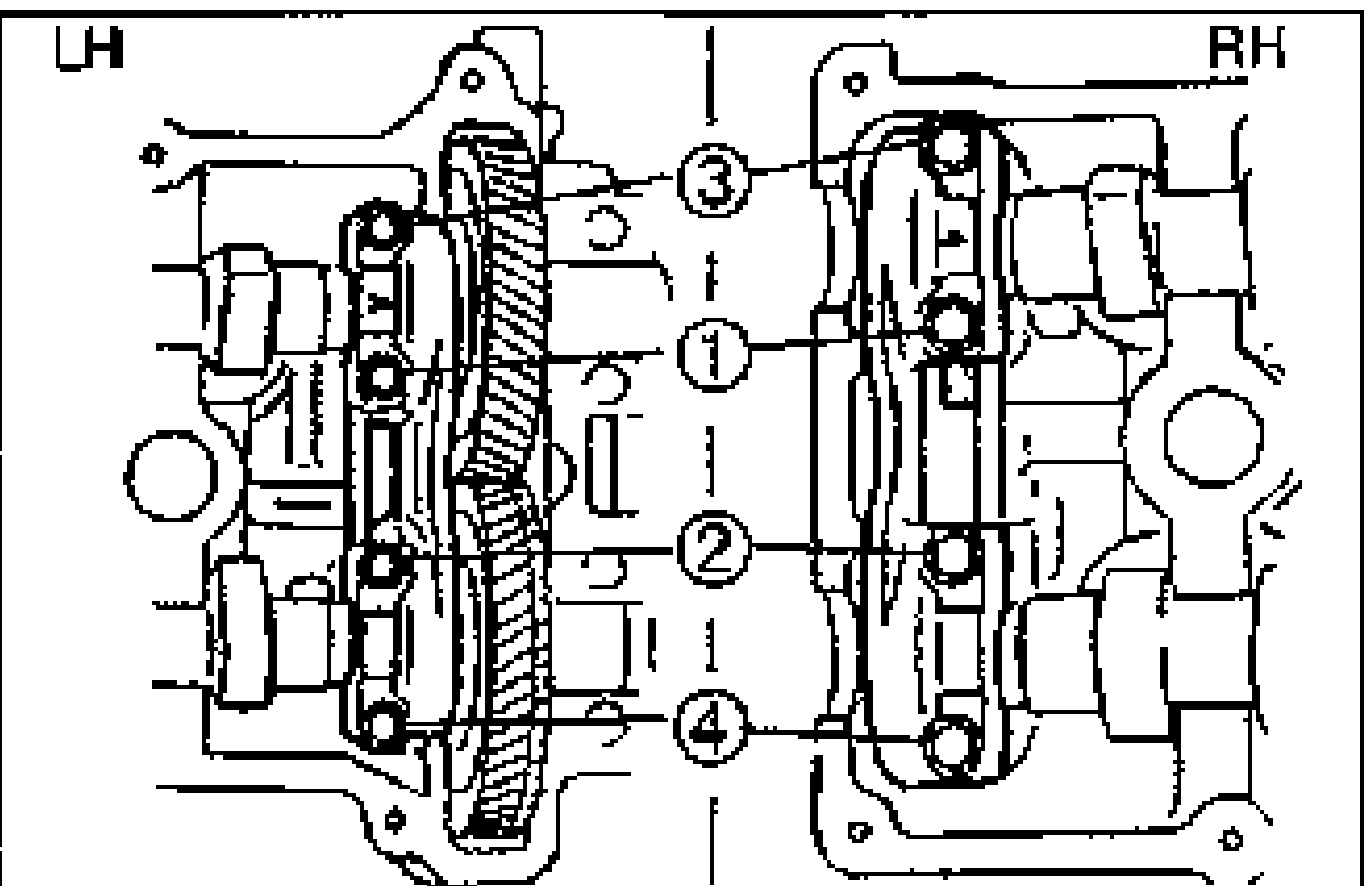
B2-30prose procedureThrust plate positions differ between LH and RH cylinder head camshafts (K8-ZE V6).
Engine support / mount bracket
- 9Support the engine by using the SST.
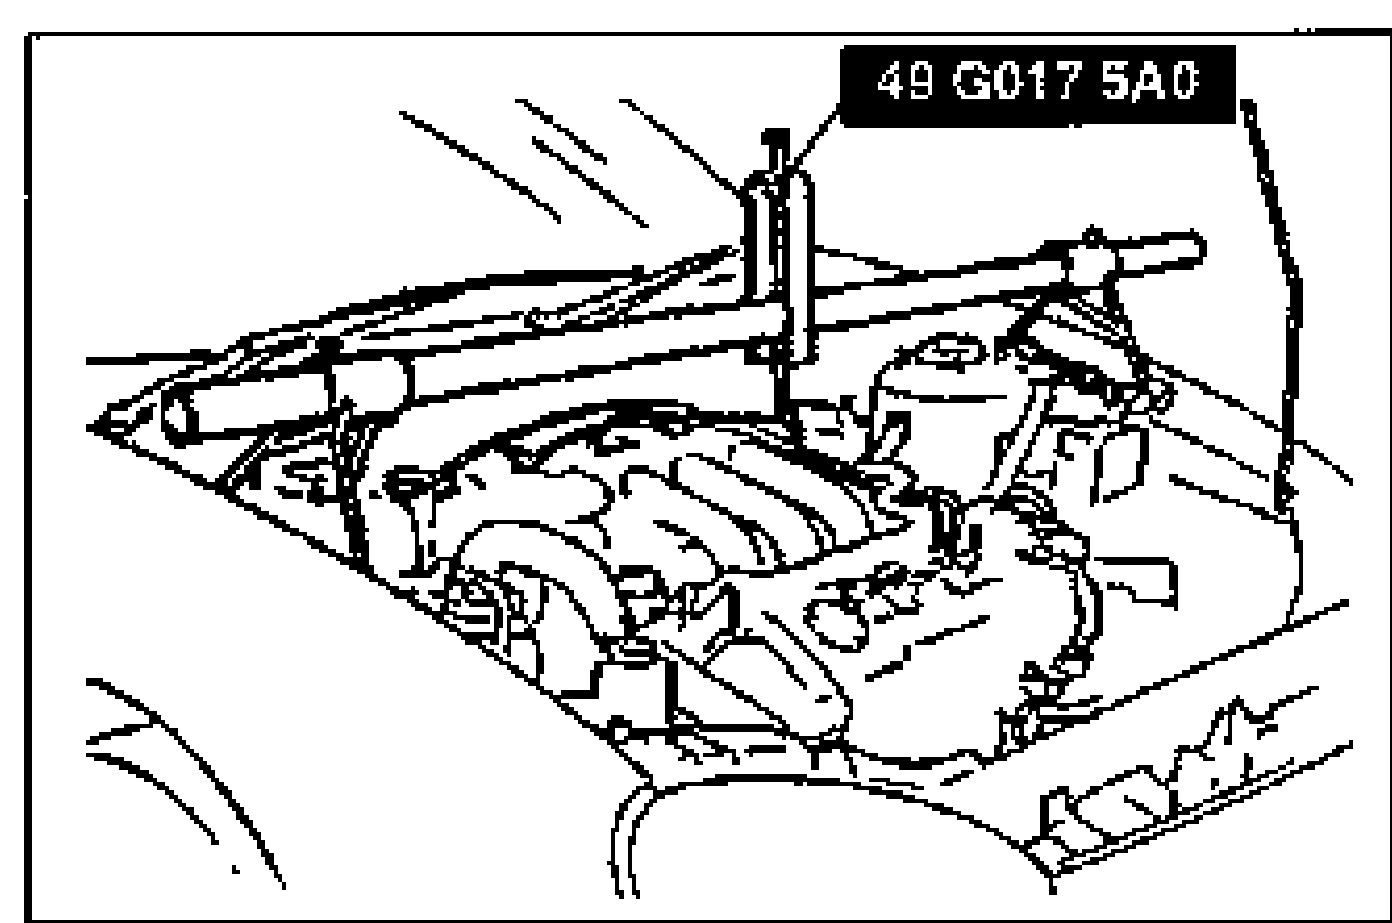
- 10Disconnect the No.3 engine mount bracket.
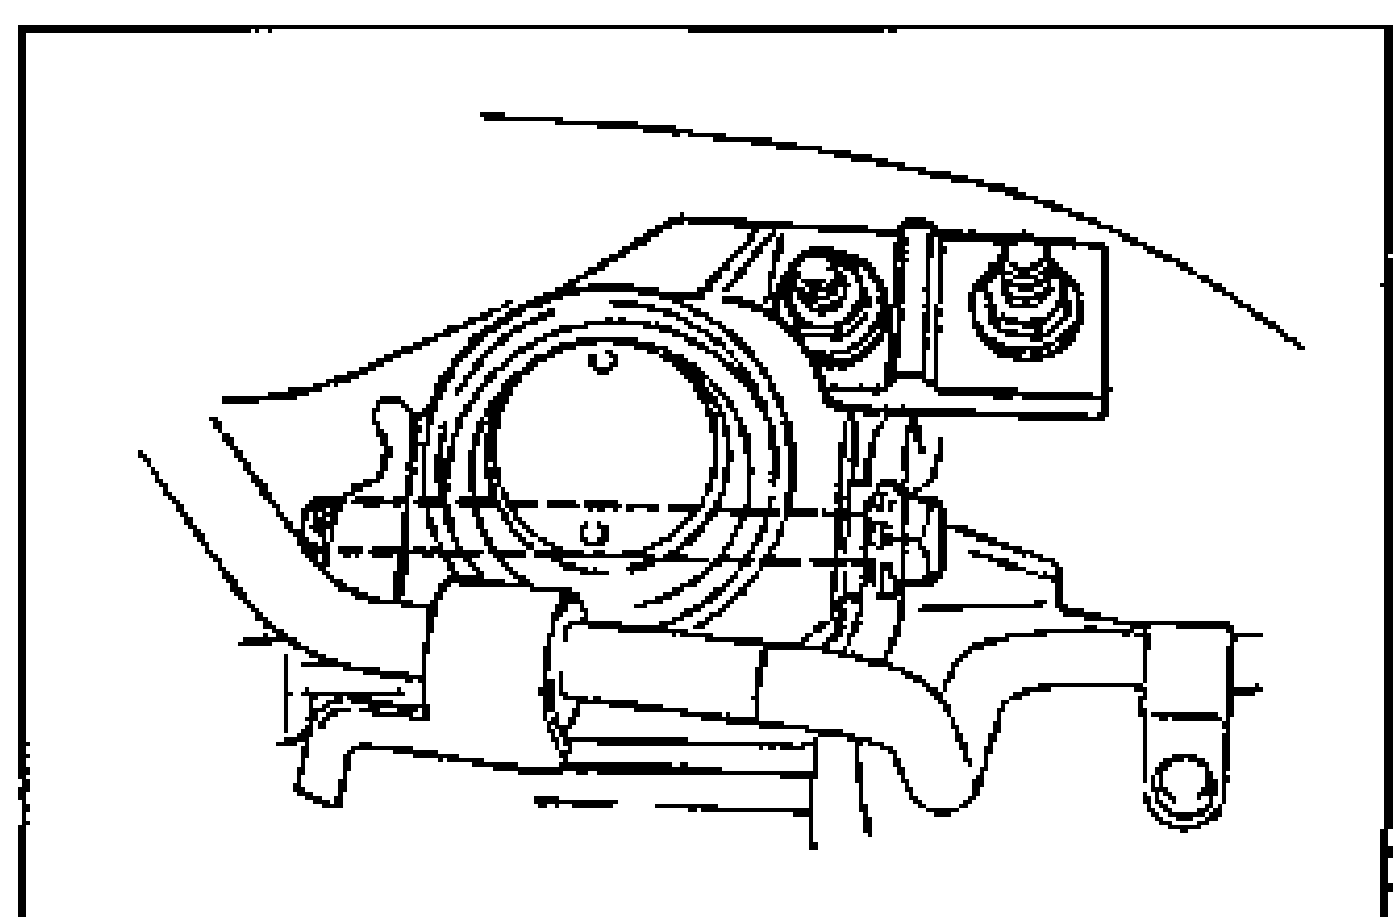
- 11Remove the No.3 engine mount bracket from the engine.
Camshaft
CAUTION
Camshafts must be assembled in the following procedure. Otherwise, camshaft can be broken or damaged because there is little camshaft thrust clearance.
Camshaft
- 1Apply a liberal amount of clean engine oil to the journals, cam lobes, and camshaft gears.
- 2Align the timing marks of intake camshaft and exhaust camshaft.
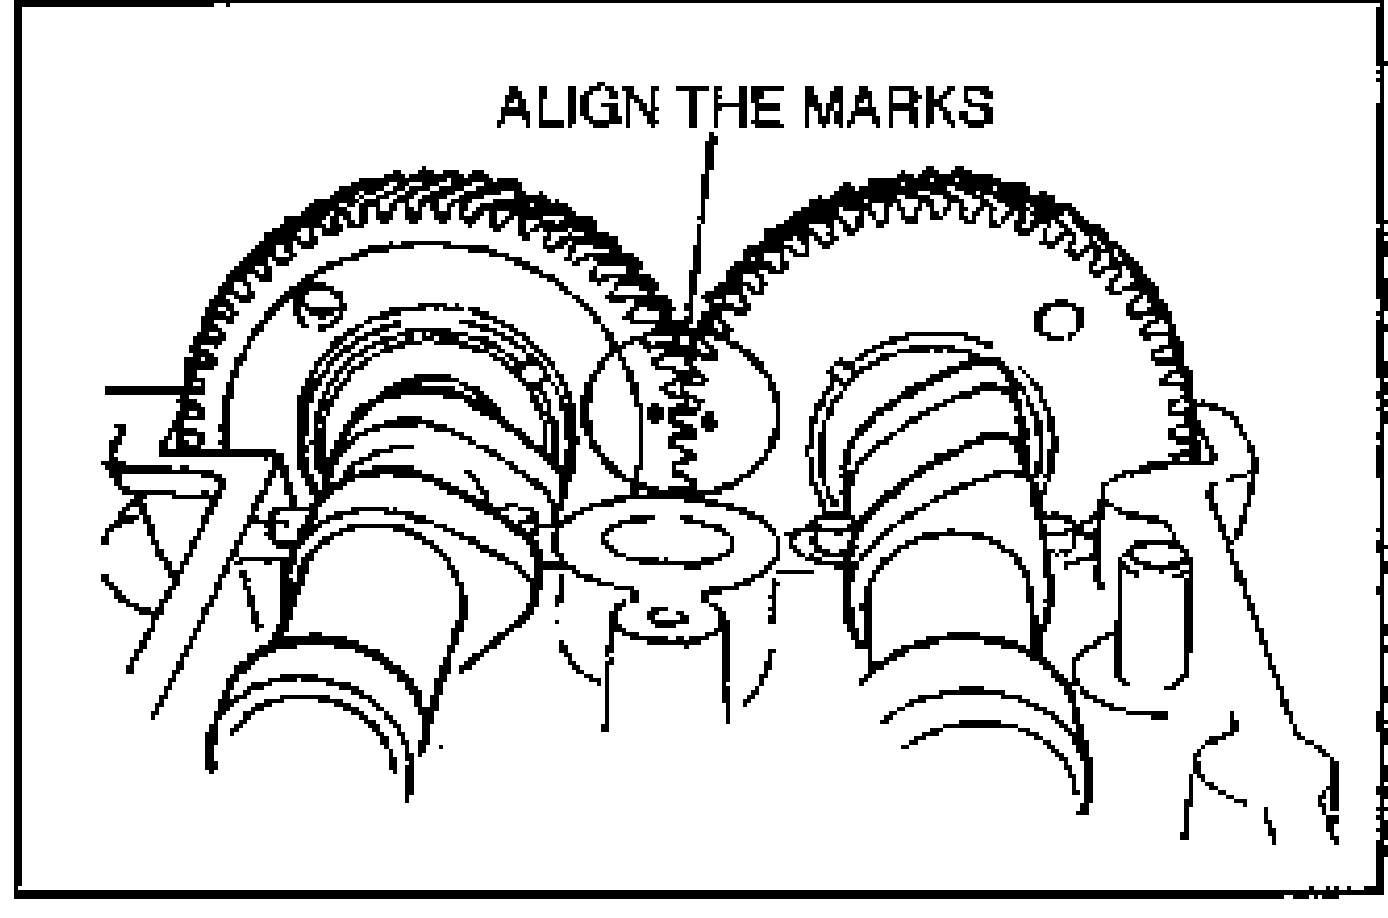
- 3Install the camshafts on the cylinder head.The thrust plate positions for the right and left cylinder head camshafts are different.
Camshaft cap and oil seal
- 1Remove the oil, dirt and other foreign material from the mating surfaces between the front camshaft cap and the cylinder head, and degrease.
- 2Apply silicone sealant to the shaded areas shown.Install the thrust caps first. Otherwise, camshaft can be broken or damaged.
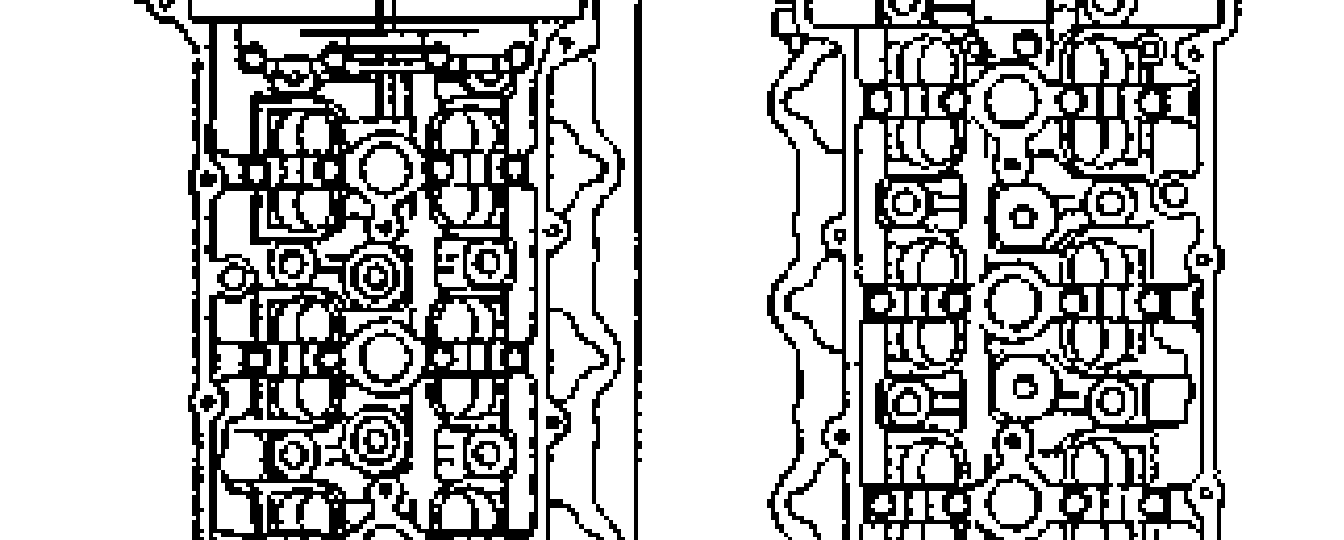
- 3Install the thrust caps onto the cylinder heads. Hand tighten the bolts in five or six steps in the order shown, until the camshaft caps fully seated on the cylinder head.