ON-VEHICLE MAINTENANCE
B2-16prose procedureTiming belt cover (continued)
- 2Remove the No.3 engine mount.
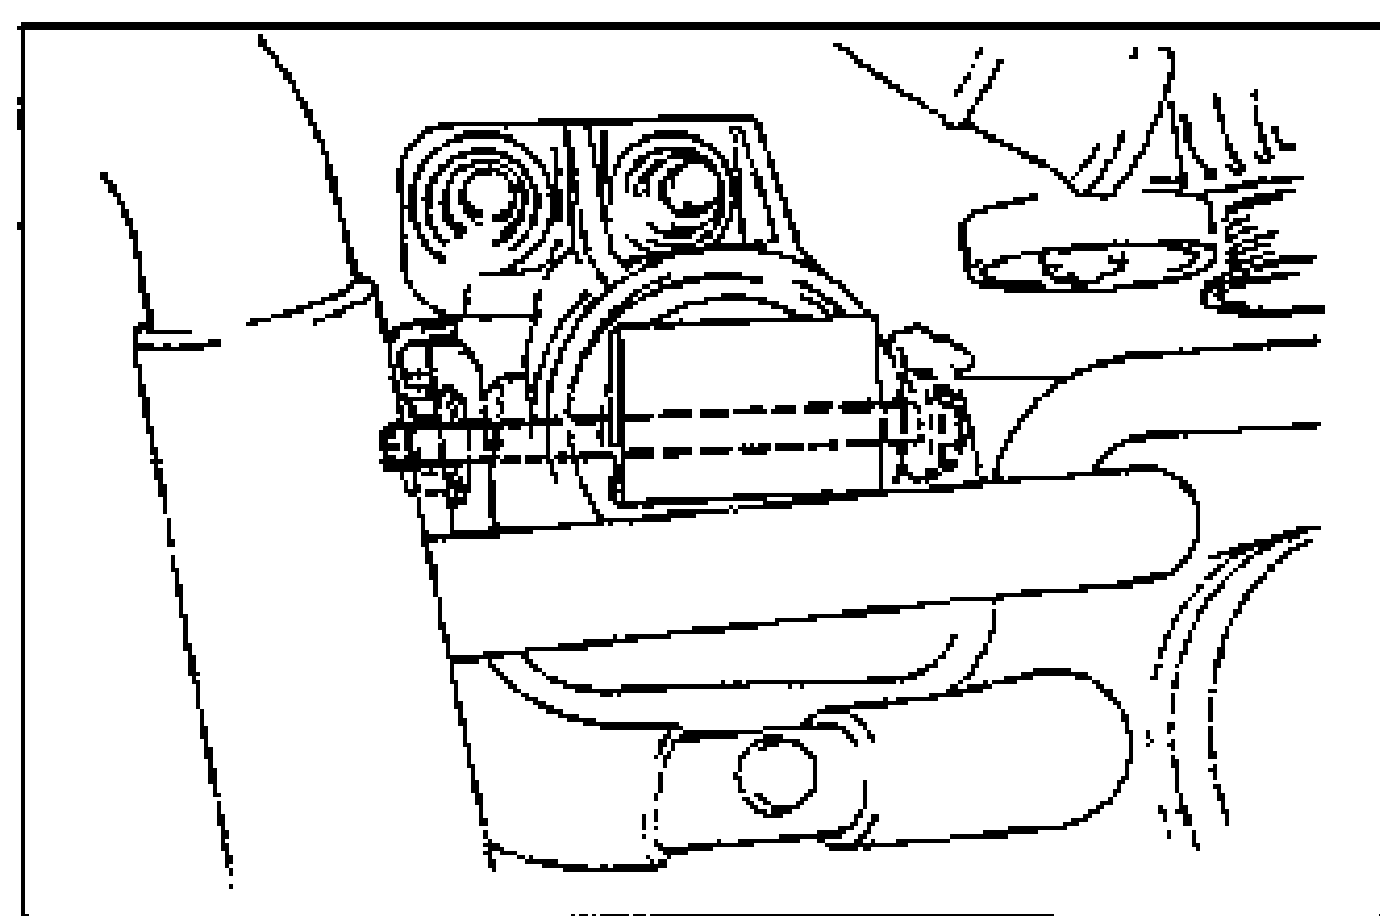
- 3Remove the right and left timing belt covers.
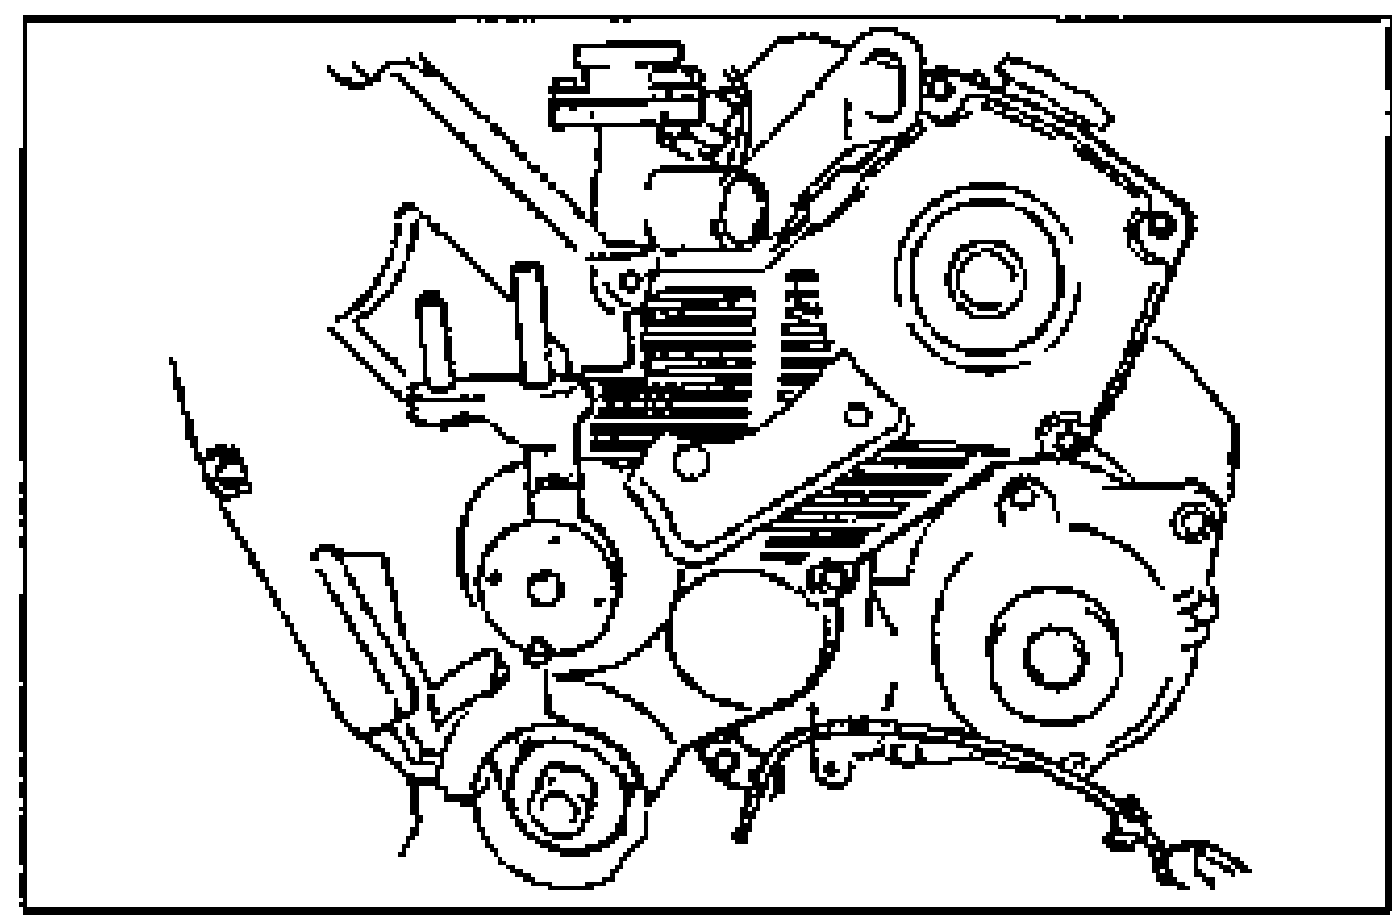
Timing belt
- 1Install the crankshaft pulley bolt into the crankshaft.
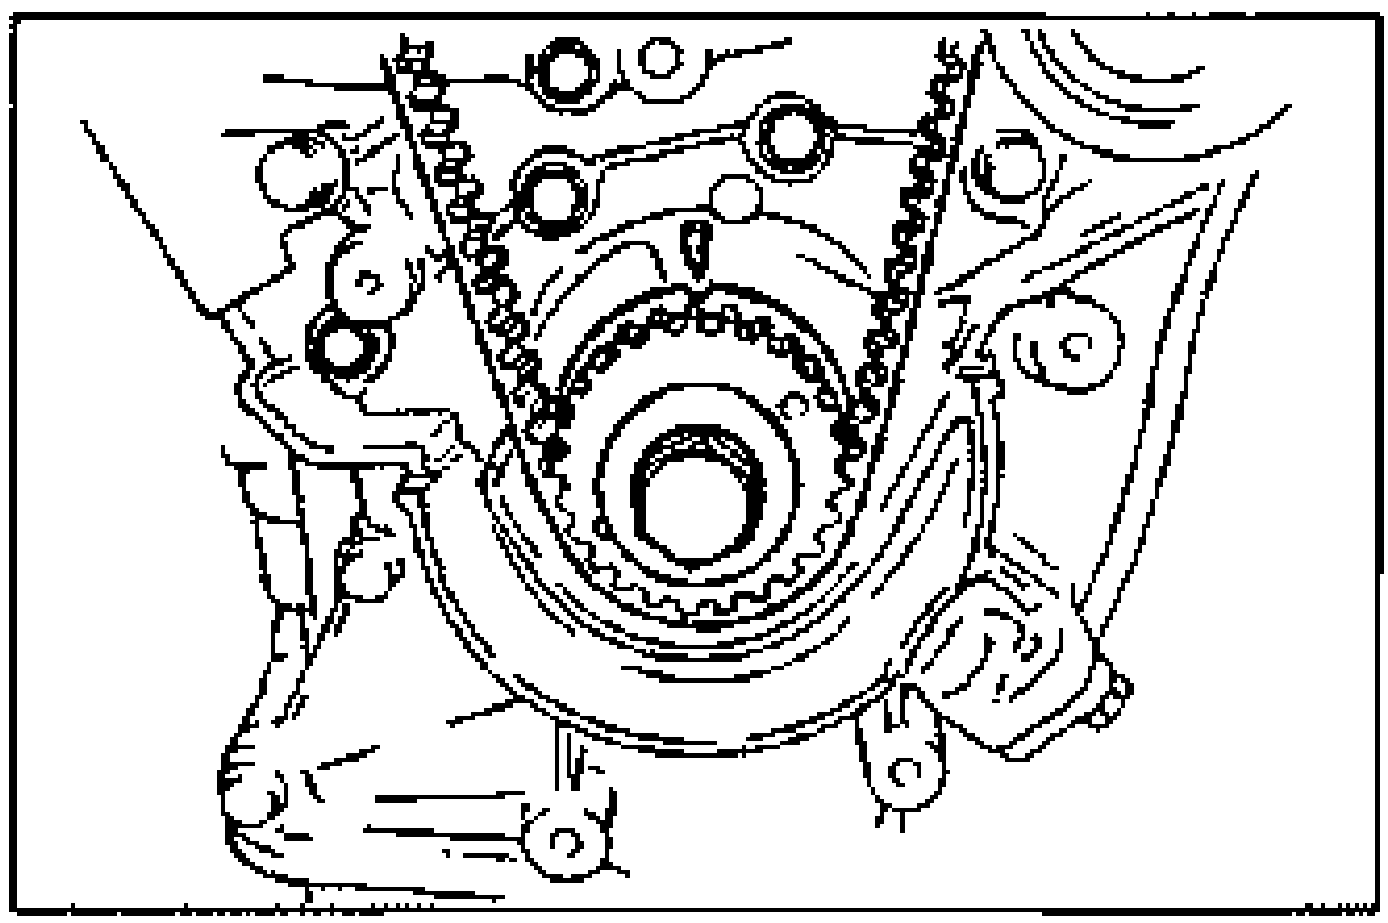
- 2Turn the crankshaft clockwise and align the timing marks. (No.1 piston is at TDC of the compression stroke.)
- 3Mark the timing belt rotation on the belt for proper reinstallation.
- 4Loosen the auto tensioner bolts and remove the lower bolt.When removing the bolt, hold the tensioner so that the bolt holes are aligned, otherwise the threads can be damaged.
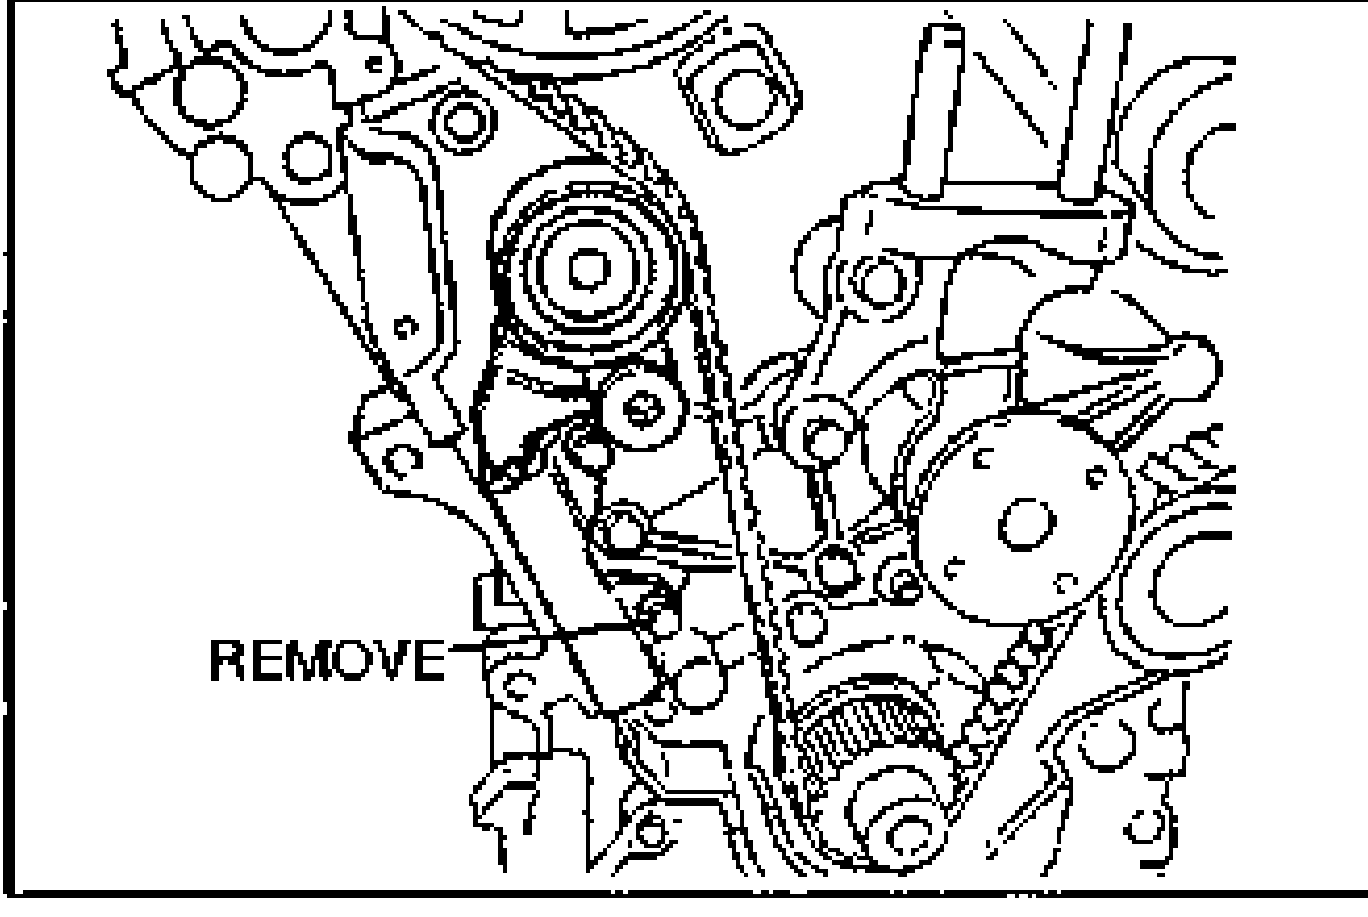
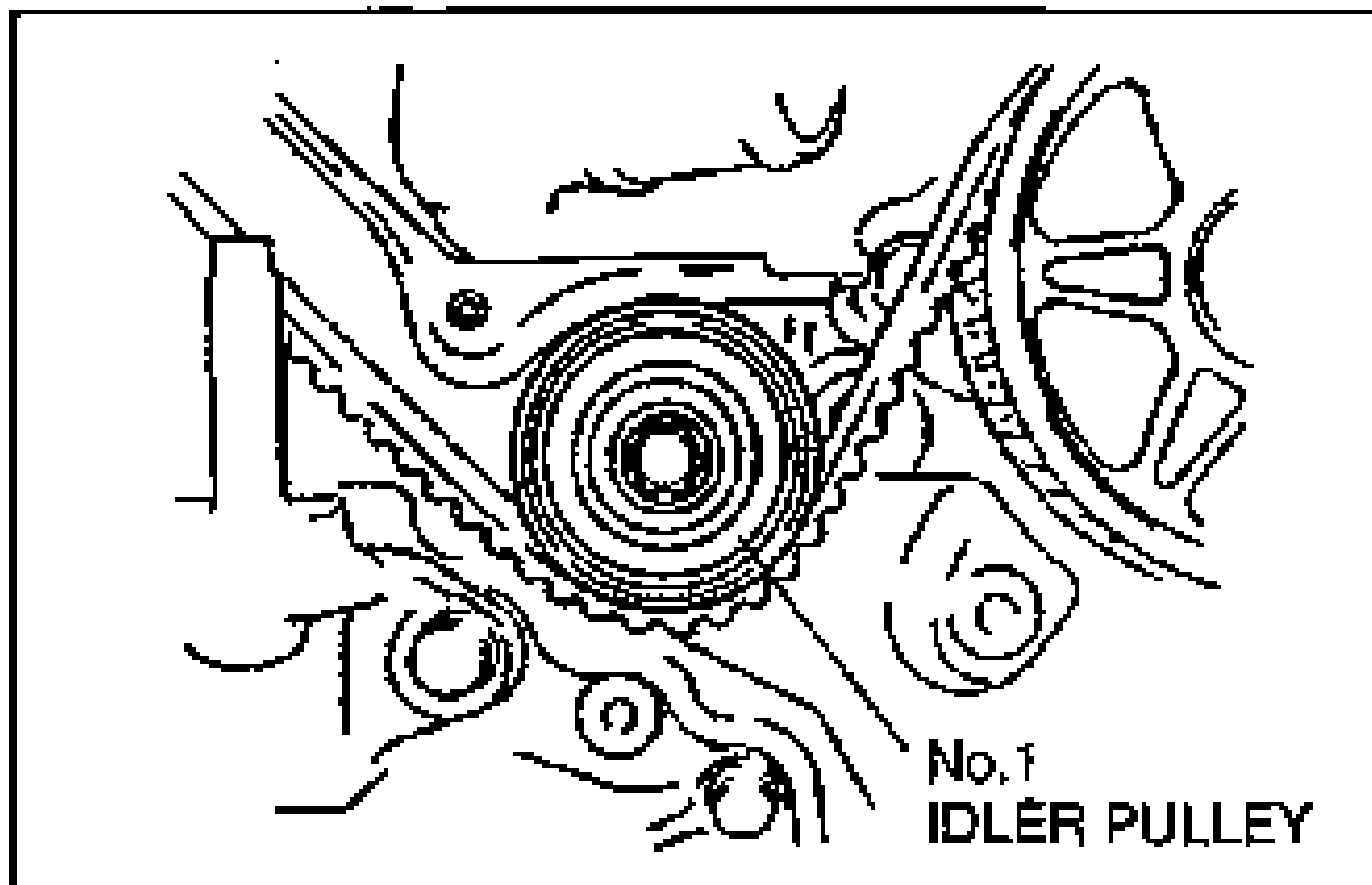
- 5Remove the No.1 idler pulley and remove the timing belt.When removing the pulley bolt, hold the pulley so that the bolt holes are aligned, otherwise the threads can be damaged.The following will damage the belt and shorten its life; Forcefully twisting it, turning it inside out, bending it, or allowing oil or grease on it.