
ON-VEHICLE MAINTENANCE — Cylinder head cover / Distributor
B2-33prose procedureRH and LH cylinder head covers have different bolt counts/retighten sequences (K8-ZE V6).
Cylinder head cover
- 1Remove all old silicone sealant from the cylinder head and cover.
- 2Apply silicone sealant to the cylinder head cover as shown.
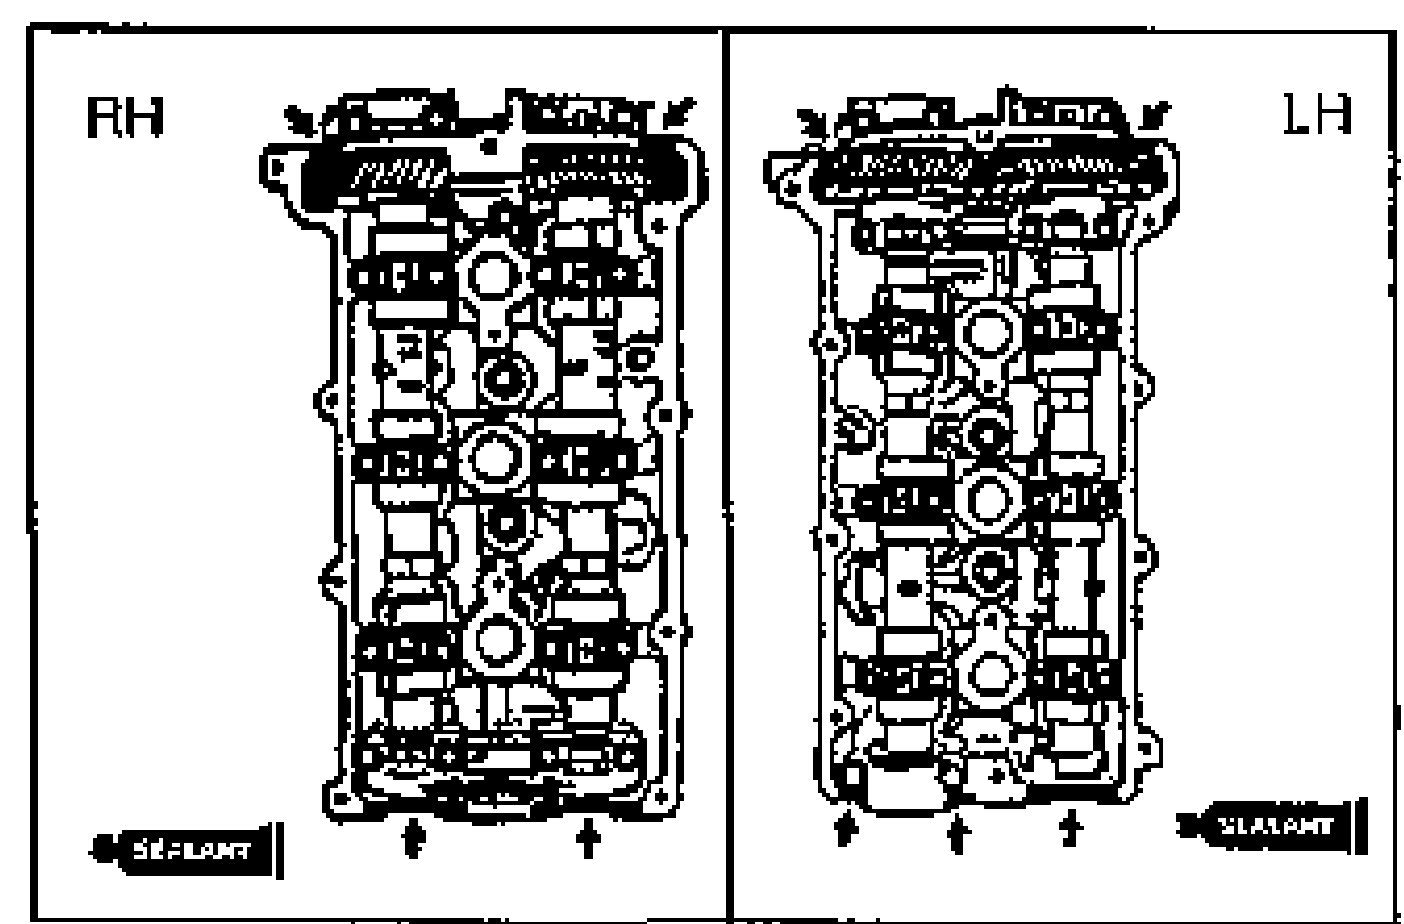
- 3Remove all dirt and other material from the cylinder head, and apply sealant as shown.
- 4Install the cylinder head cover and tighten the bolts in two or three steps in the order shown.Tightening torque: 5.0-8.8 N·m {50-90 kgf·cm, 44-78 in·lbf}
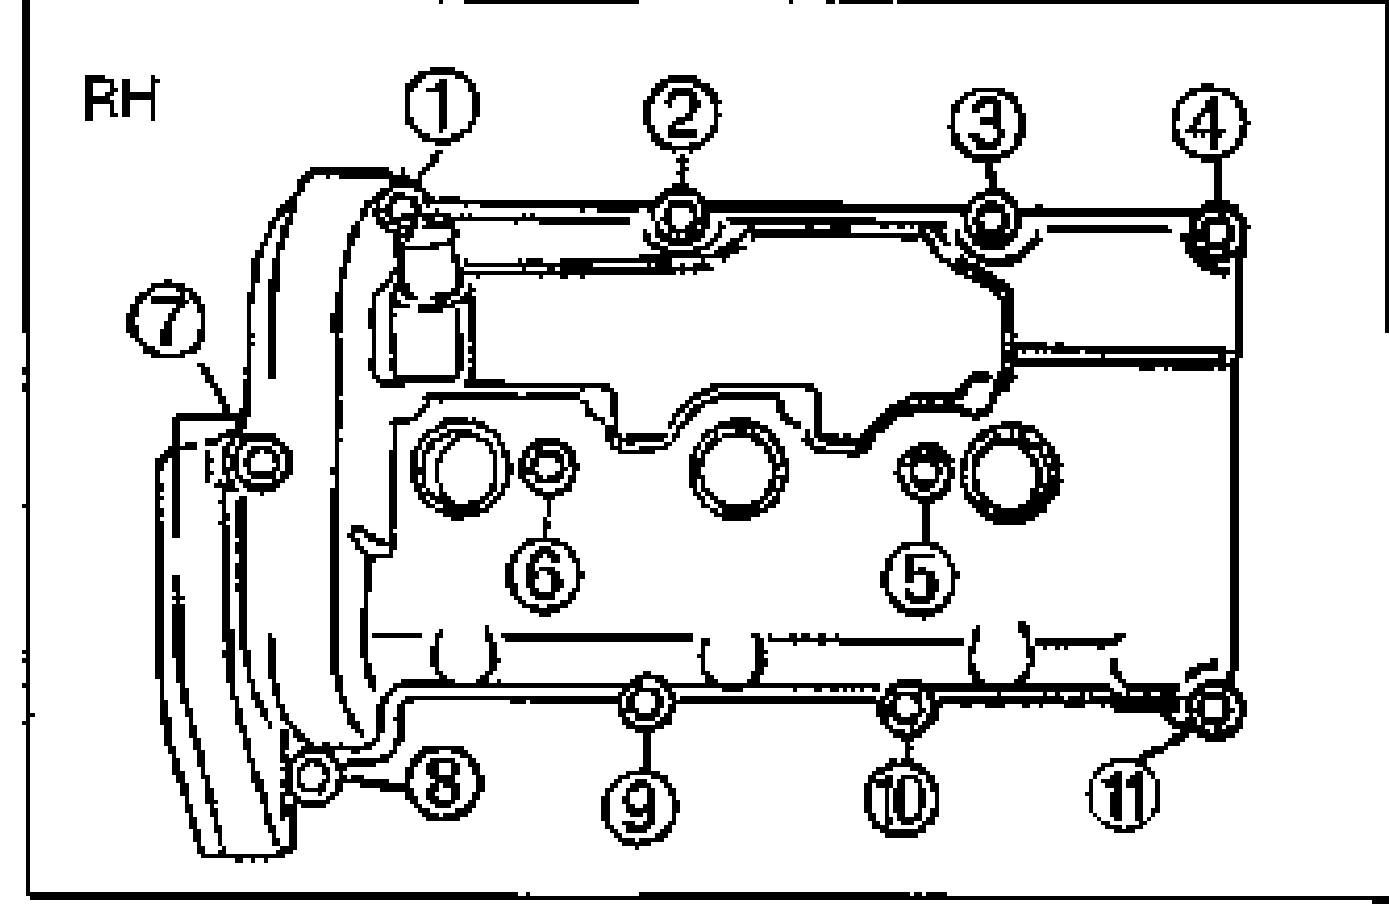
- 5Retighten the bolts. (RH 5 6, LH 6 7)Tightening torque: 5.0-8.8 N·m {50-90 kgf·cm, 44-78 in·lbf}
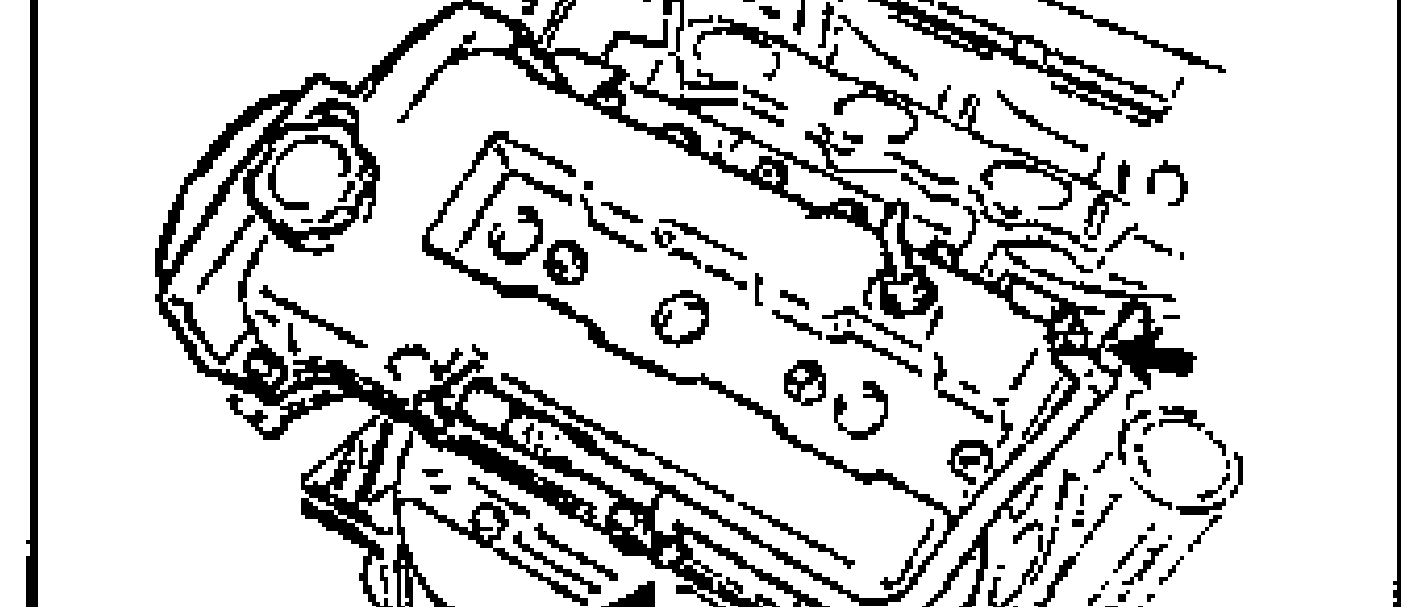
- 6Install the ventilation pipe to the left cylinder head cover.Tightening torque: 7.9-10.7 N·m {80-110 kgf·cm, 70-95.4 in·lbf}
Distributor
- 1Apply clean engine oil to a new O-ring and position it on the distributor.
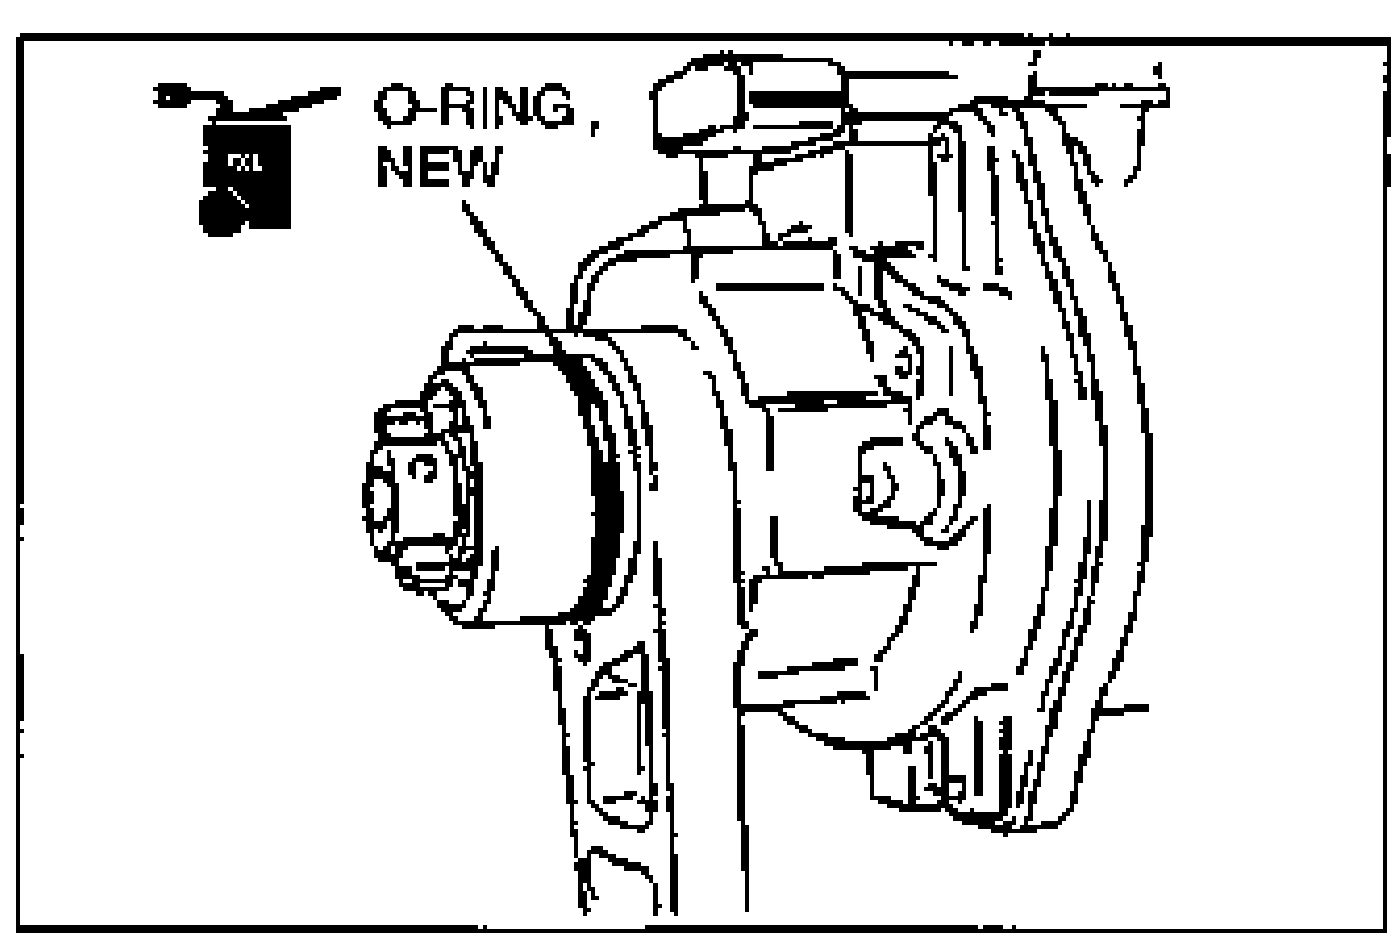
- 2Apply clean engine oil to the drive blade.
- 3Align the matching marks on the distributor body and the camshaft gear.
| Specification | Value |
|---|---|
| Cylinder head cover bolt | 5.0 - 8.8N·m |
| Ventilation pipeleft cylinder head cover | 7.9 - 10.7N·m |
Cylinder head cover bolt
5.0 - 8.8N·m
Ventilation pipeleft cylinder head cover
7.9 - 10.7N·m