ON-VEHICLE MAINTENANCE
B2-19prose procedureTiming belt (continued)
- 8Turn the crankshaft clockwise twice, and align the timing marks.
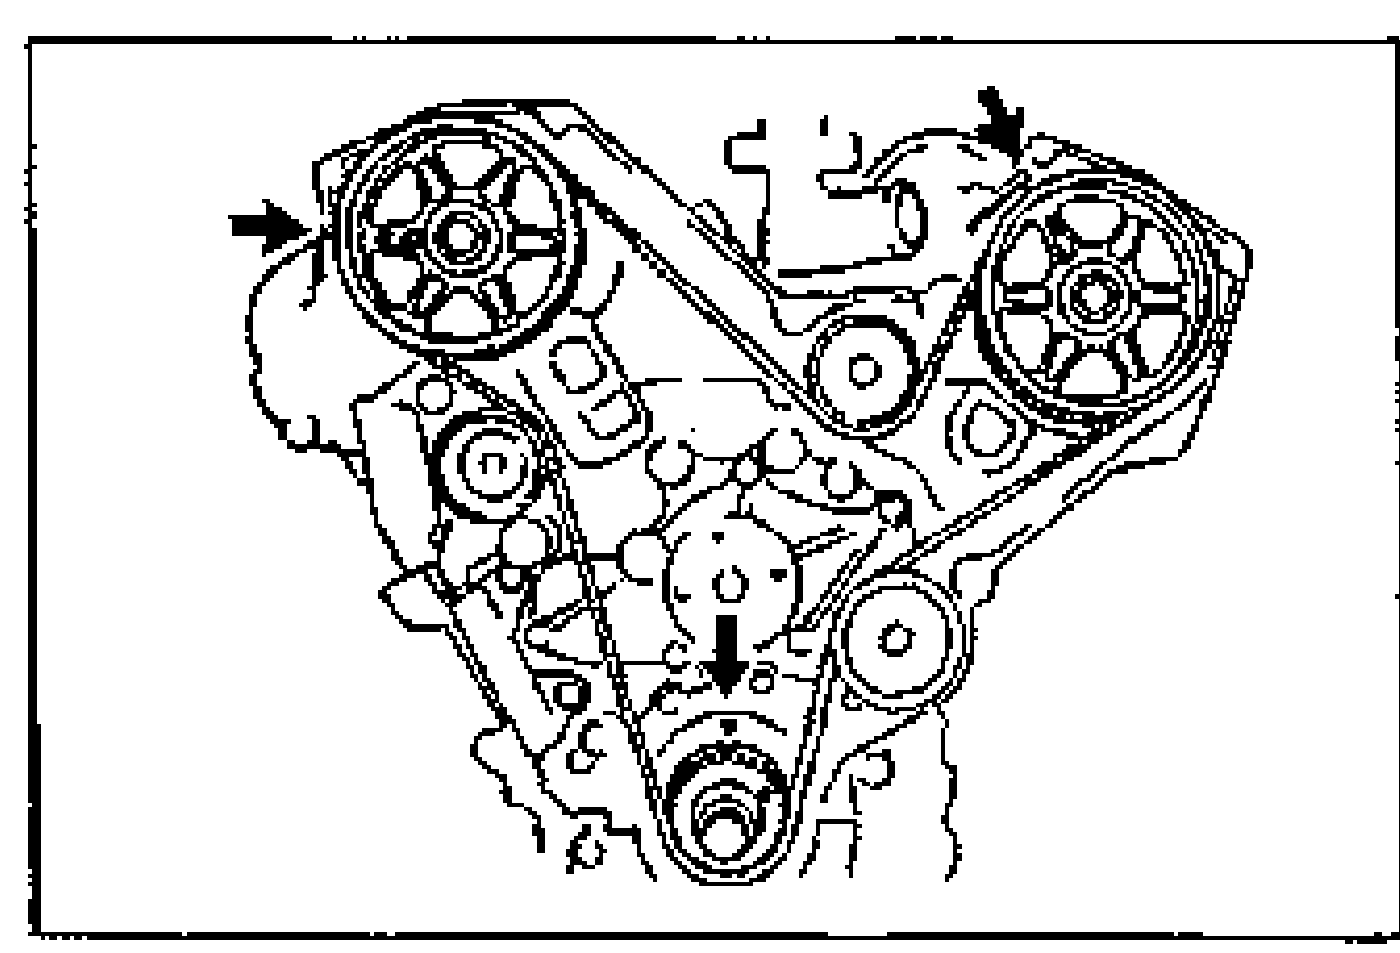
- 9Verify that all timing marks are correctly aligned. If necessary, repeat the procedure beginning from installation of the timing belt auto tensioner.
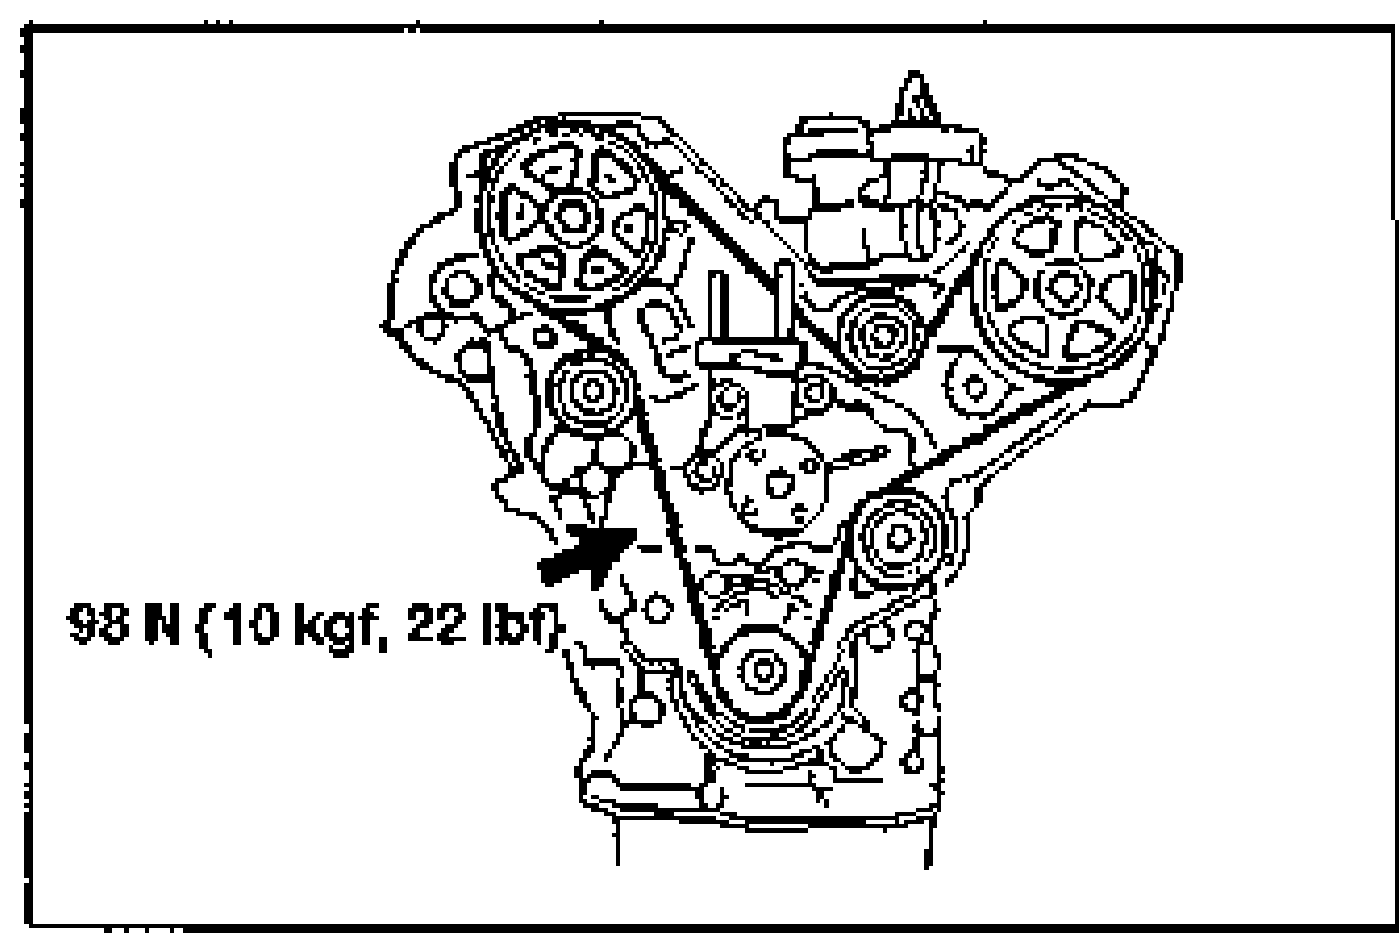
- 10Check the timing belt deflection by applying moderate pressure 98 N {10 kgf, 22 lbf} midway between the crankshaft pulley and the auto tensioner. If not correct, replace the auto tensioner.Deflection: 6.0-8.0mm {0.24-0.31in}
Timing belt cover
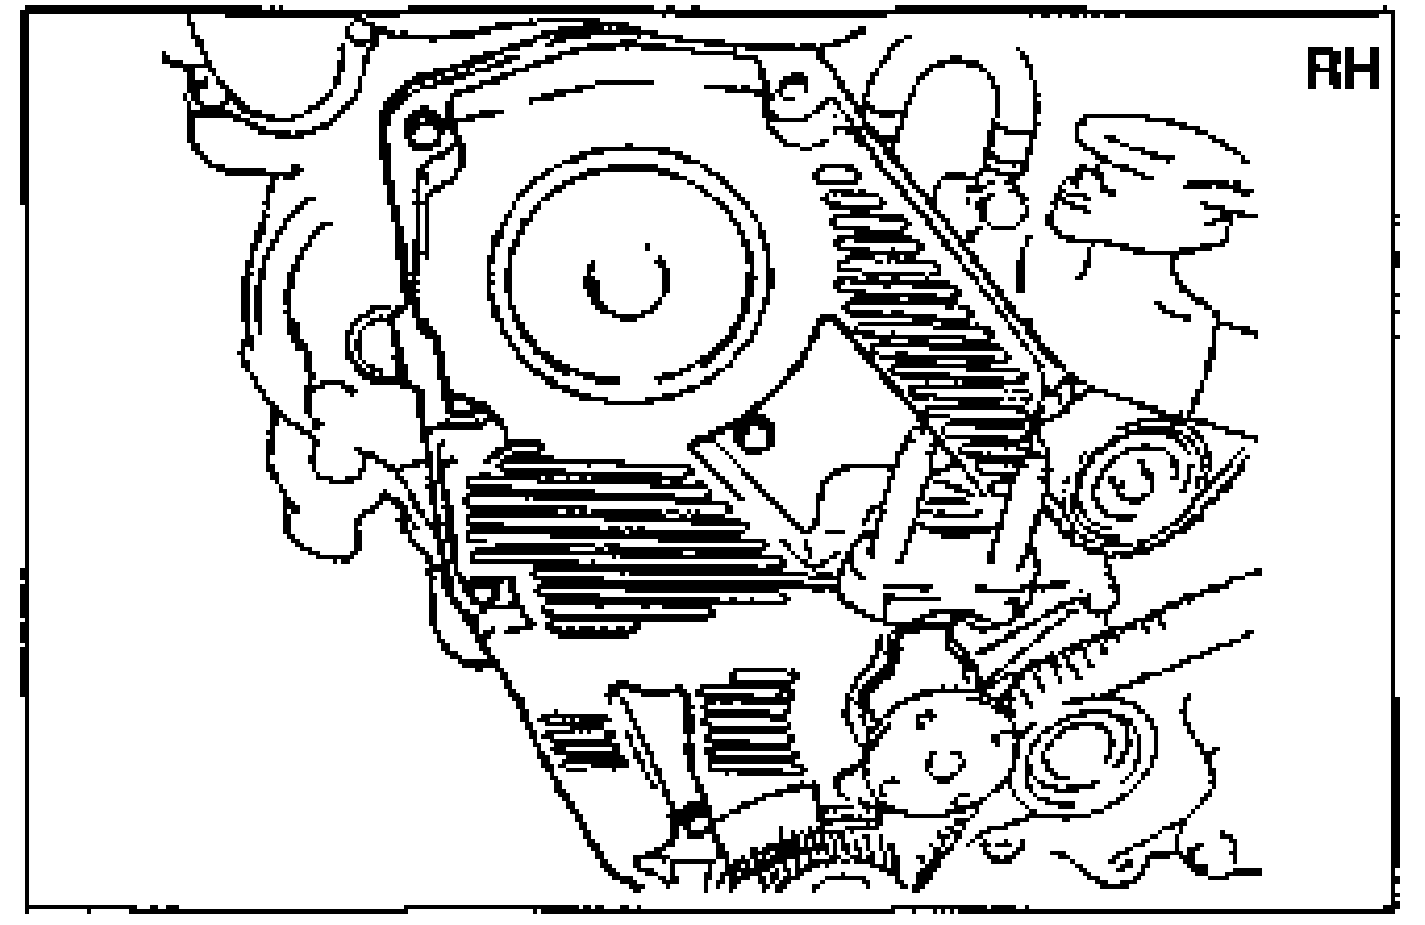
- 1Install the right timing belt cover.Tightening torque: 7.9-10.7 N·m {80-110 kgf·cm, 70-95.4 in·lbf}
- 2Install the left timing belt cover.Tightening torque: 7.9-10.7 N·m {80-110 kgf·cm, 70-95.4 in·lbf}
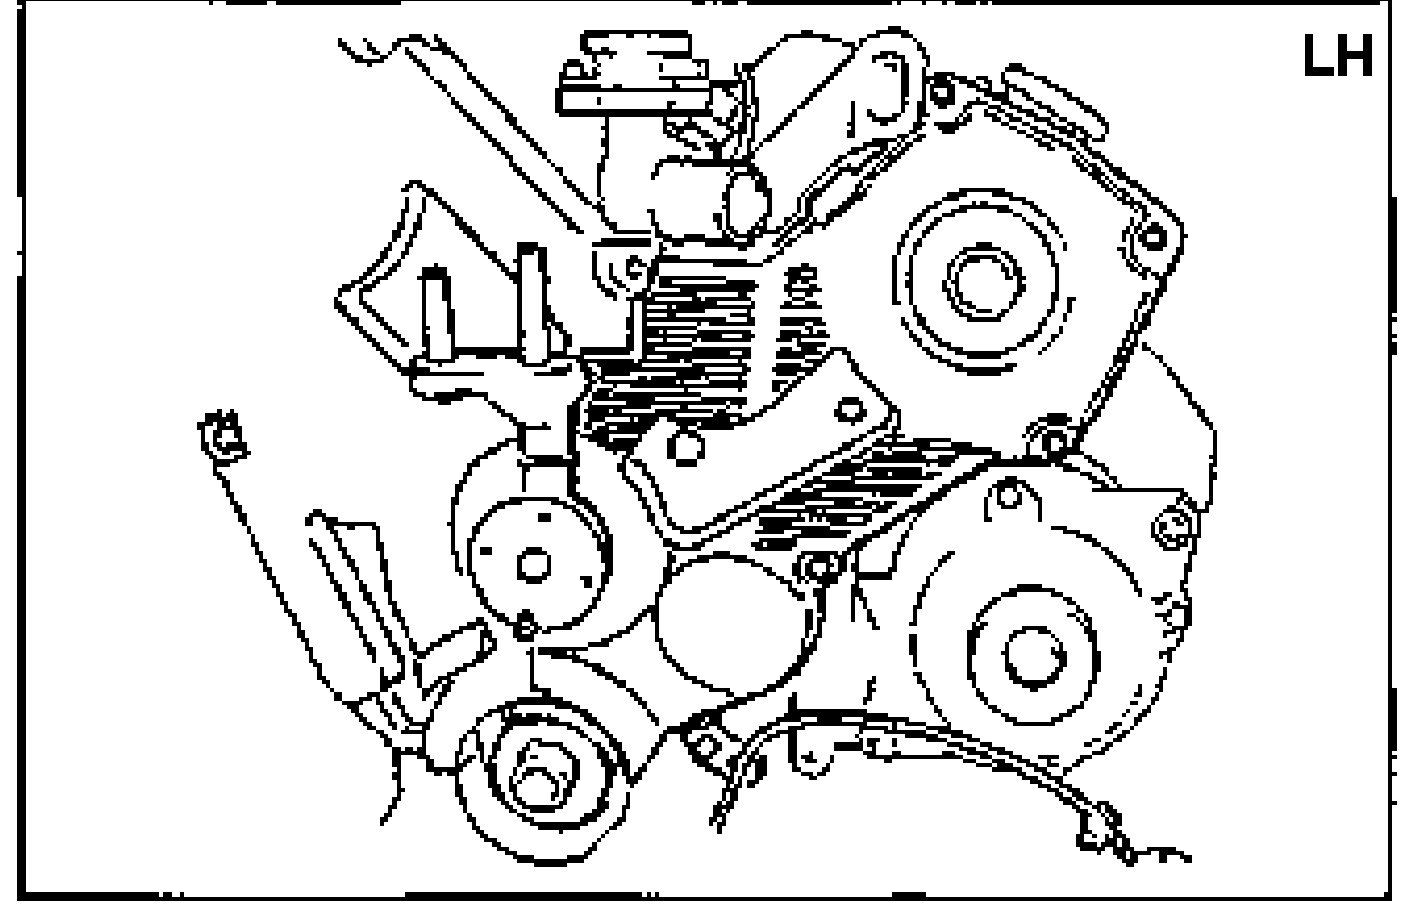
- 3Install the crankshaft position sensor connector bracket on the left timing belt cover.Tightening torque: 7.9-10.7 N·m {80-110 kgf·cm, 70-95.4 in·lbf}