
Air Conditioner — On-vehicle Inspection: Thermoswitch / Evaporator
G-69prose procedureOn-vehicle Inspection
Thermoswitch
Thermoswitch — On-vehicle Inspection
- 1Remove the glove compartment and glove compartment cover.
- 2Run the engine at idle.
- 3Turn the A/C switch off and set the fan switch off to the fourth position to operate the blower fan for a few minutes.
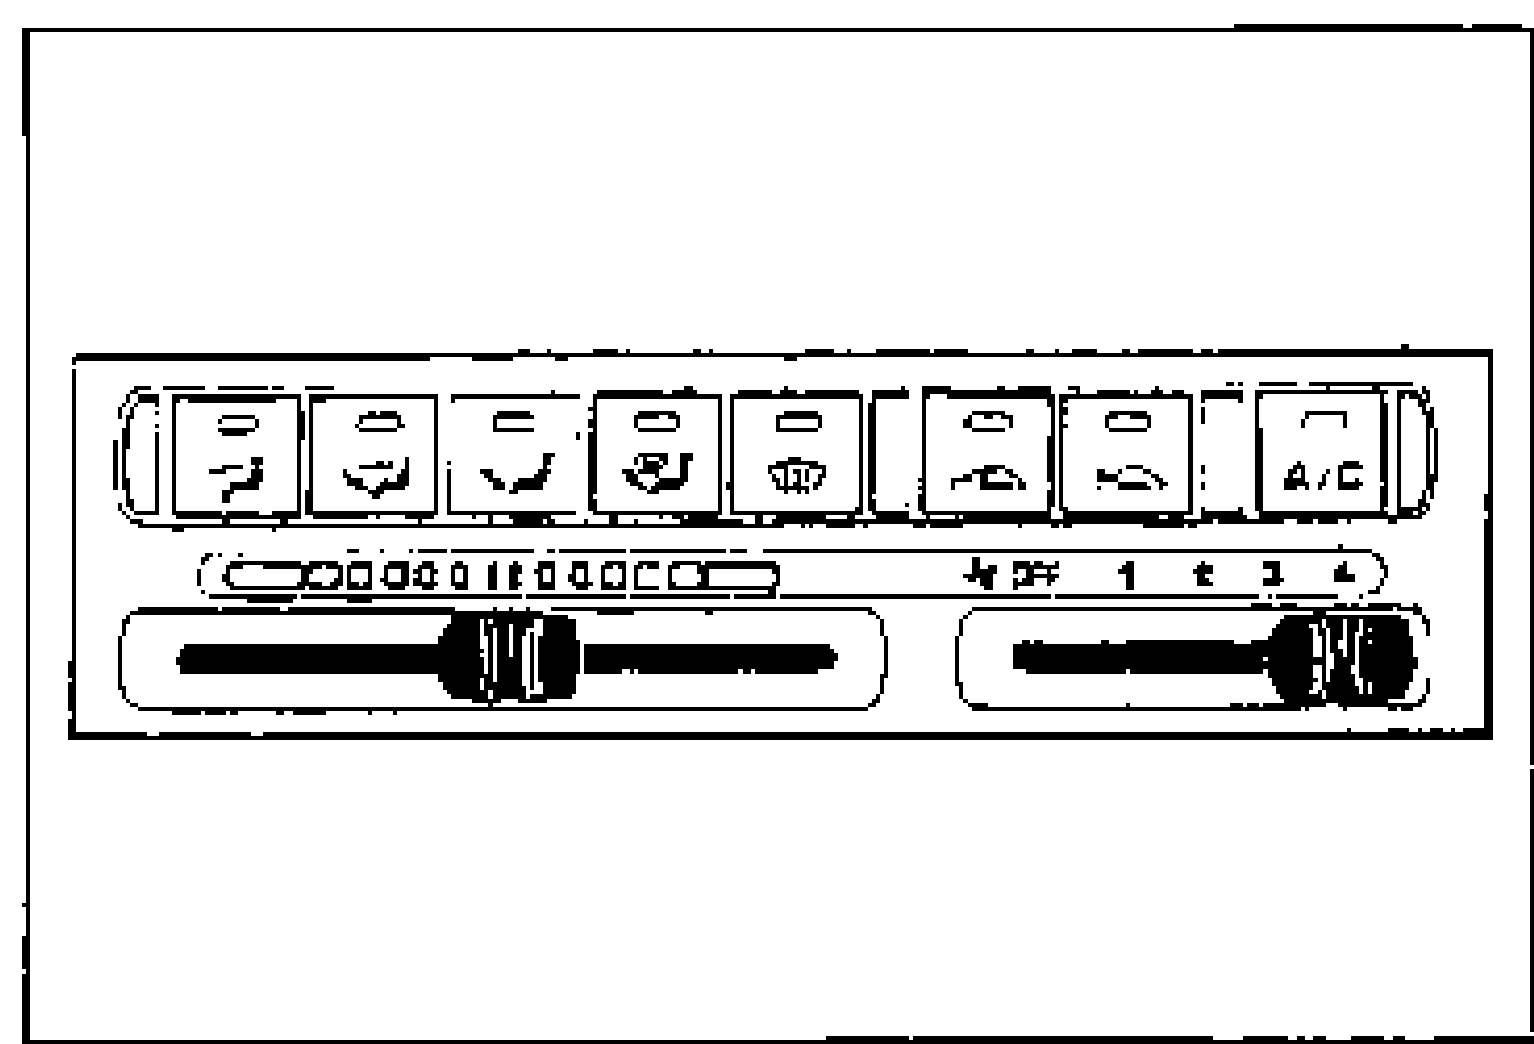
- 4After a few minutes, turn the fan switch off and stop the engine.The thermoswitch contacts will be open if the evaporator temperature is below 0.4 ± 0.7 °C {32.5 ± 1.0 °F}
- 5Disconnect the thermoswitch connector and check for continuity between the switch terminals.
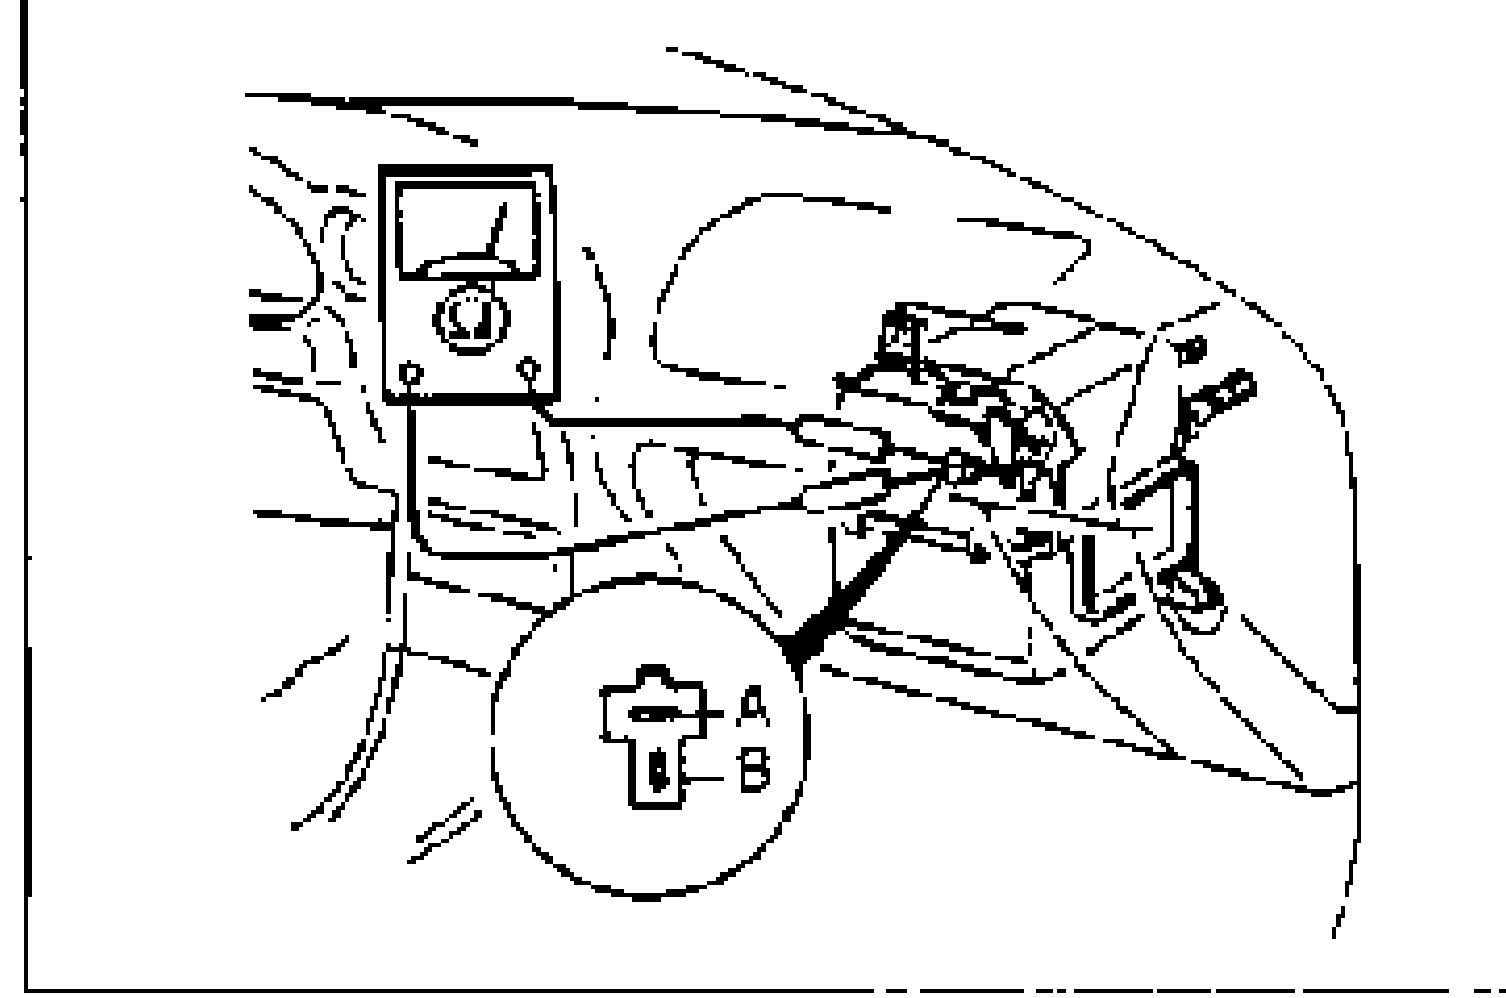
- 6If there is no continuity, replace the thermoswitch. (Refer to page G-68.)
Inspection
Thermoswitch
Thermoswitch — Bench Inspection
- 1Immerse the sensing bulb in a container of ice water.
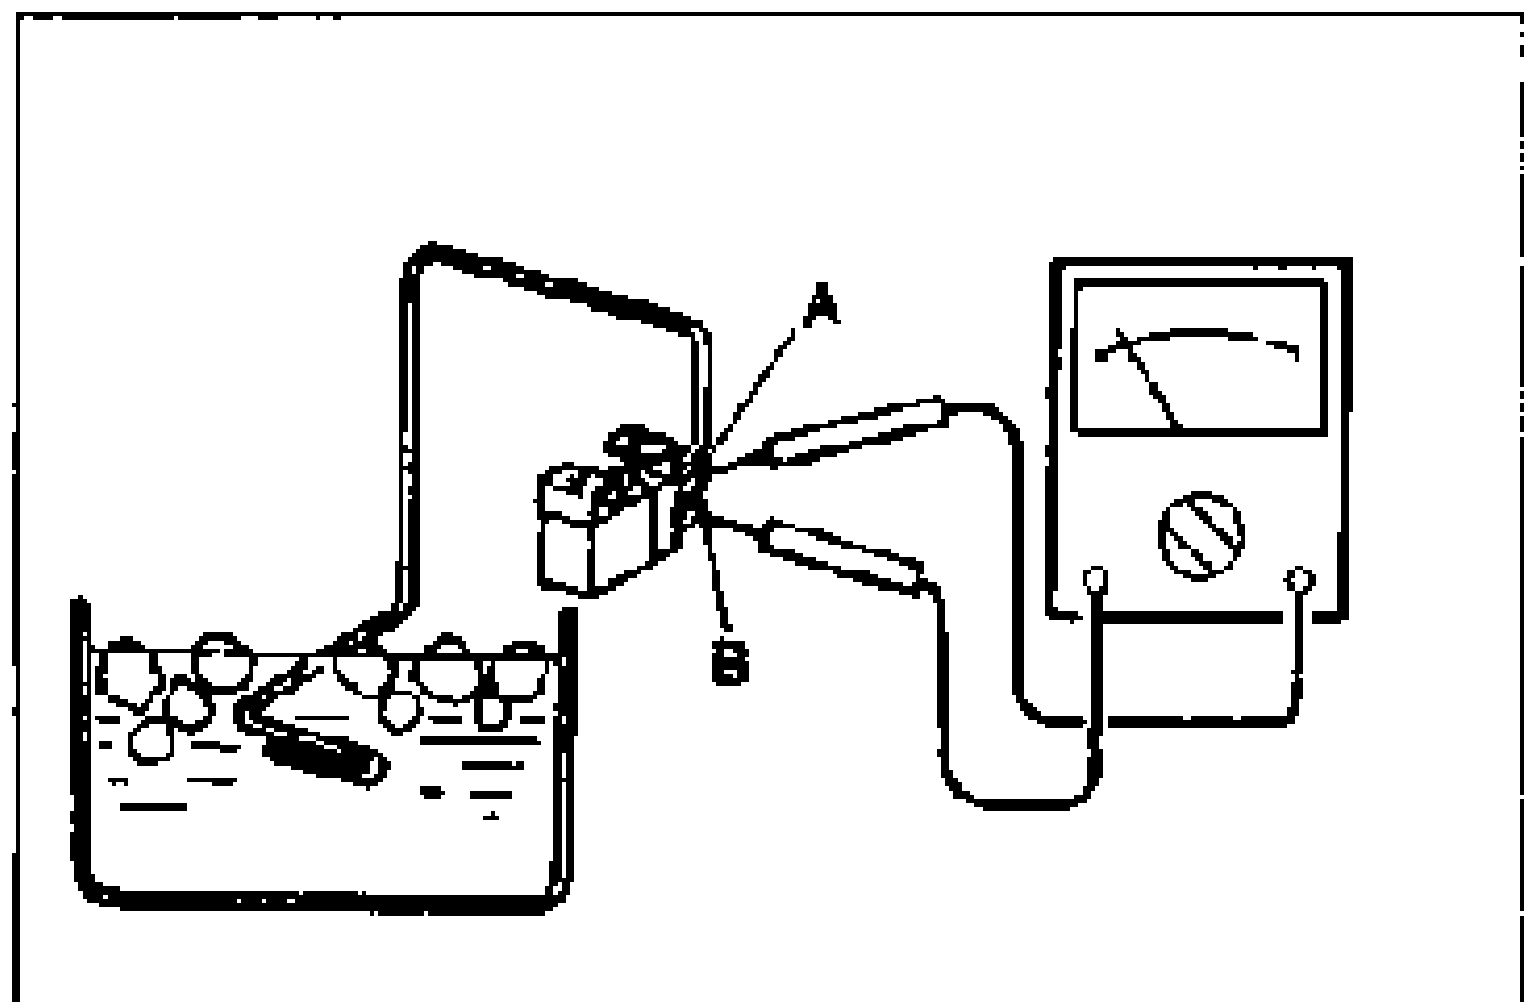
- 2Check for continuity between the switch terminals.
Thermoswitch Continuity
Above 5°C
ContinuityYes
Below 0°C
ContinuityNo
3. If not as specified, replace the thermoswitch. (Refer to page G-68.)
Evaporator
CAUTION
If water is used to clean the evaporator, the water may freeze inside the pipes and block the flow of refrigerant. Do not use water to clean the evaporator.
Evaporator — Inspection
- 1Check the evaporator fins for blockage. If the fins are clogged, clean them with compressed air.
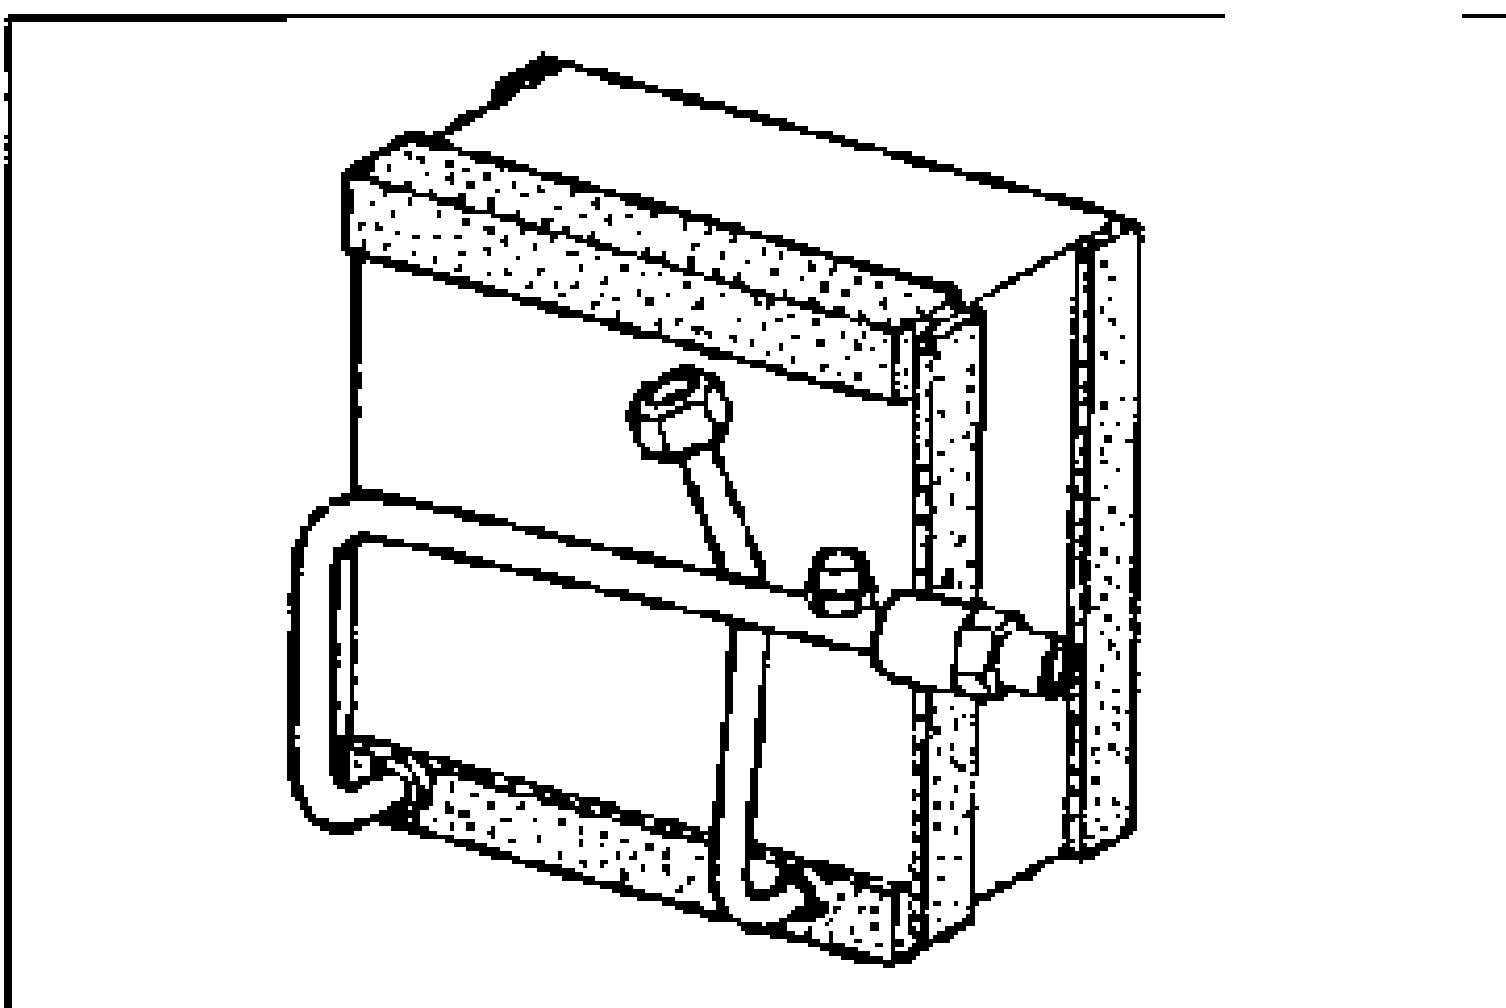
- 2Check the fittings for cracks and other damage. Replace the evaporator if necessary. (Refer to page G-68.)