Mazda MX-3 silhouetteMX-3

A/C COMPRESSOR — Disassembly note: Shaft seal and seal plate

G-57prose procedure

Disassembly note

Shaft seal and seal plate

Shaft seal and seal plate disassembly note

  1. 1
    Remove the armature plate.
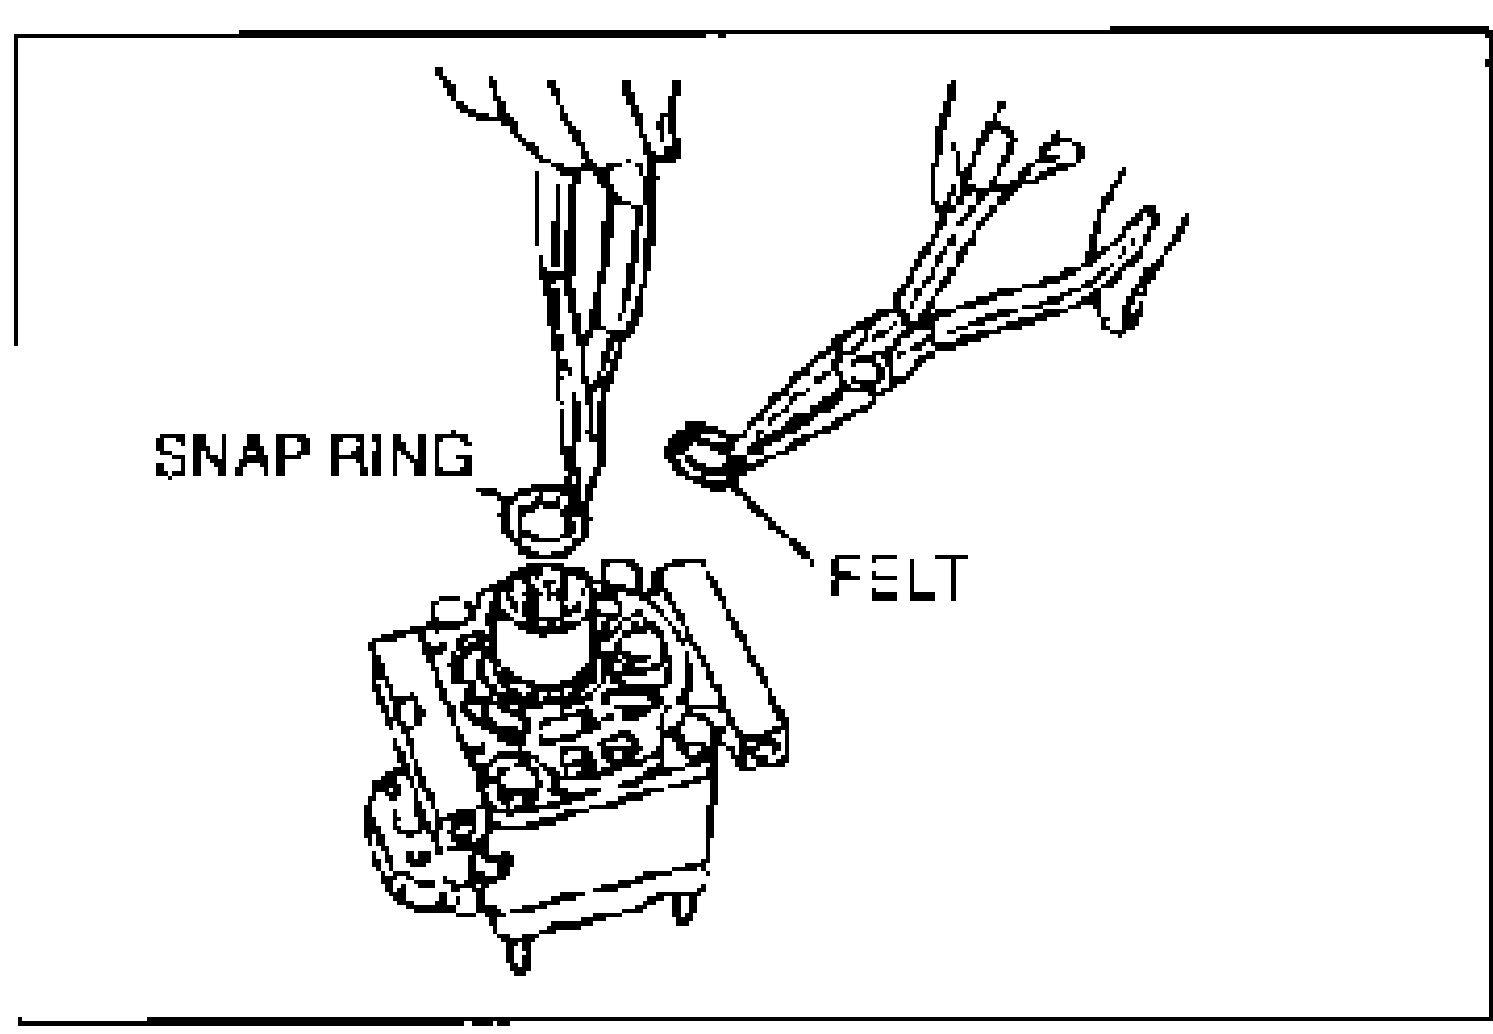
    Removing the snap ring and felt seal from the front of the A/C compressor using pliers. Callouts label SNAP RING and FELT.
  2. 2
    Remove the felt seal and snap ring.
  3. 3
    Remove the shim(s).
  4. 4
    Align the cutout of the SST with the groove of the shaft seal plate and insert the SST into the A/C compressor.
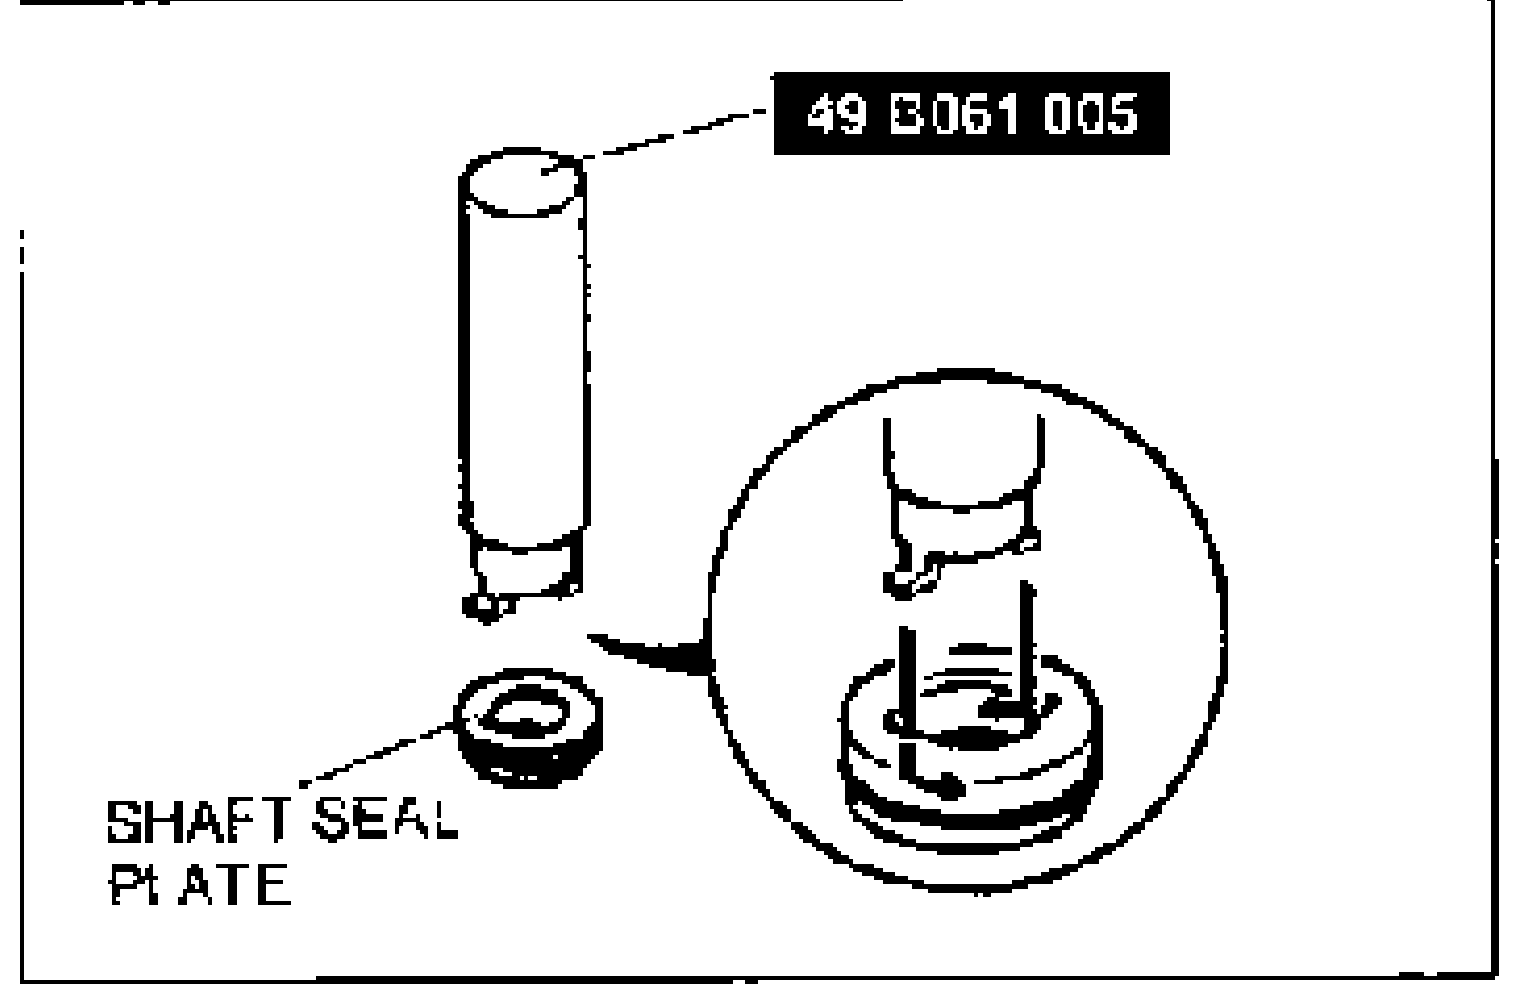
    SST 49 B061 005 (replacer, seal plate) shown above the SHAFT SEAL PLATE, with a detail circle showing the tool cutout engaging the seal plate groove inside the compressor.
  5. 5
    Rotate the SST counterclockwise to make sure that the cutout is engaged with the seal plate.
  6. 6
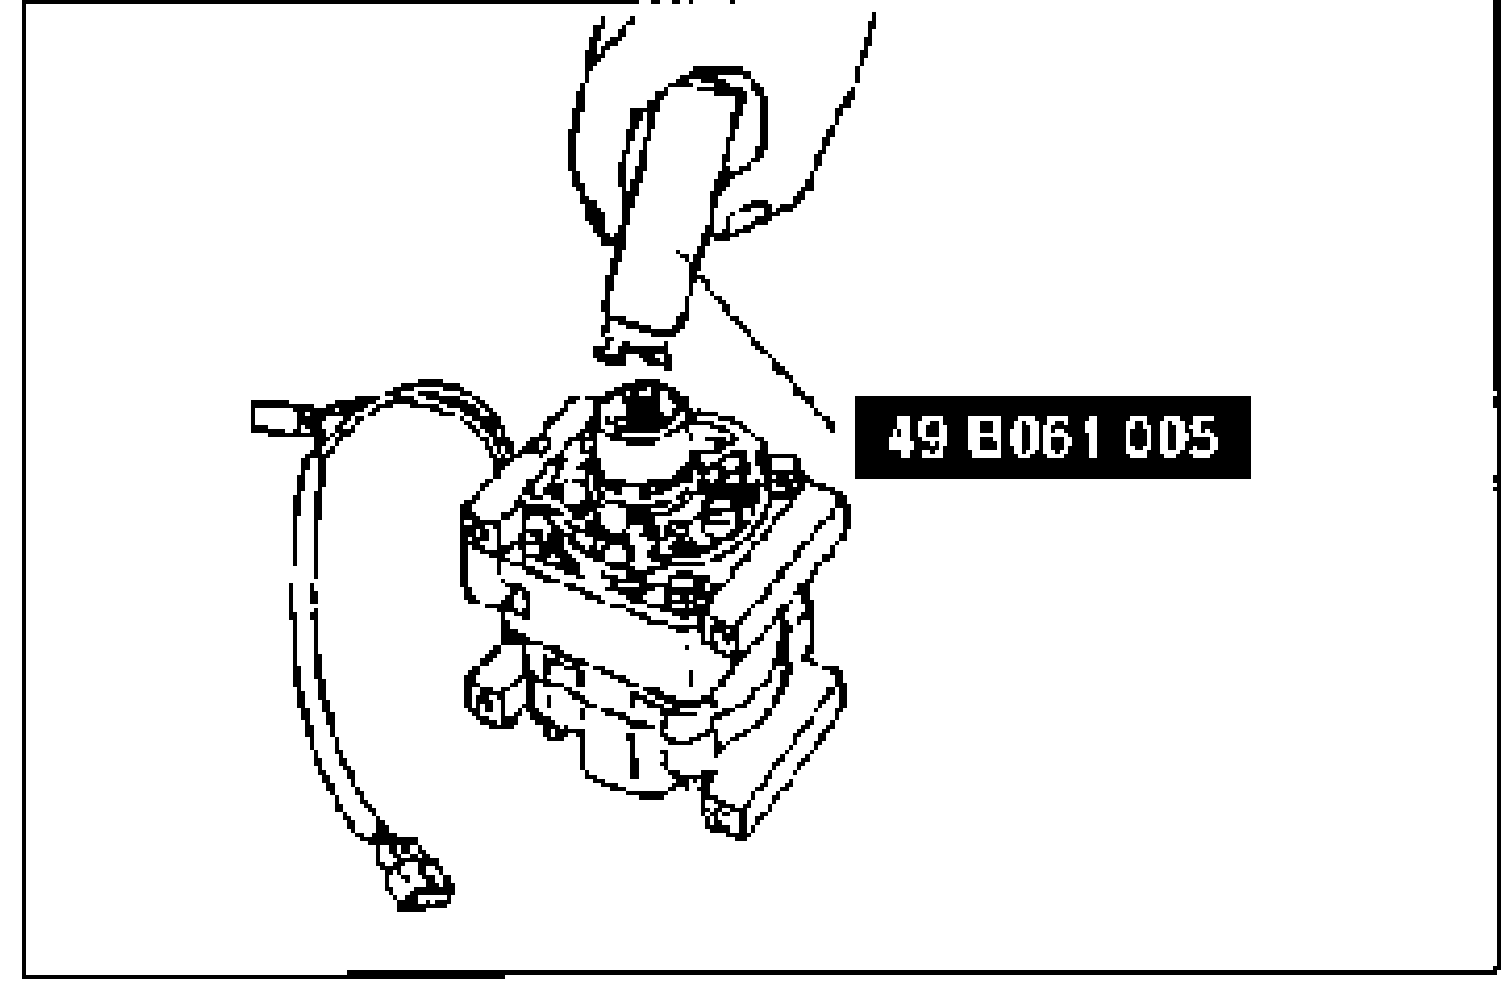
    Pull out the shaft seal plate.
    SST 49 B061 005 inserted into the A/C compressor to pull out the shaft seal plate.
  7. 7
    Align the cutout of the SST with the metal pawl of the shaft seal and insert the SST into the A/C compressor.
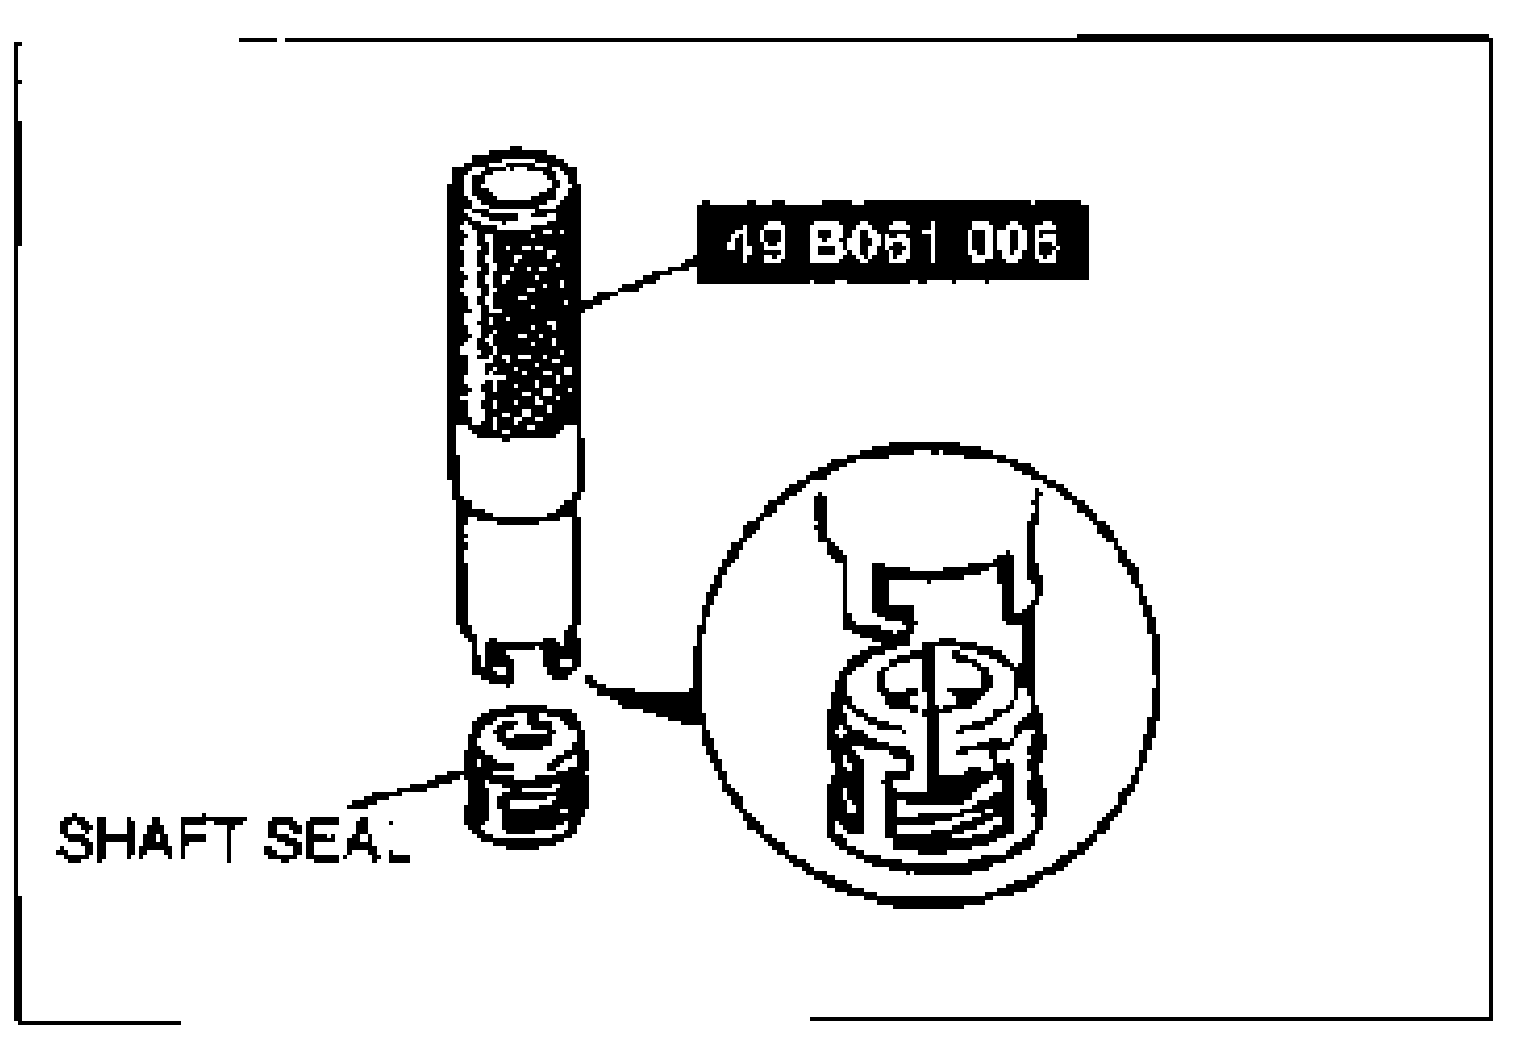
    SST 49 B061 006 (remover and installer, seal) shown above the SHAFT SEAL, with a detail circle showing the tool cutout engaging the metal pawl of the shaft seal.
  8. 8
    Rotate the SST counterclockwise to make sure that the cutout is engaged with the metal pawl.
  9. 9
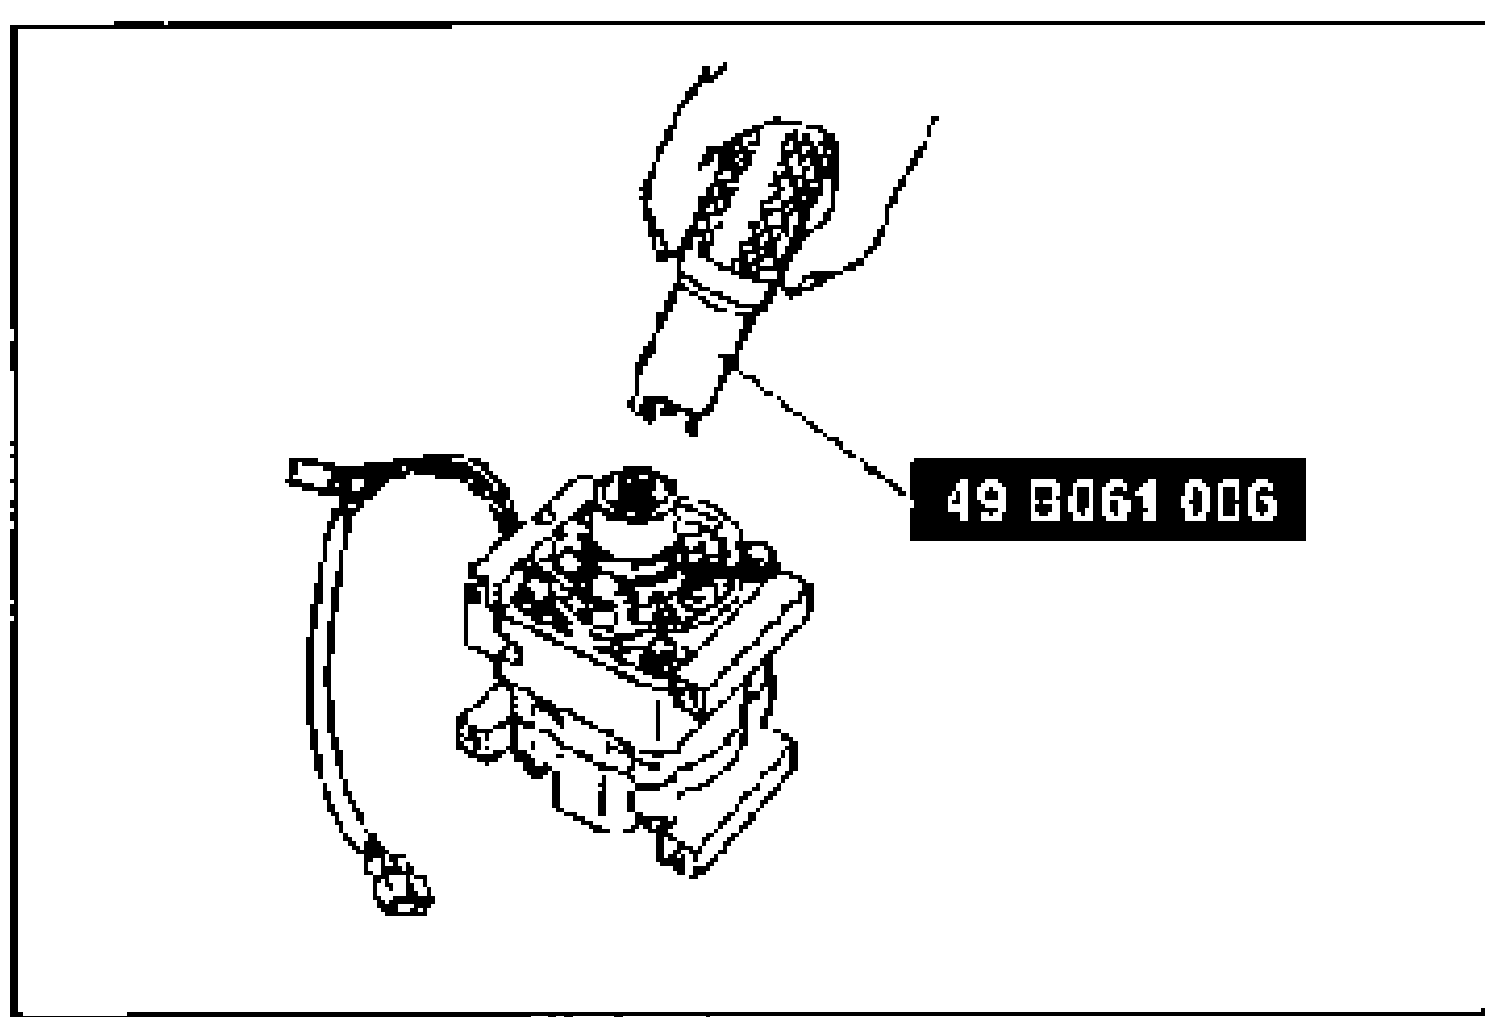
    Pull out the shaft seal.
    SST 49 B061 006 inserted into the A/C compressor to pull out the shaft seal.

Search Manual

Search pages, specs, and procedures