
CONVENTIONAL BRAKE SYSTEM — AIR BLEEDING / BRAKE HYDRAULIC LINE
P-7prose procedureAIR BLEEDING
NOTE
The brakes should be bled whenever a brake line is disconnected. If a hydraulic line is disconnected at the master cylinder, start at the slave cylinder farthest from the brake master cylinder, and move to the next closest slave cylinder until all four cylinders have been bled. If the disconnection point is anywhere except the master cylinder, start at the point closest to the disconnection, and move to the next farthest slave cylinder until all four cylinders have been bled.
Air bleeding
- 1On level ground, jack up the vehicle and support it evenly on safety stands.
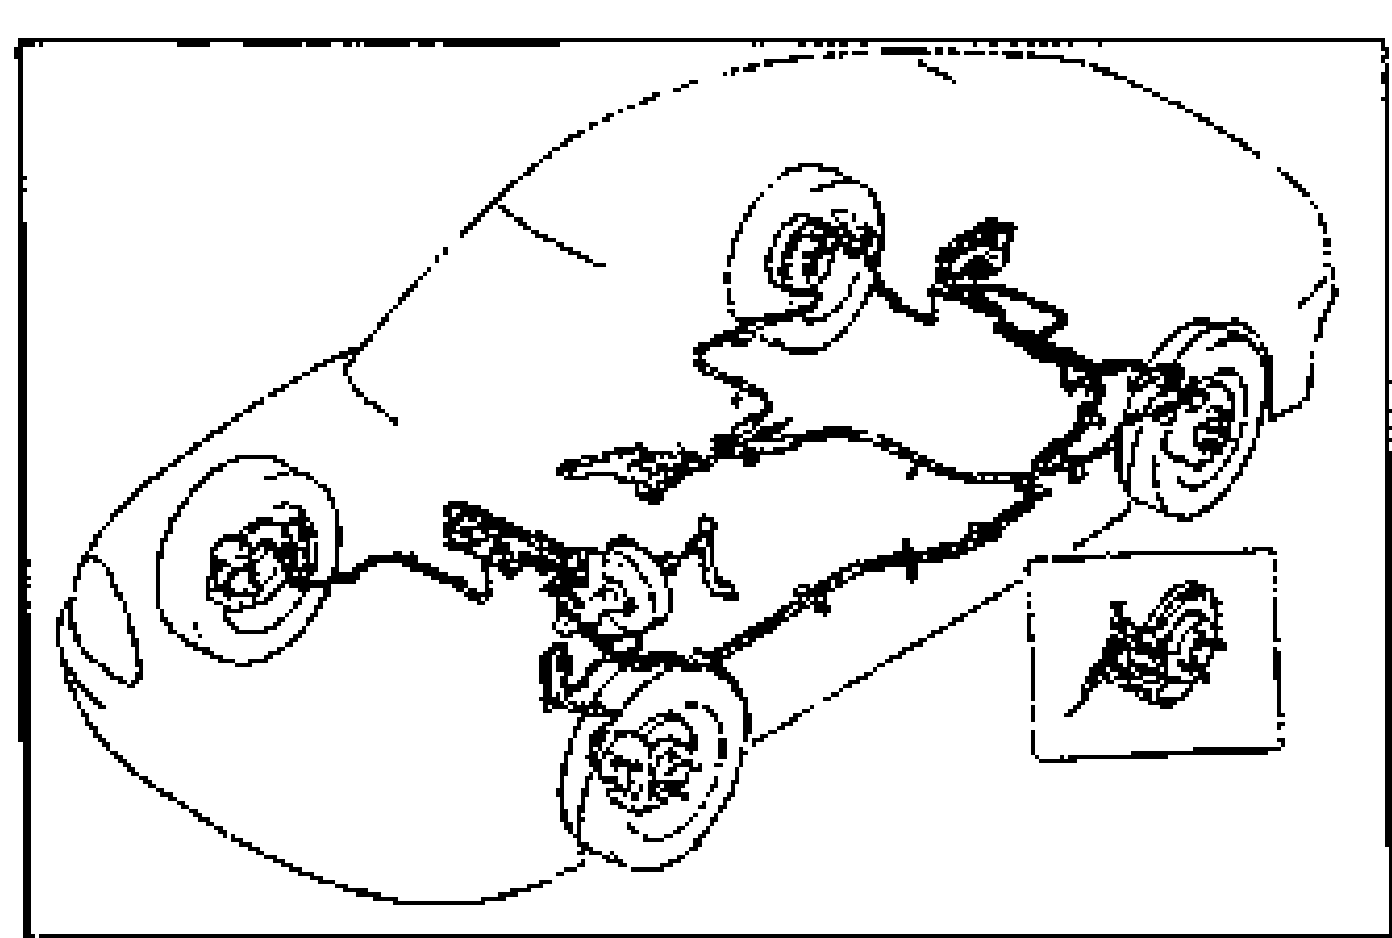
- 2Remove the bleeder cap and attach a vinyl tube to the bleeder screw.
- 3Place the other end of the vinyl tube in a clear container.
- 4One person should depress the brake pedal a few times, and then hold it in the depressed position.
- 5A second person should loosen the bleeder screw, drain out the fluid, and retighten the screw by using the SST.
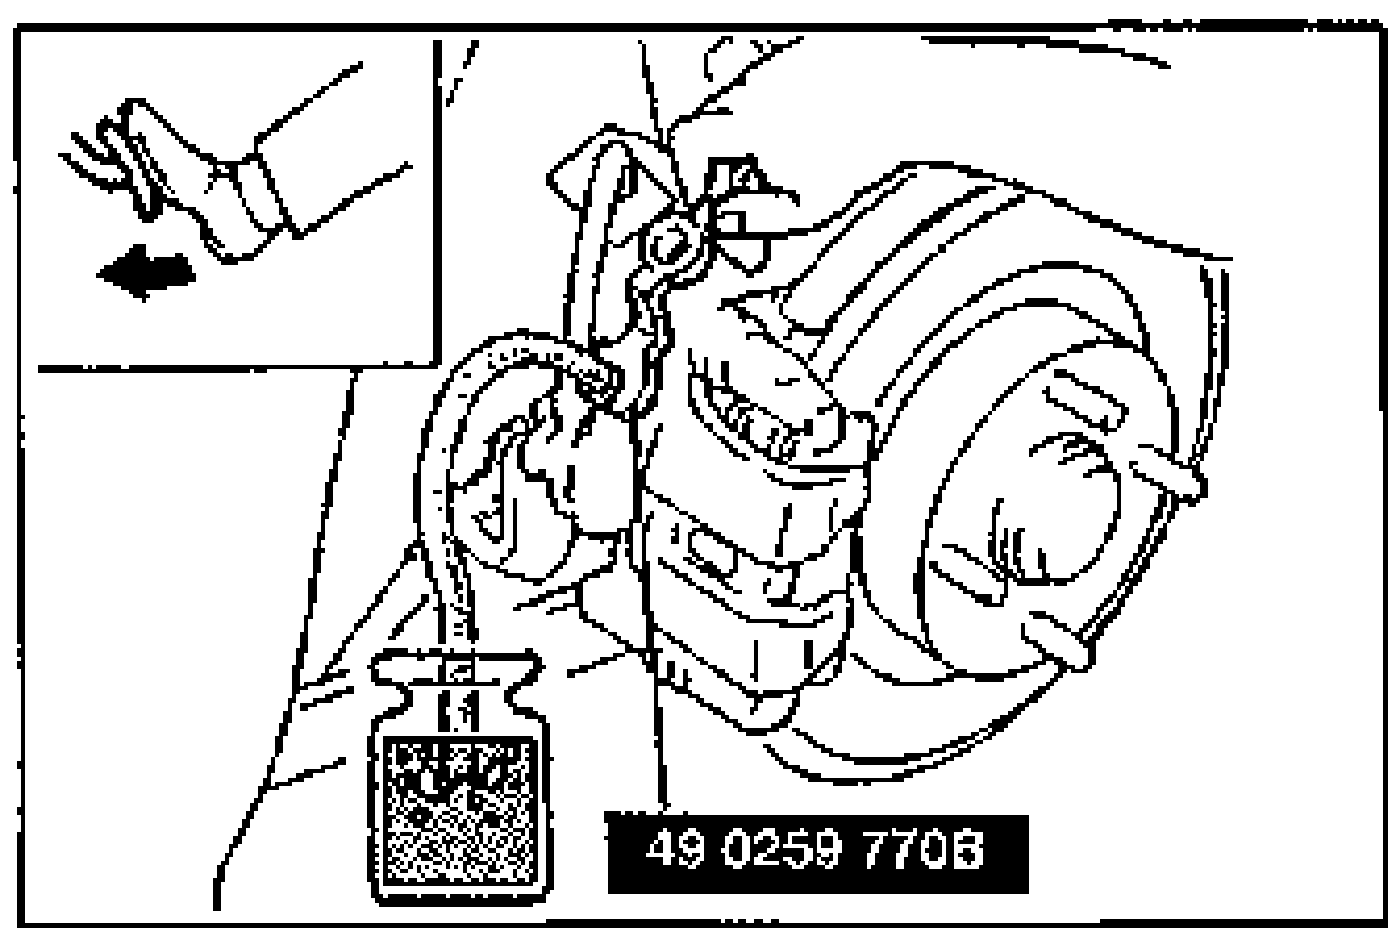
- 6Repeat step 4 and 5 until no air bubbles are seen. The reservoir should be kept about 3/4 full during bleeding to prevent air from reentering the lines.Tightening torque: 5.9—8.8 N·m {60—90 kgf·cm, 53—78 in·lbf}
- 7Check for correct brake operation.
- 8Verify that there is no fluid leakage. Wipe off any spilled fluid immediately.
- 9After bleeding the brakes, add brake fluid to MAX.
| Specification | Value |
|---|---|
| Tightening torque (bleeder screw) | ≈58 - 86N·m |
Tightening torque (bleeder screw)
58 - 86N·m