
Assembly Note - Piston assembly
P-23prose procedurePiston assembly
- 1Before assembly, clean the cylinder body inner surface and a new piston assembly by using brake fluid.
- 2Install the secondary spring assembly into the cylinder body with the larger diameter facing the cylinder body.
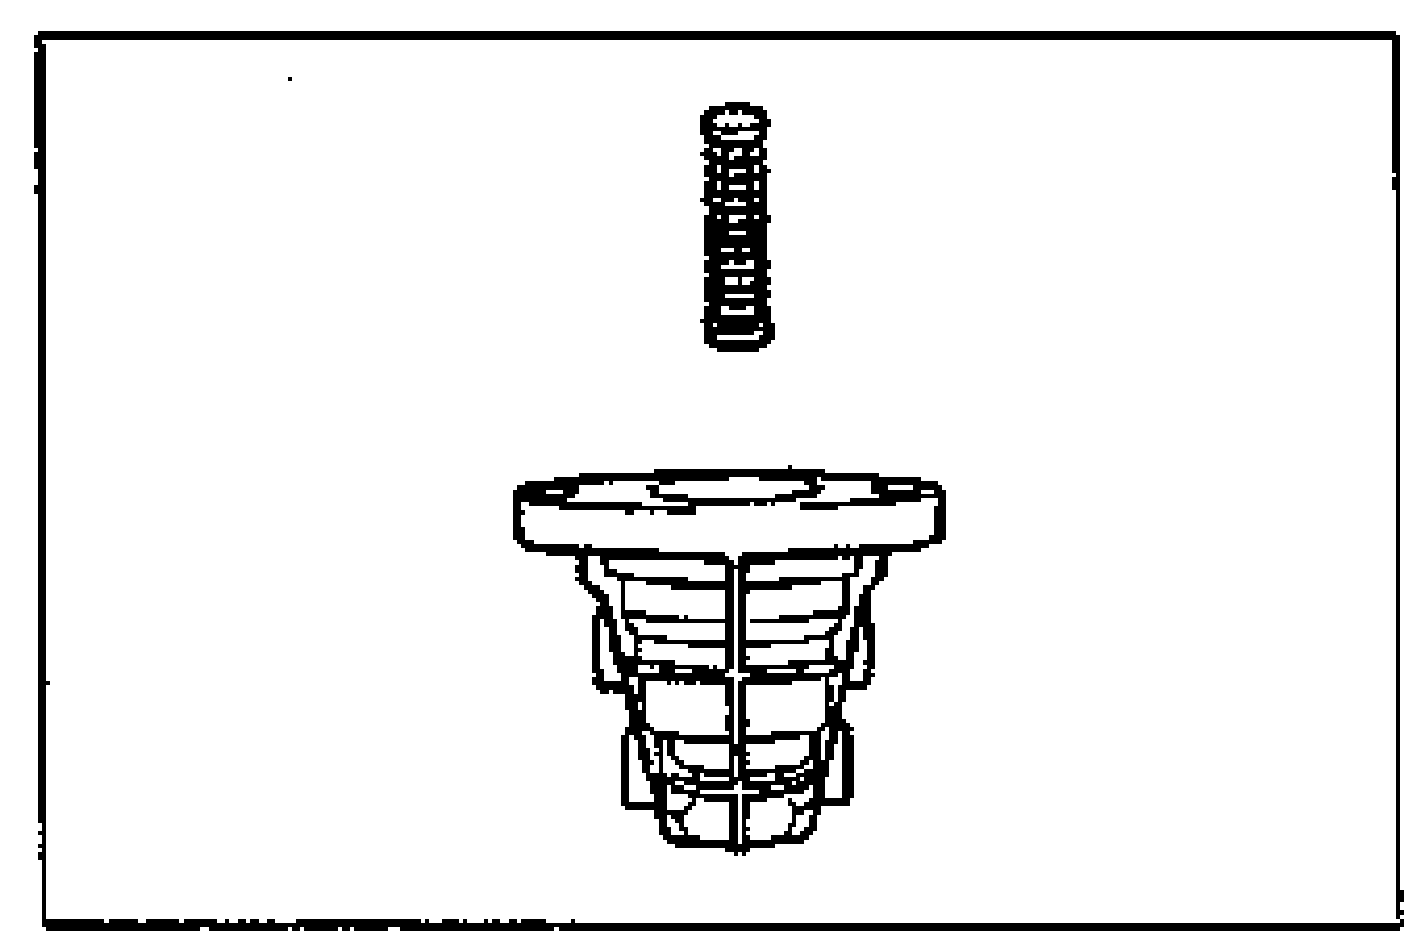
- 3Apply specified grease supplied in the repair kit to the cup of the secondary piston assembly.
- 4Install the secondary piston assembly into the cylinder body with the hole on the piston assembly facing the cylinder body.
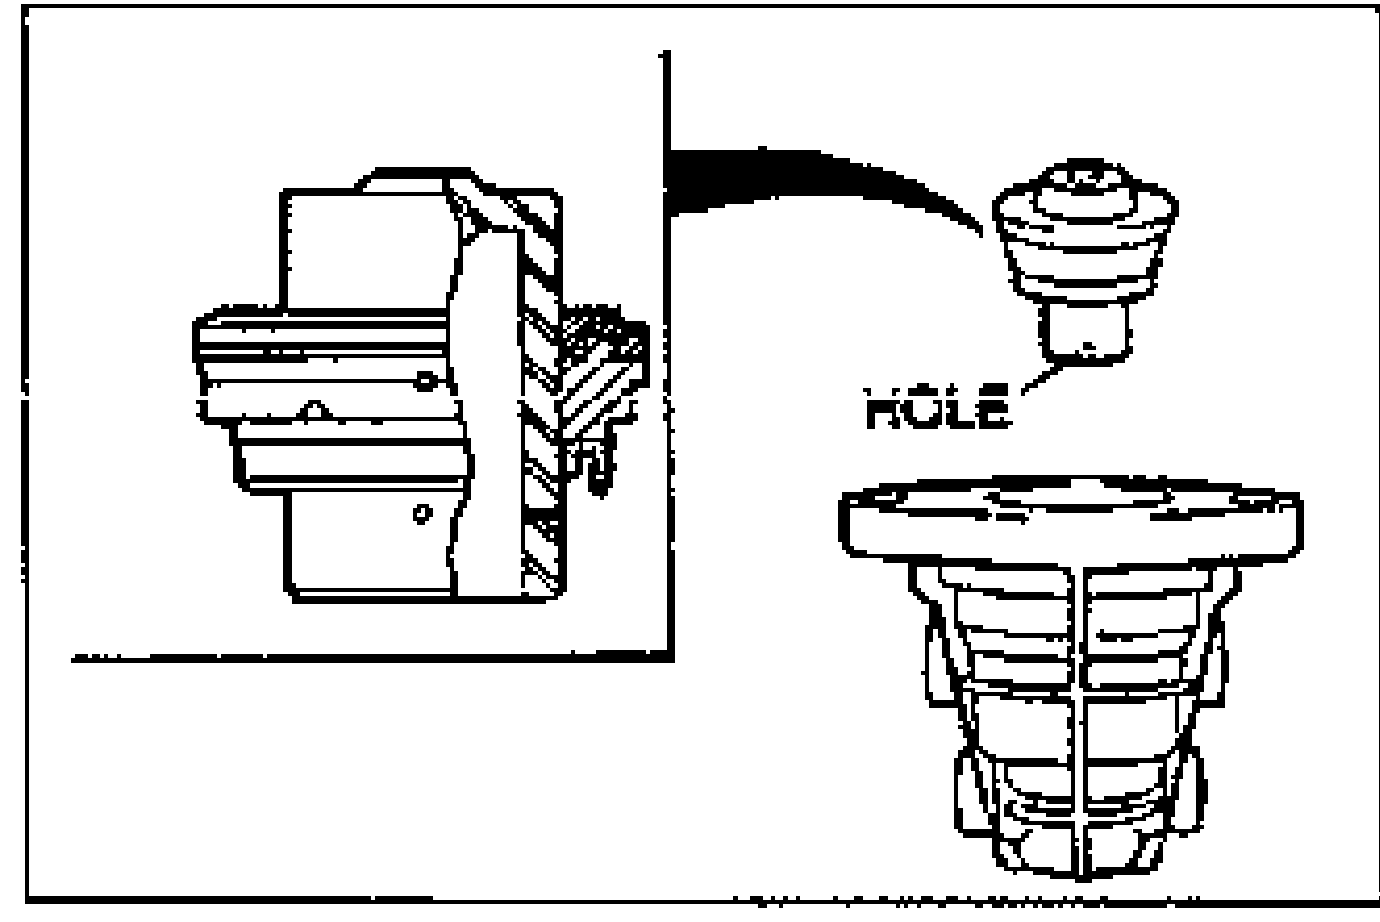
- 5Using the old sleeve of the primary piston assembly, push the secondary piston assembly to the cylinder body.
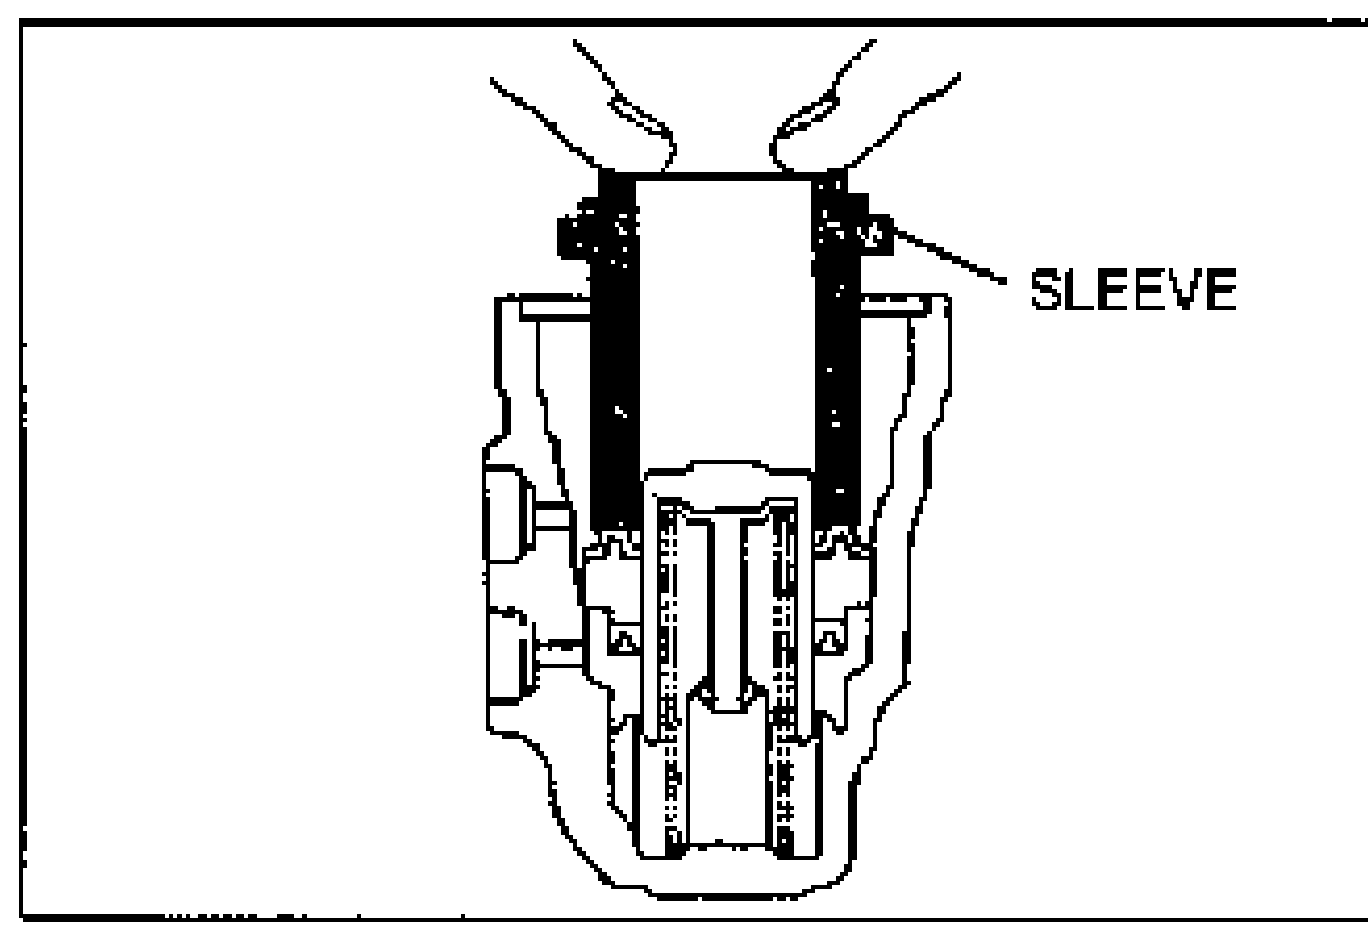
- 6Apply specified grease supplied in the repair kit to the cup of the primary piston assembly.
- 7Install the primary piston assembly into the cylinder body.
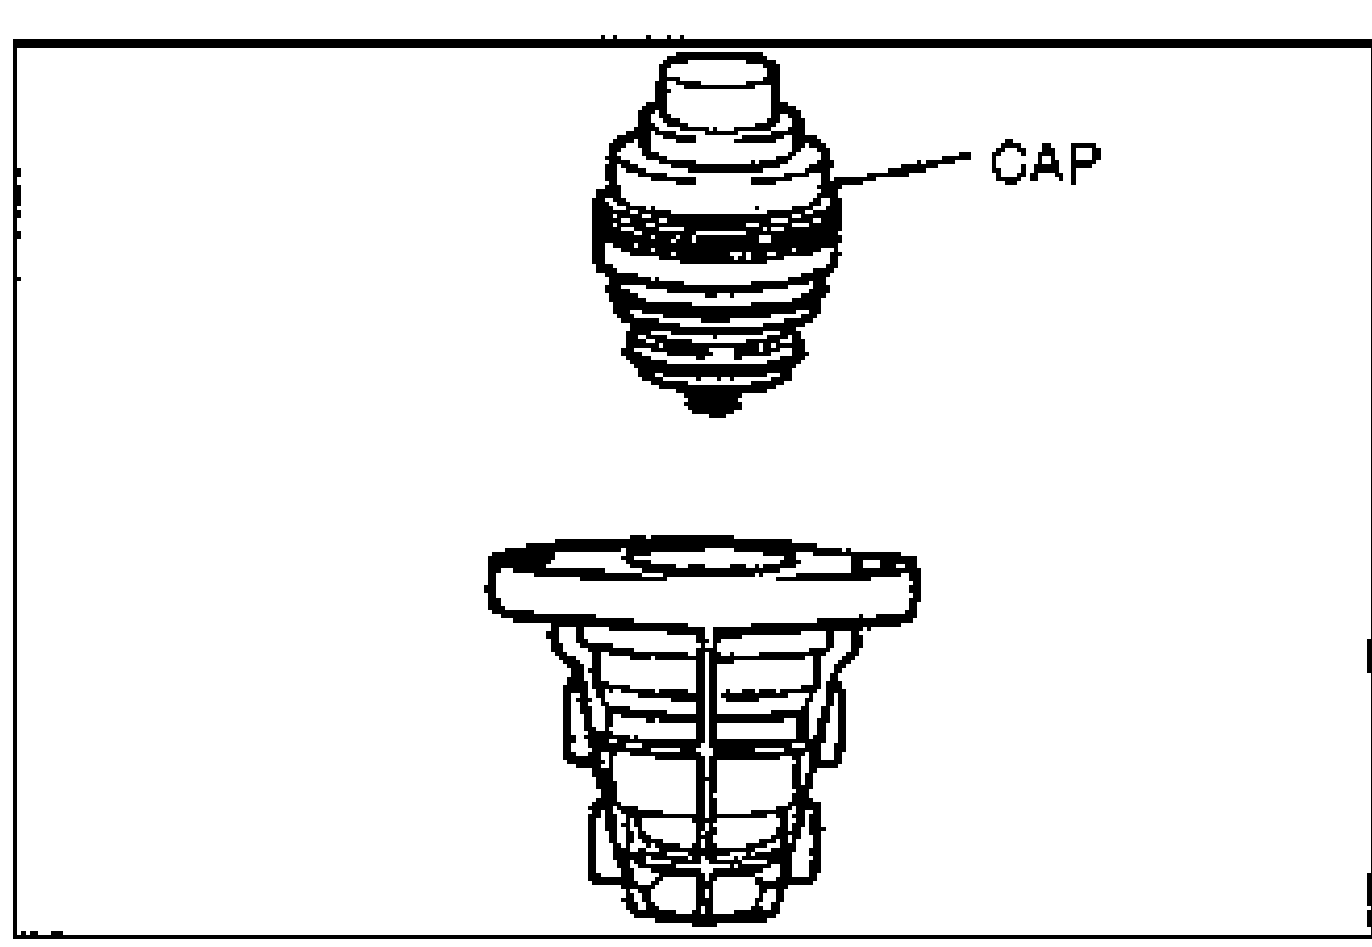
- 8Tighten the cap by using the SST.
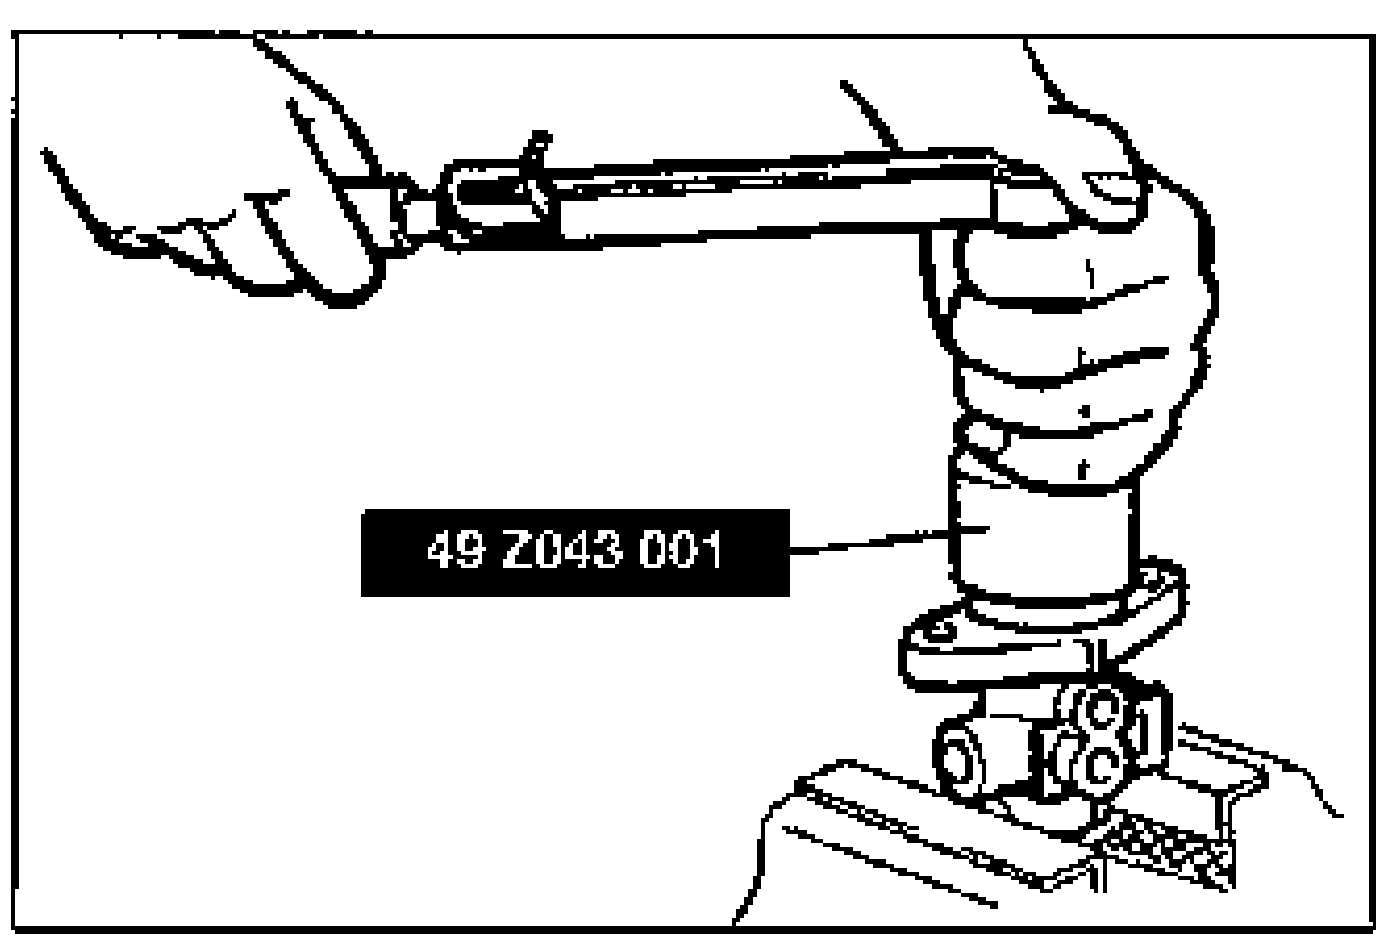
| Specification | Value |
|---|---|
| Tightening torque (cap)cap | ≈116 - 153N·m |
Tightening torque (cap)cap
116 - 153N·m