
Front Brake (Disc) - Disc pad Quick inspection, Replacement, Installation Note
P-32parts diagramQuick inspection (on-vehicle)
Disc pad
Disc pad Quick inspection (on-vehicle)
- 1Jack up the front of the vehicle and support it with safety stands.
- 2Remove the wheel and tires.
- 3Verify the remaining thickness of the pads.
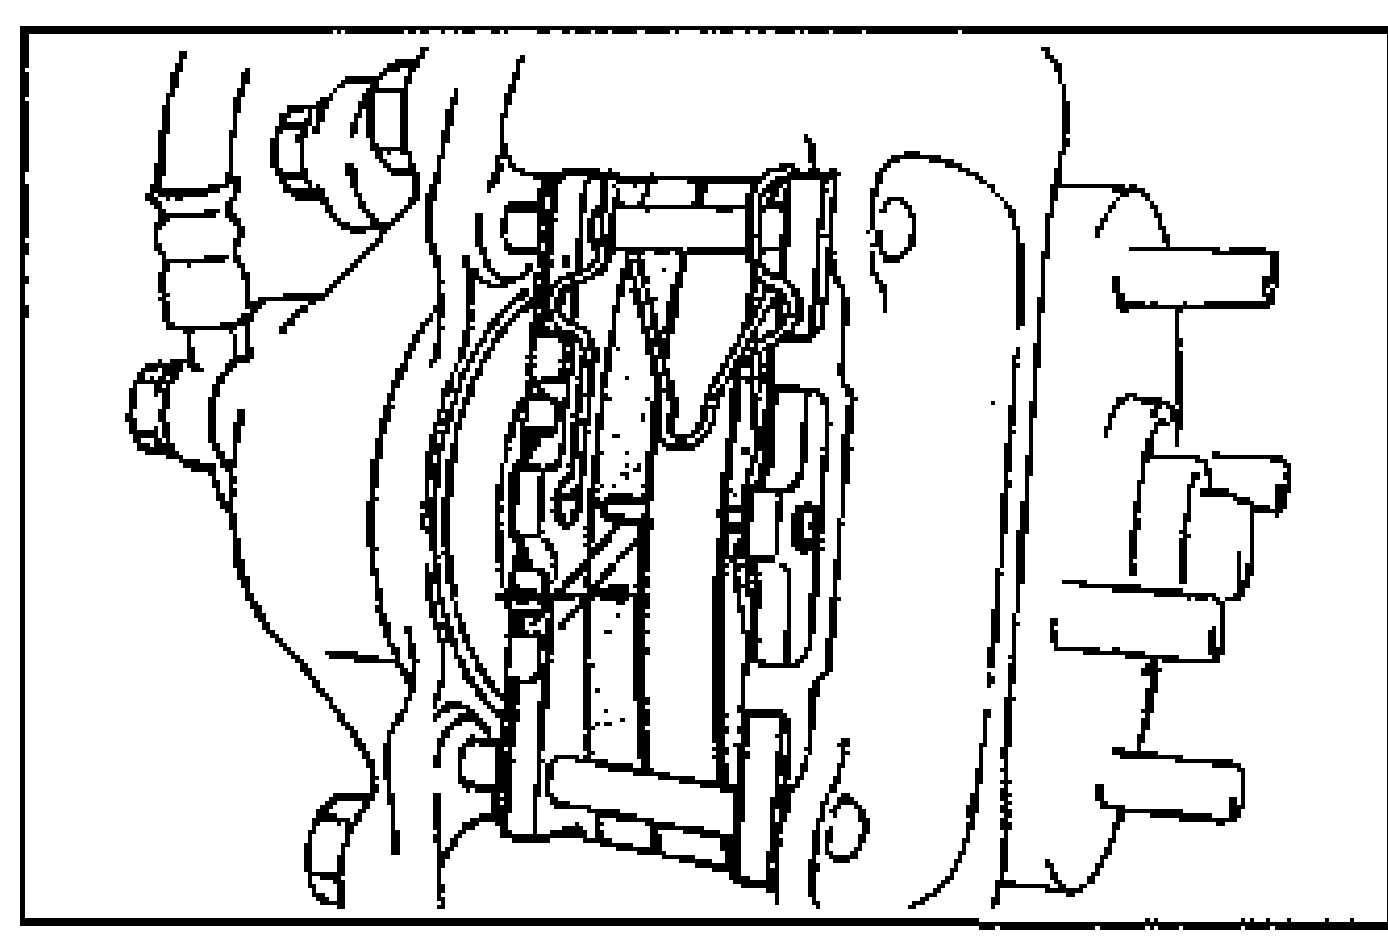
| Specification | Value |
|---|---|
| Thickness (disc pad)min | 2.0mm {0.08 in} |
Thickness (disc pad)min
2.0mm {0.08 in}
Replacement
Disc pad
Disc pad Replacement
- 1Remove in the order shown in the figure.
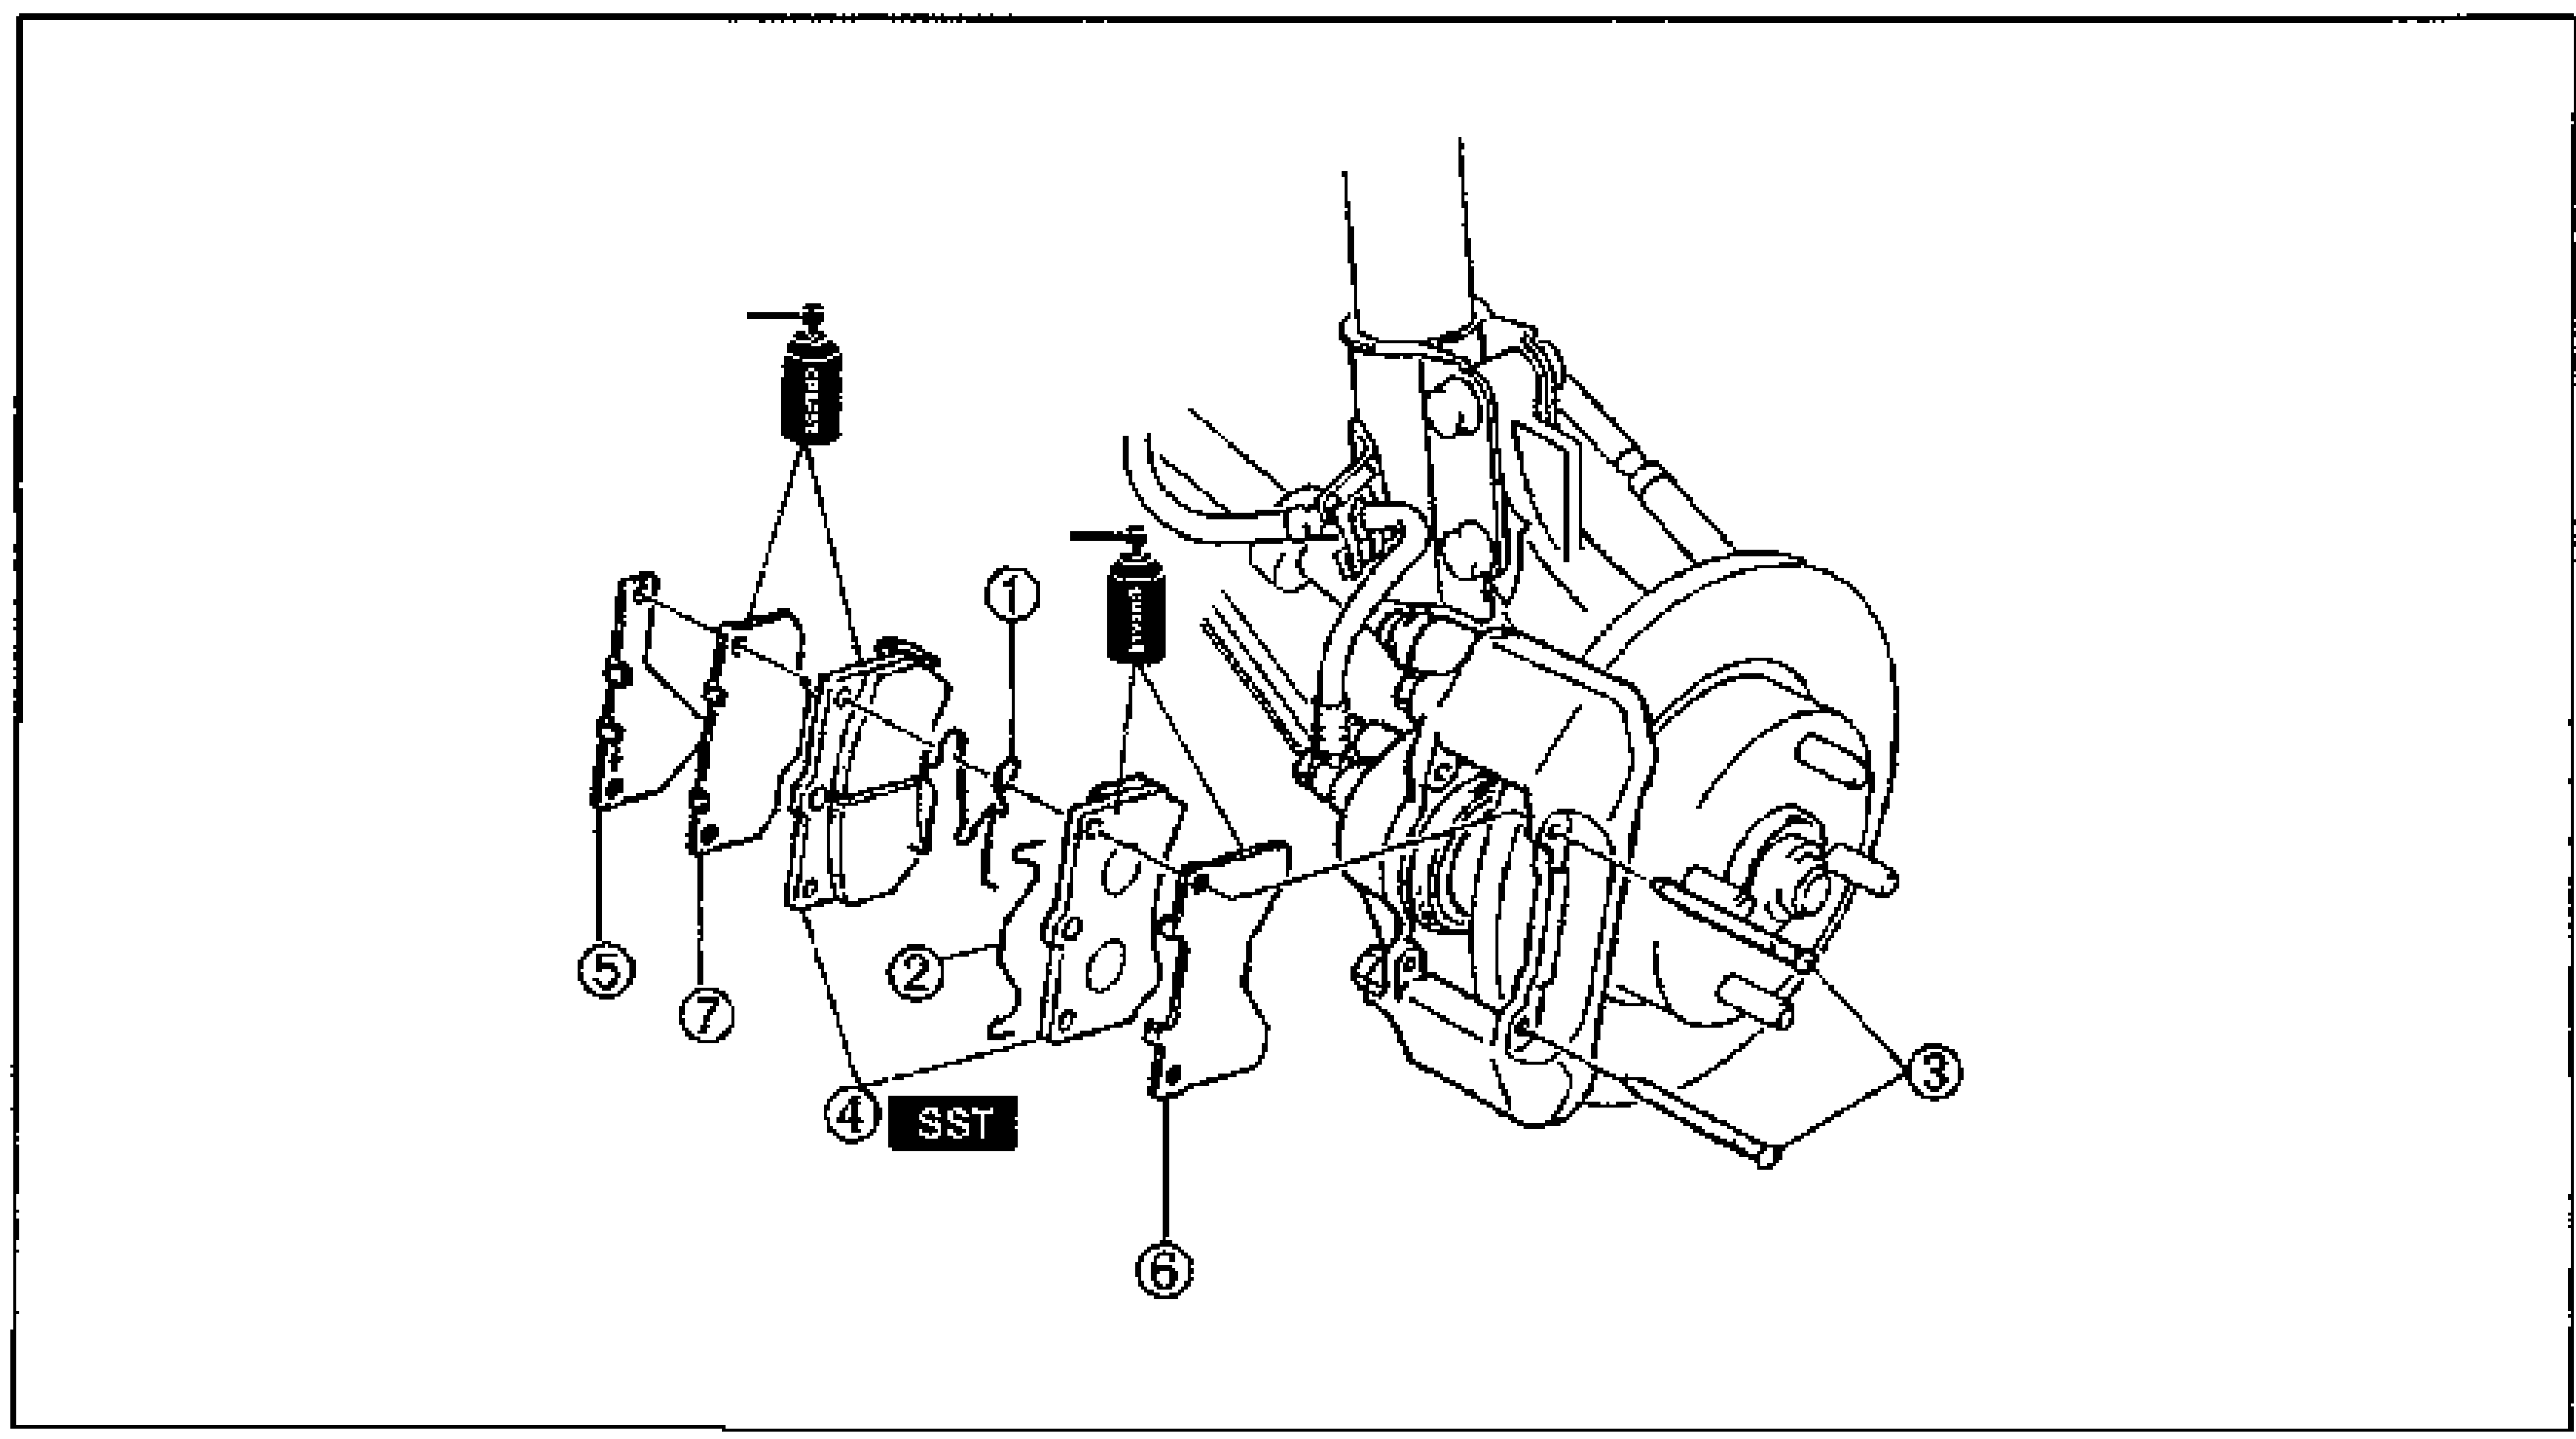
- 2Install in the reverse order of removal, referring to Installation Note.
Parts DiagramFig. fig2
Installation Note
Disc pad
When installing the disc pads, push the piston fully inward by using the SST and the old pad.