
Conventional Brake System — Rear Brake (Disc): Quick Inspection & Disc Pad Replacement
P-37parts diagramREAR BRAKE (DISC)
Quick inspection (on-vehicle)
Disc pad
Rear Disc Pad Quick Inspection (on-vehicle)
- 1Jack up the rear of the vehicle and support it with safety stands.
- 2Remove the wheels.
- 3Sight through the caliper inspection hole and verify the remaining thickness of the pads.
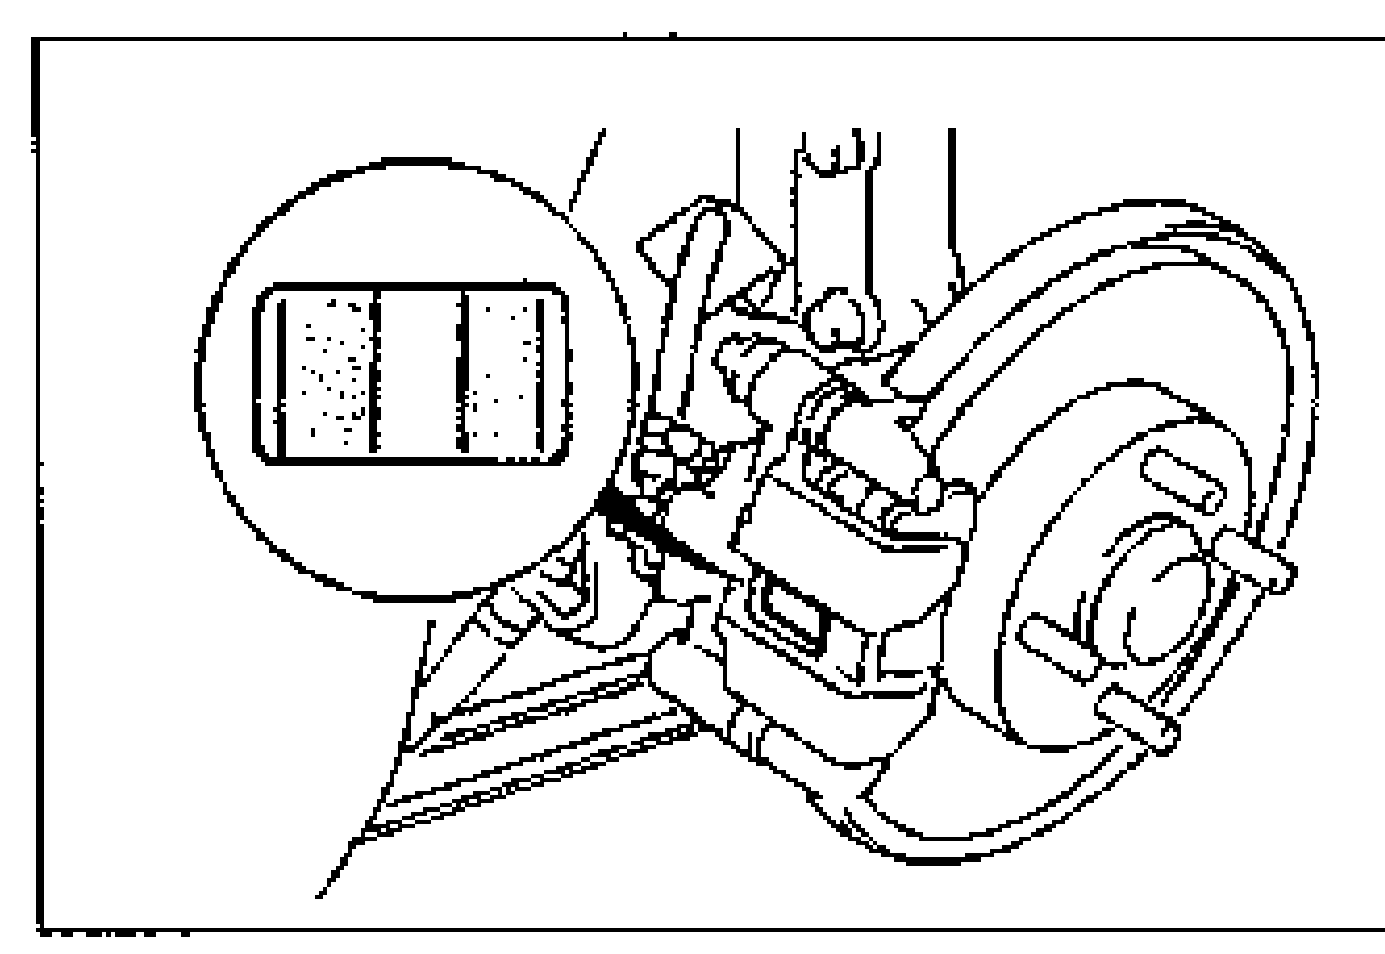
- 4Replace the pads on the axle as a set if they are at or less than the minimum thickness.
| Specification | Value |
|---|---|
| Thicknessmin. | 1.0mm {0.04 in} |
Thicknessmin.
1.0mm {0.04 in}
Replacement
Disc pad
Rear Disc Pad Replacement
- 1Remove in the order shown in the figure, referring to Removal Note.
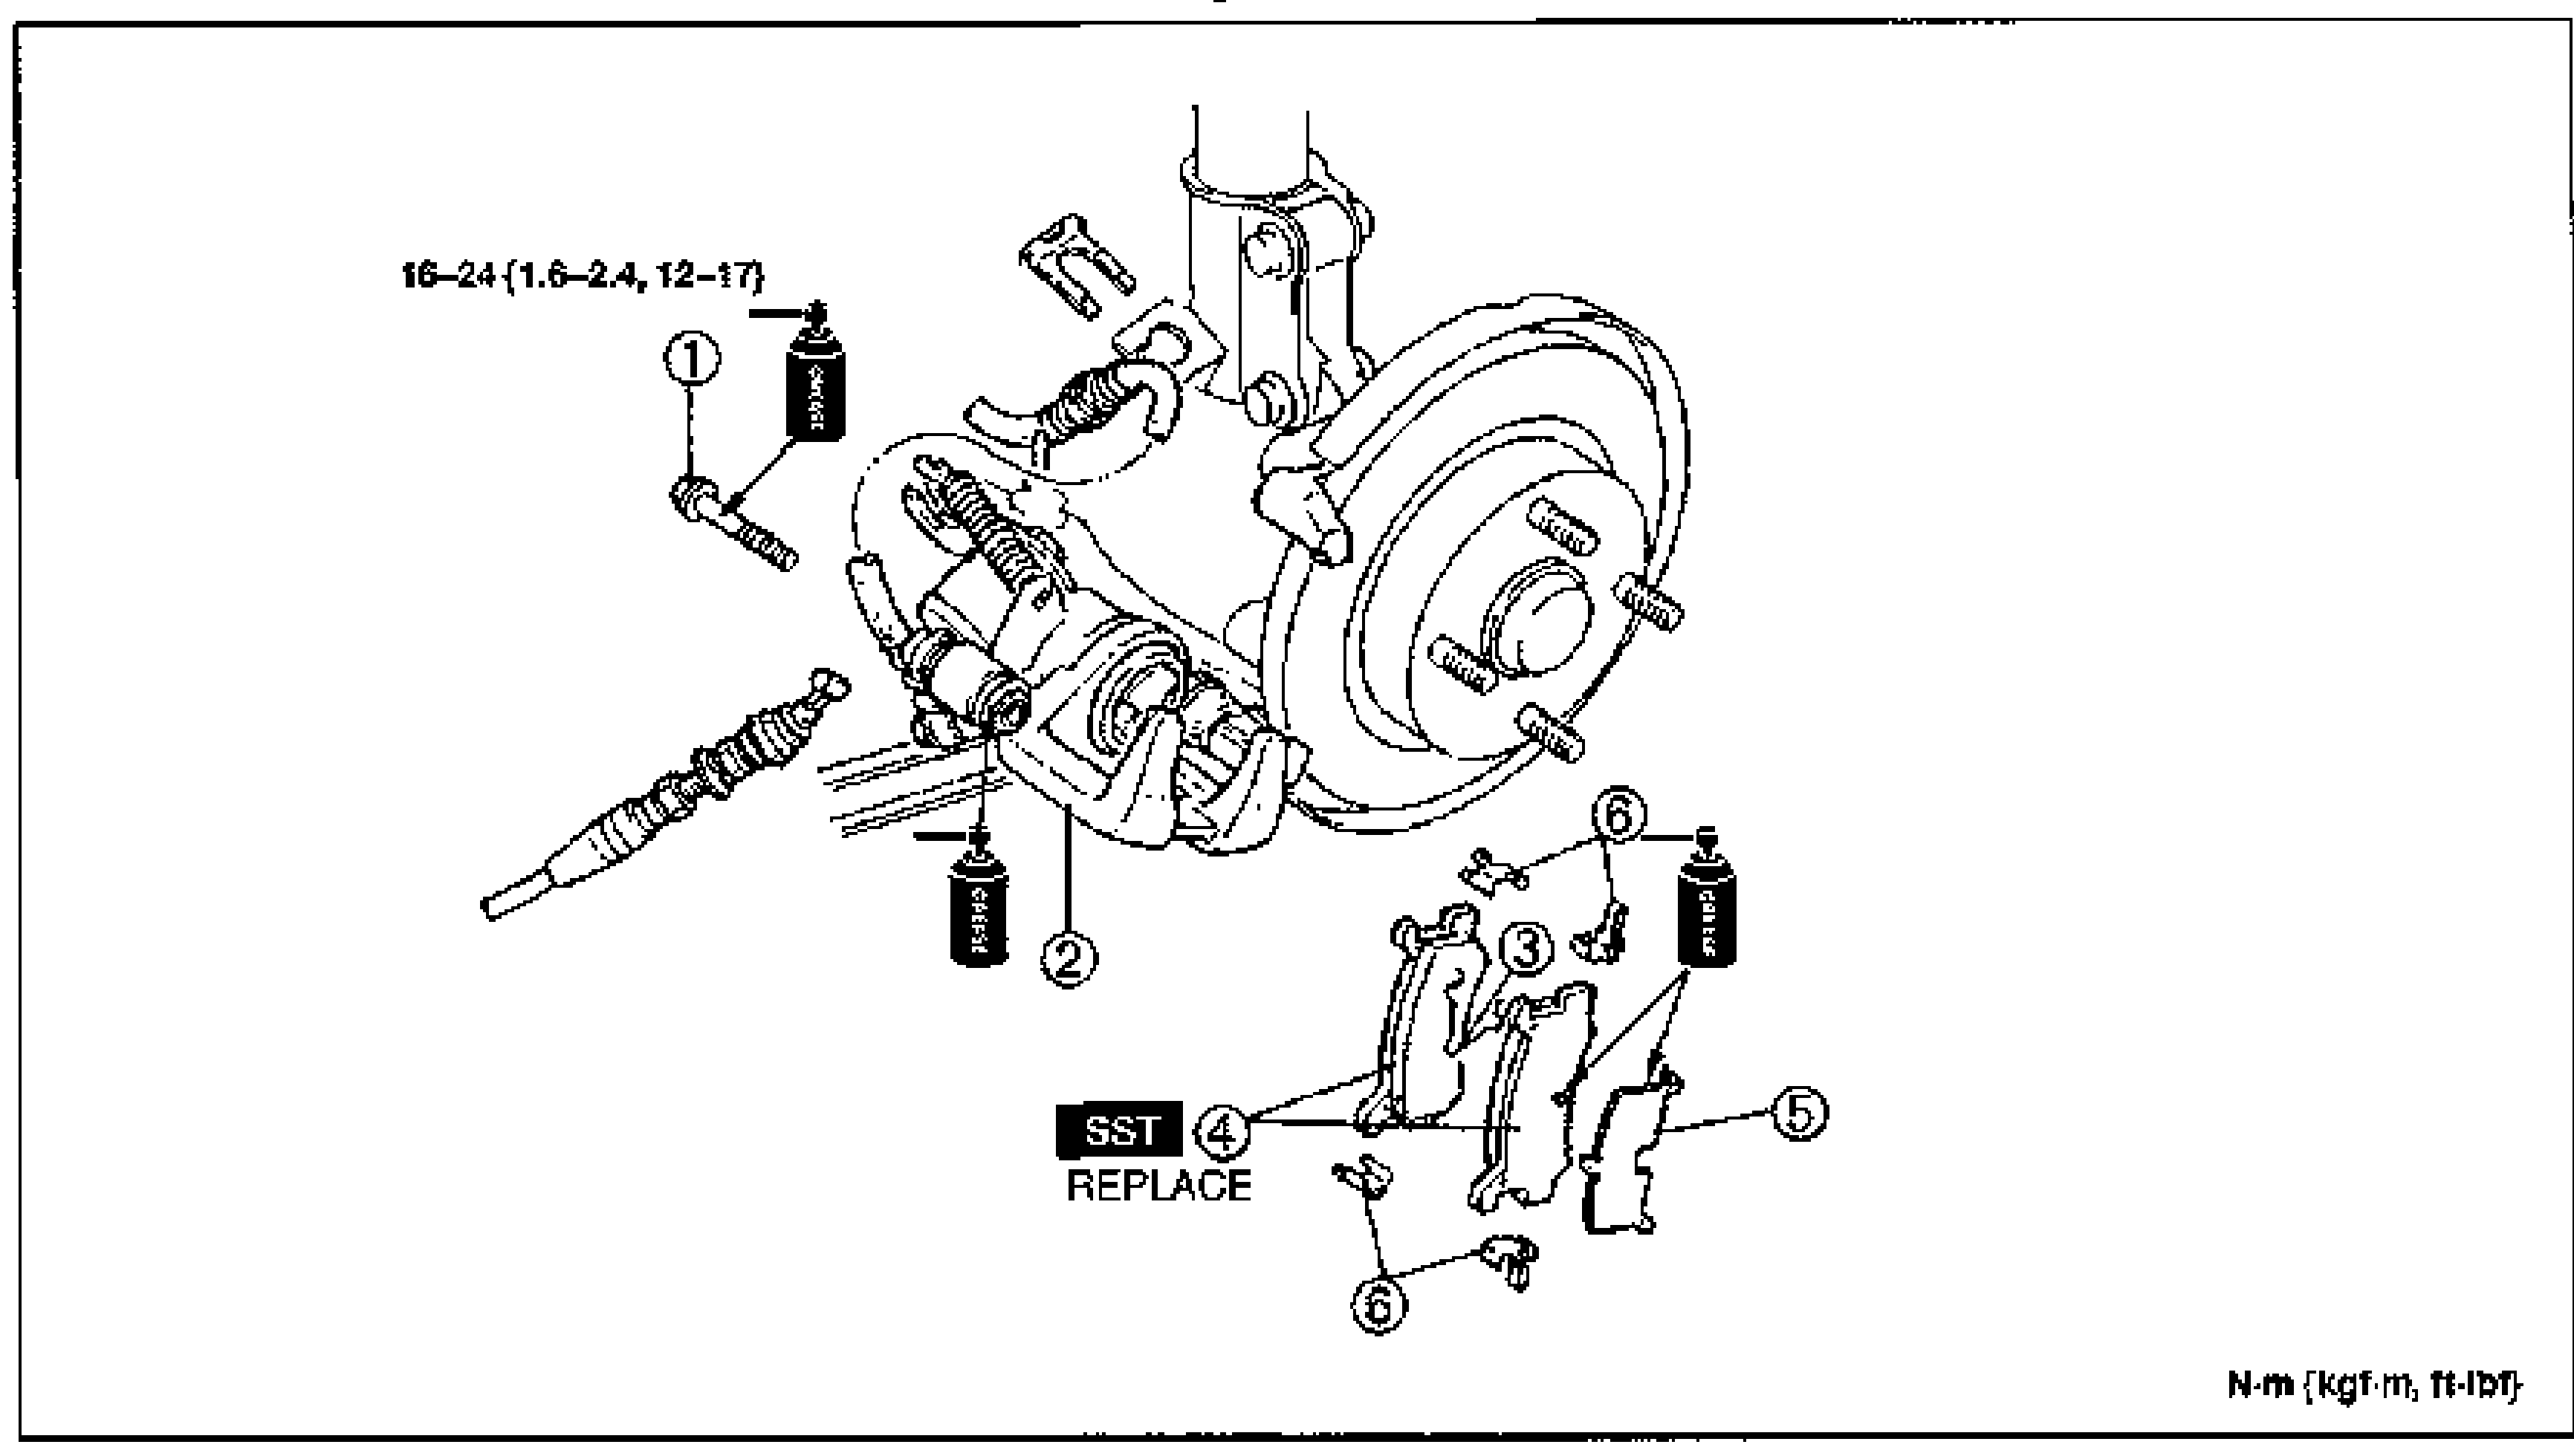
- 2Inspect all parts and repair or replace as necessary.
- 3Install in the reverse order of removal, referring to Installation Note.
Parts DiagramFig. fig2
Removal Note
Disc pad
Install the piston with the SST by turning it clockwise until it stops.