
Power Brake Unit - Quick inspection (on-vehicle)
P-26prose procedureQuick inspection (on-vehicle)
Power brake unit function Check (Simple method)
Step 1
- 1With the engine stopped, depress the pedal a few times.
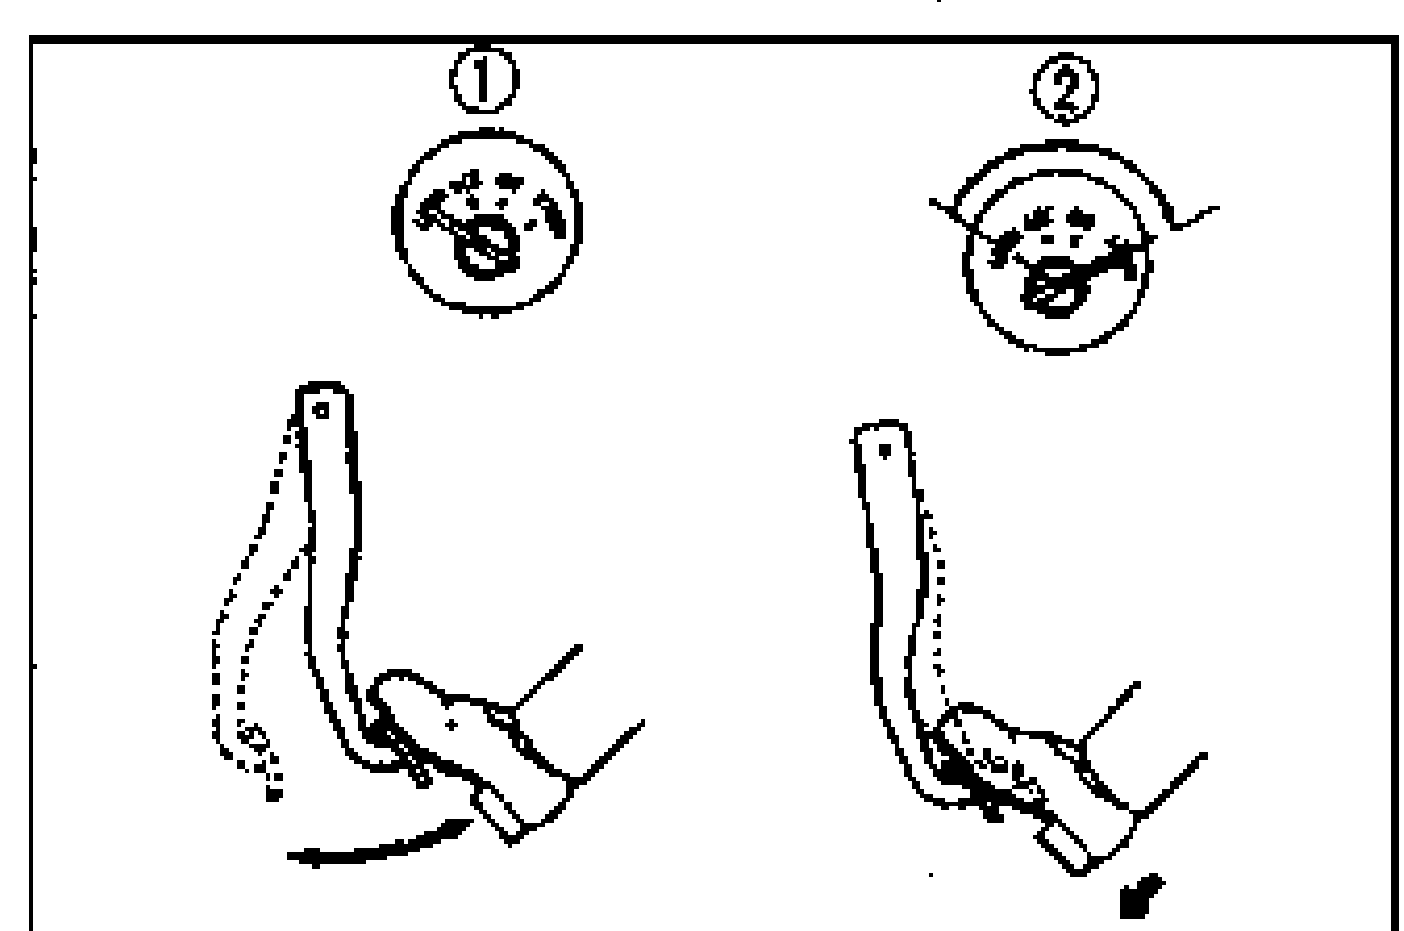
- 2With the pedal depressed, start the engine.
- 3If immediately after the engine starts the pedal moves down slightly, the unit is operating.
Step 2
- 1Start the engine.
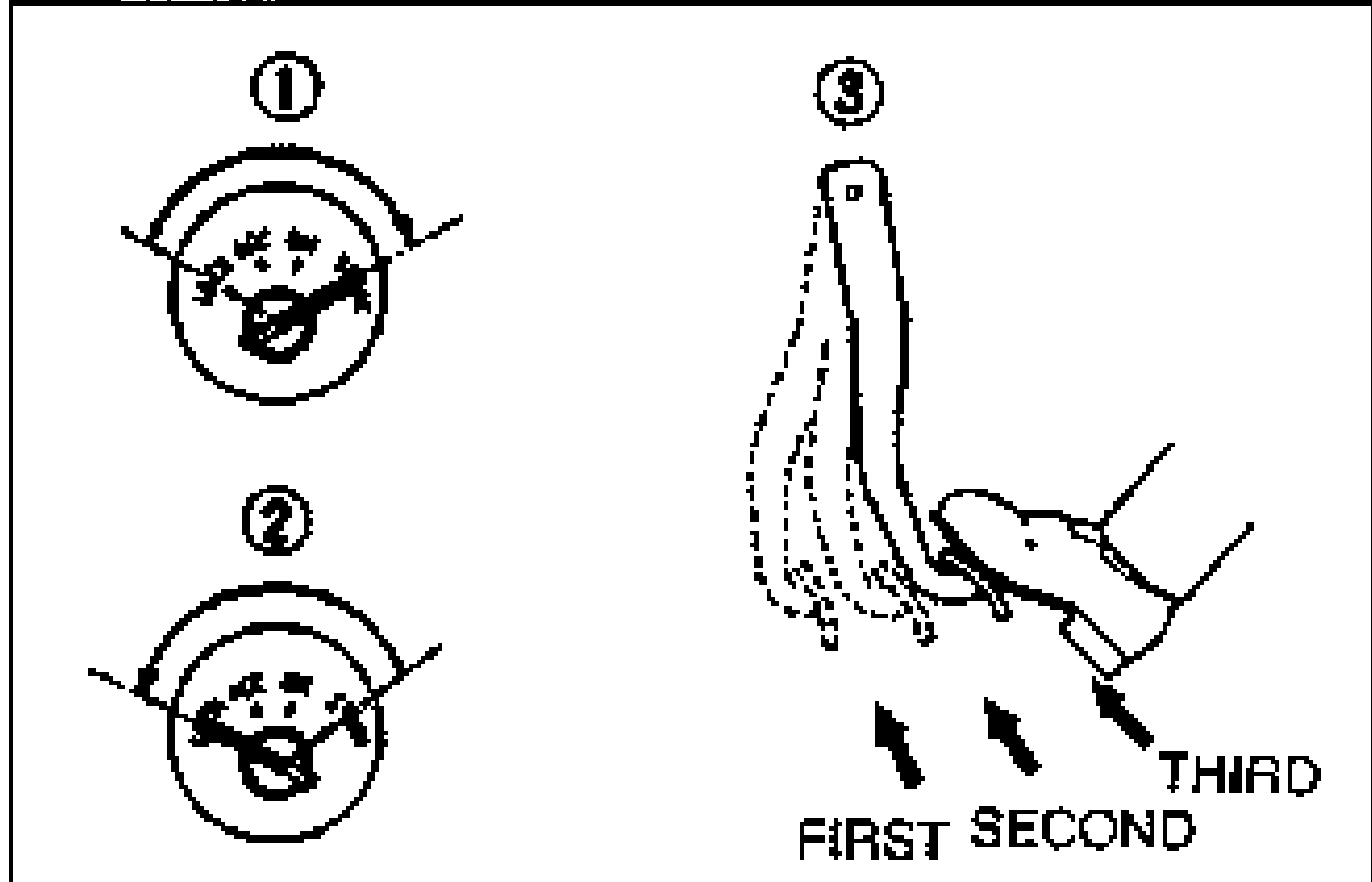
- 2Stop the engine after it has run for 1 or 2 minutes.
- 3Depress the pedal with the usual force.
- 4If the first pedal stroke is long and becomes shorter with subsequent strokes, the unit is operating.
- 5If a problem is found, inspect for damage of the check valve or vacuum hose and examine the installation. Repair if necessary, and inspect it once again.
Step 3
- 1Start the engine.
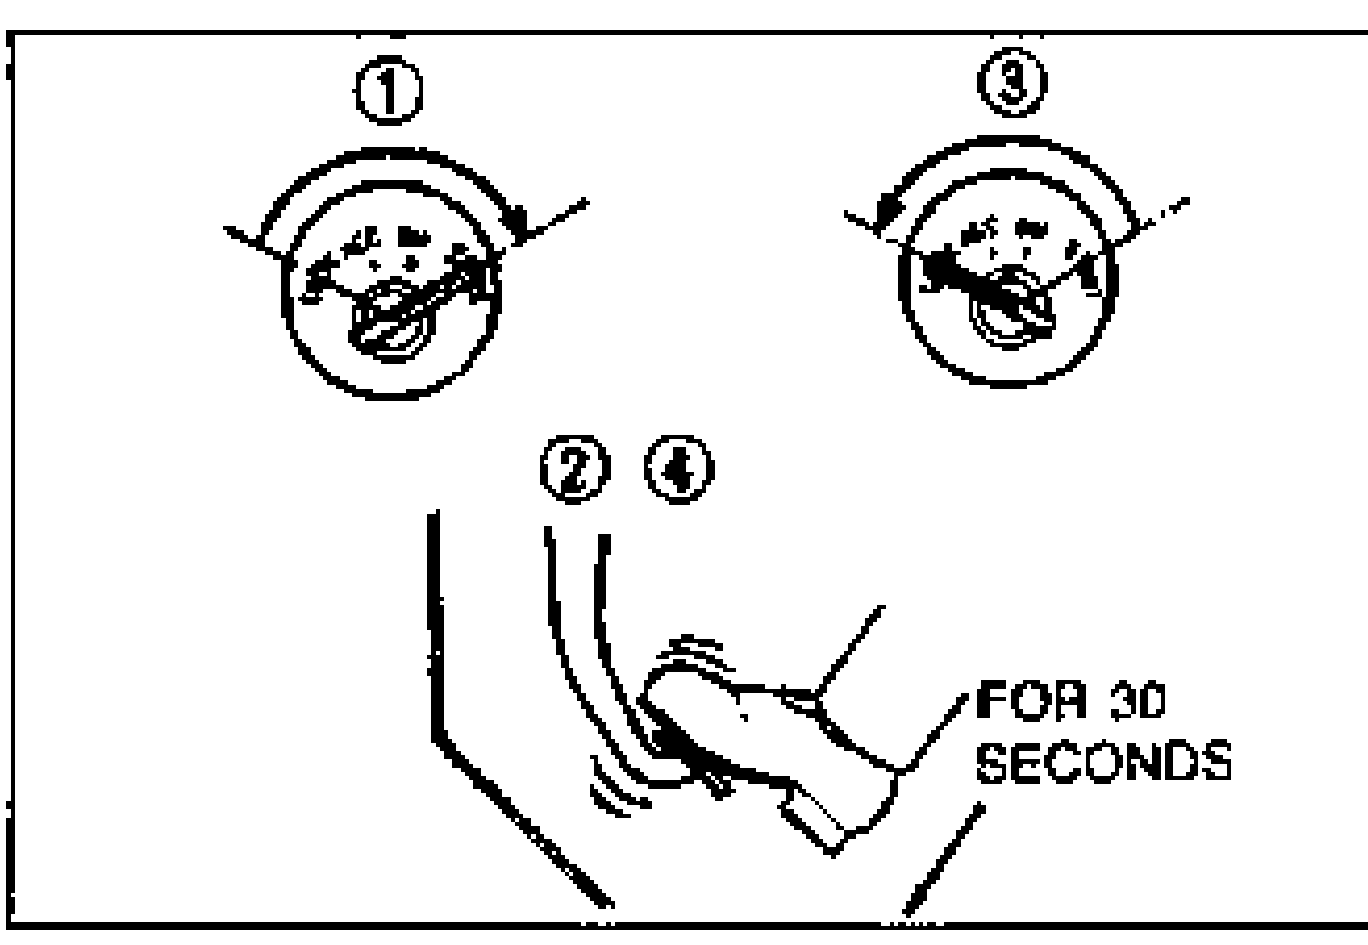
- 2Depress the pedal with the usual force.
- 3Stop the engine with the pedal held depressed.
- 4Hold the pedal down for about 30 seconds.
- 5If the pedal height does not change, the unit is operating.
- 6If there is a problem, check for damage to the check valve or vacuum hose, and check the connection. Repair if necessary and check once again.
If the nature of the problem is still not clear after the 3 steps above, follow the more detailed check described in "Method-using tester," below.
(Inspection using gauges)
Connect the SST gauges, vacuum gauge A, and pedal depression force gauge B as shown. Bleed the air from the SST gauges before performing the following tests.
a) Checking for vacuum loss - Unloaded condition
Checking for vacuum loss (unloaded condition)
- 1Start the engine.
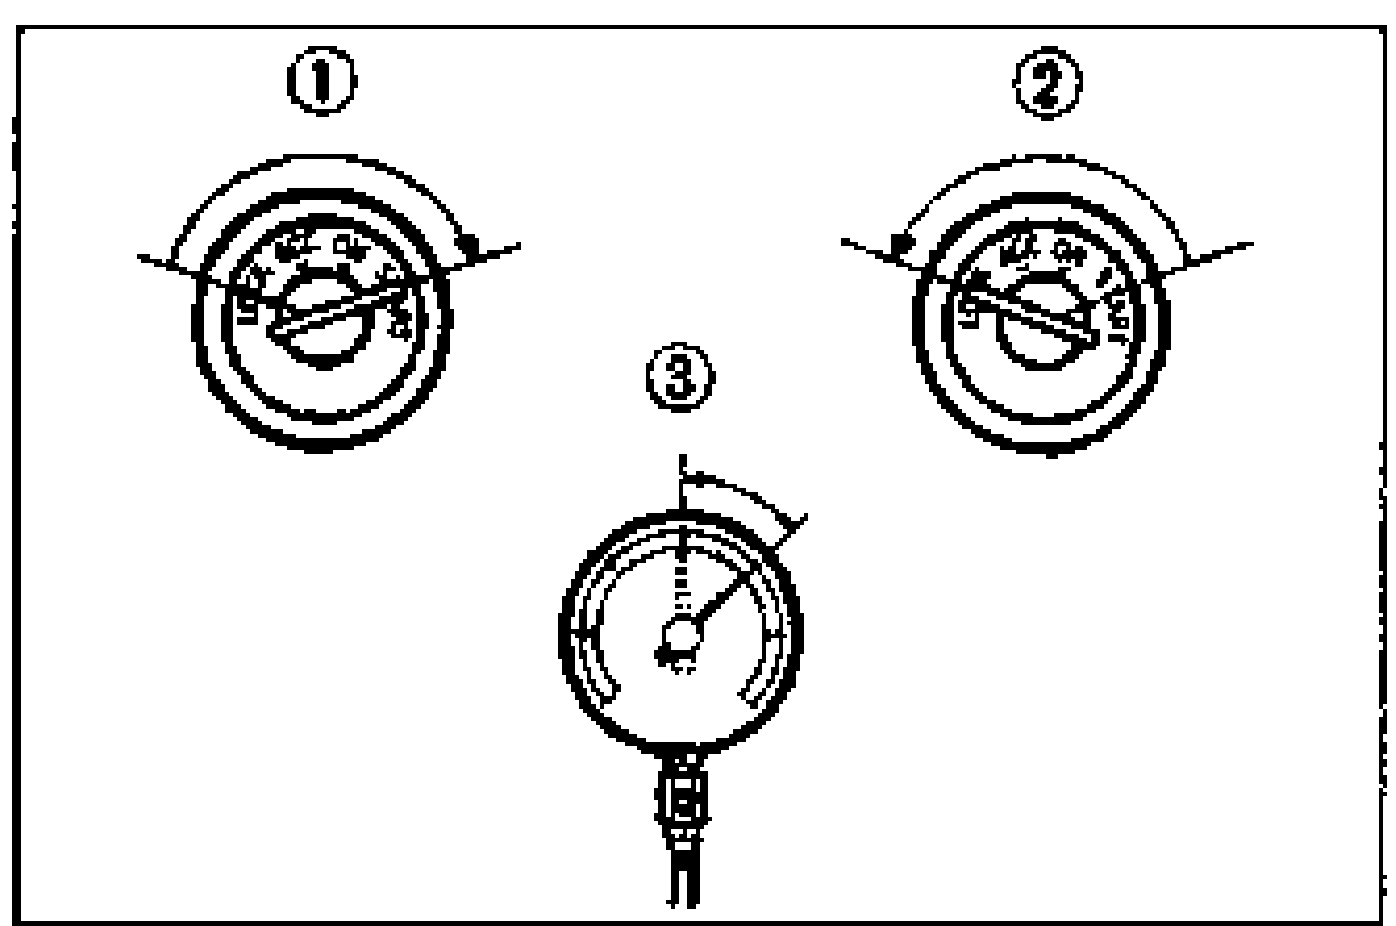
- 2Stop the engine when the vacuum gauge reading reaches 66.7 kPa {500 mmHg, 19.7 inHg}.
- 3Observe the vacuum gauge for 15 seconds. If the gauge shows 63.3—66.7 kPa {475—500 mmHg, 18.7—19.7 inHg}, the unit is operating.
| Specification | Value |
|---|---|
| Vacuum gauge reading (stop engine)unloaded | 66.7kPa {500 mmHg, 19.7 inHg} |
| Vacuum gauge after 15 secondsunit operating | 63.3—66.7kPa {475—500 mmHg, 18.7—19.7 inHg} |
Vacuum gauge reading (stop engine)unloaded
66.7kPa {500 mmHg, 19.7 inHg}
Vacuum gauge after 15 secondsunit operating
63.3—66.7kPa {475—500 mmHg, 18.7—19.7 inHg}