
FUEL INJECTOR - Installation Note
F2-116prose procedureInstallation Note
Fuel Injector
- 1Use new O-rings.
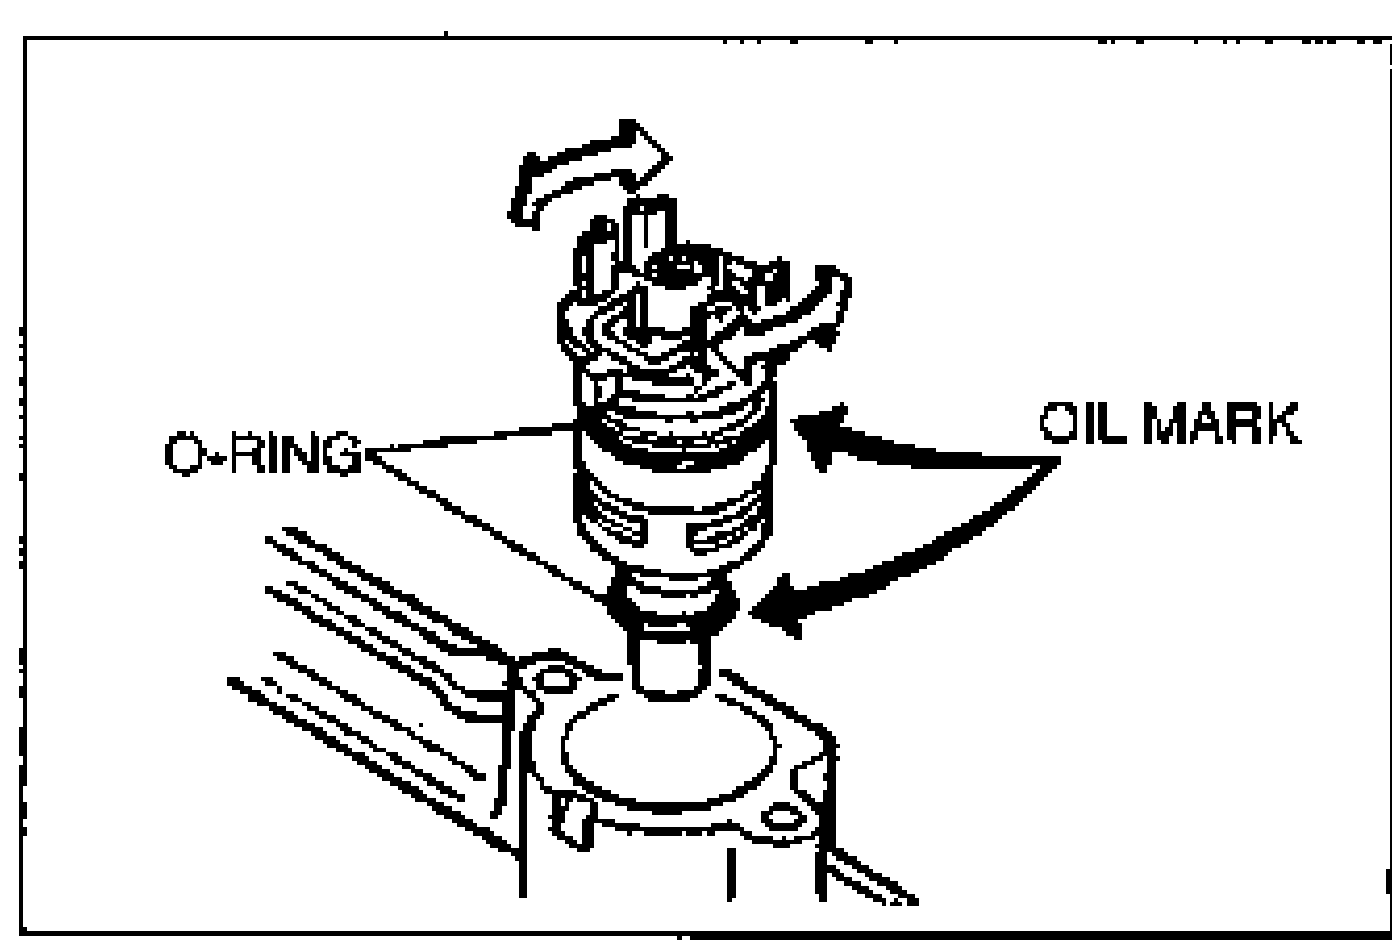
- 2Apply a small amount of clean engine oil to the O-rings before installing them.
- 3Check the inside of the fuel distributors for fuel deposits, and clean them with gasoline if necessary.
- 4Fit the fuel injector squarely into the fuel distributor, and gradually screw and install it.
- 5Fit the injector tab into the fuel distributor notch.
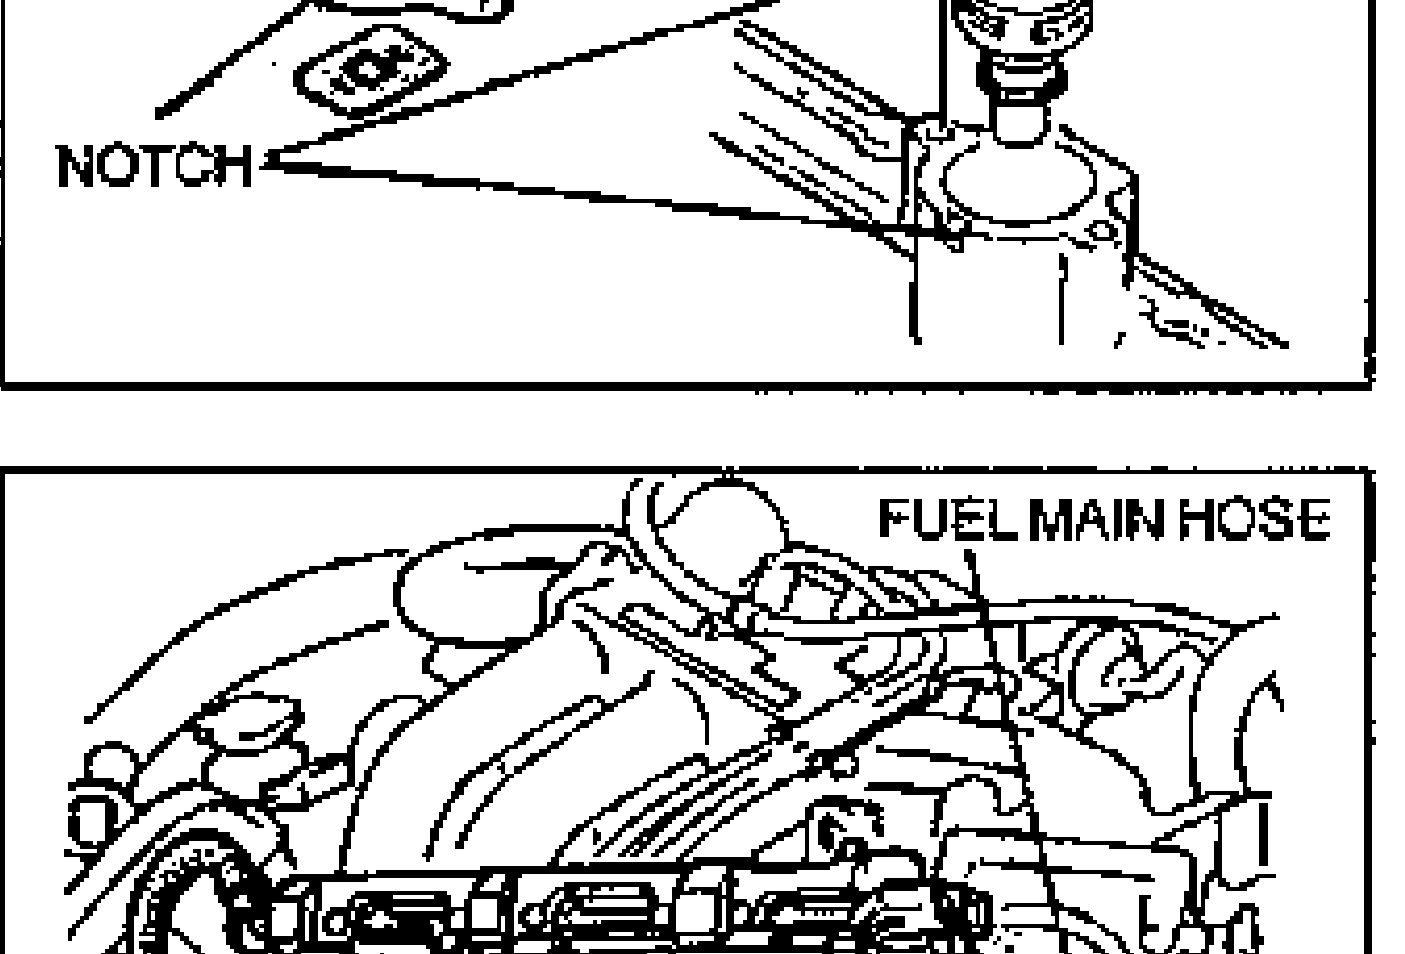
- 6Install the harness in the reverse order of removal.
Fuel leakage test
- 1Install the fuel hoses shown in the figure.
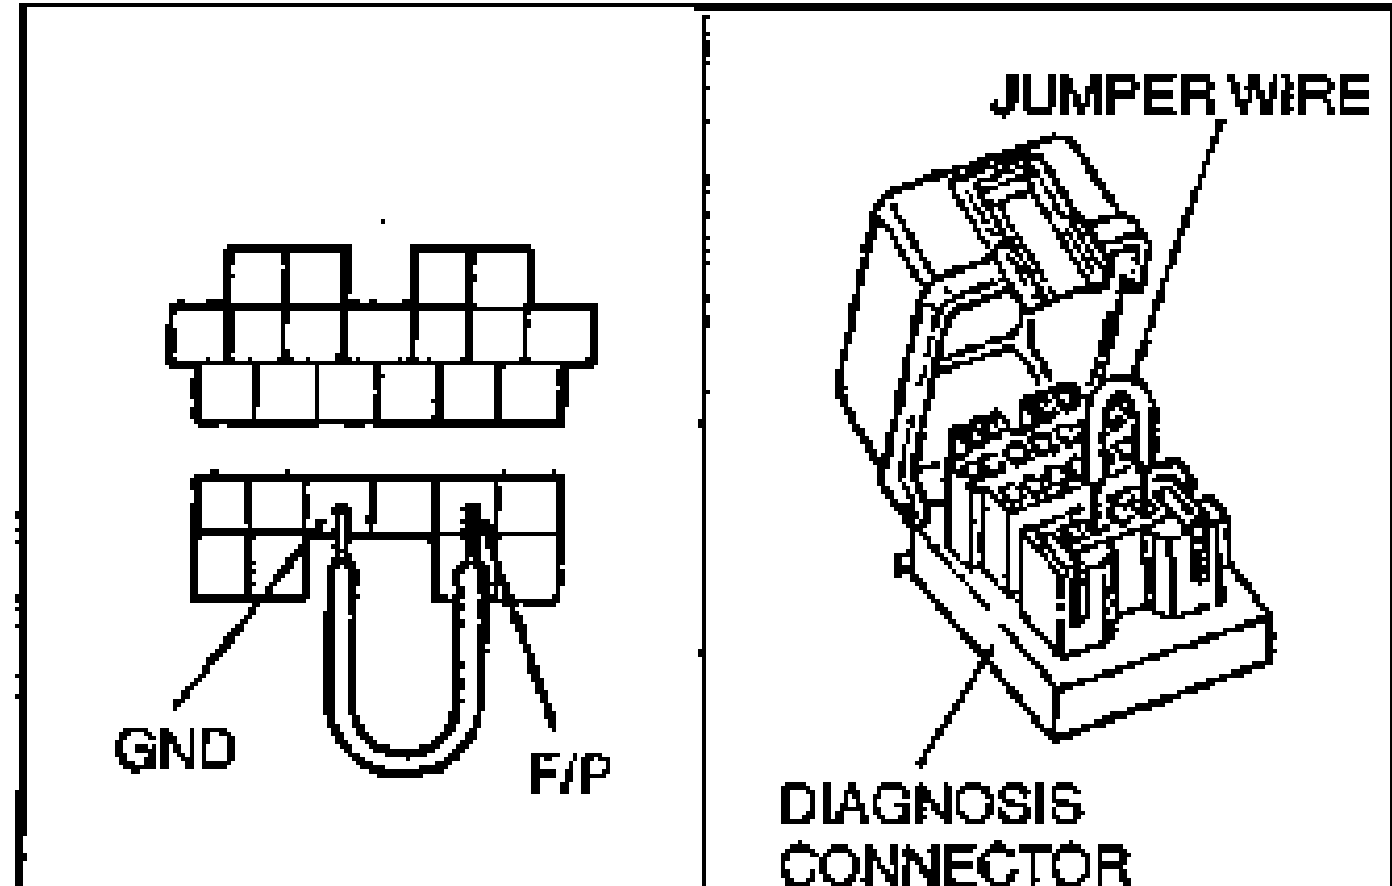
- 2Connect the data link connector terminals F/P and GND by using a jumper wire.
- 3Turn the ignition switch to ON and check for fuel leaks from the fuel distributor.
- 4If fuel leaks, check the fuel injector O-ring and fuel distributor.
Fuel distributor
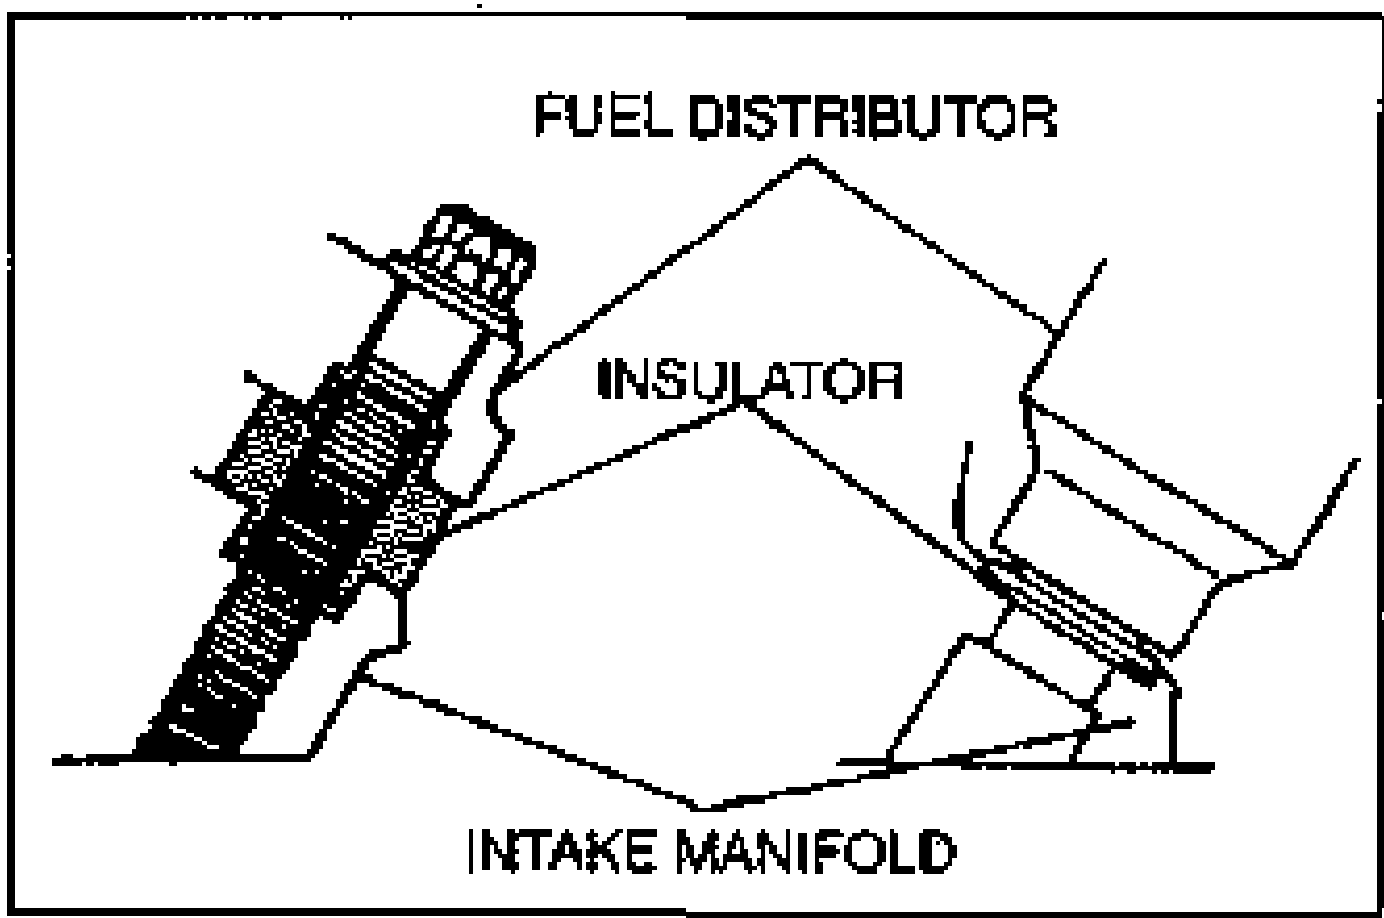
- 1Use new injector insulators.
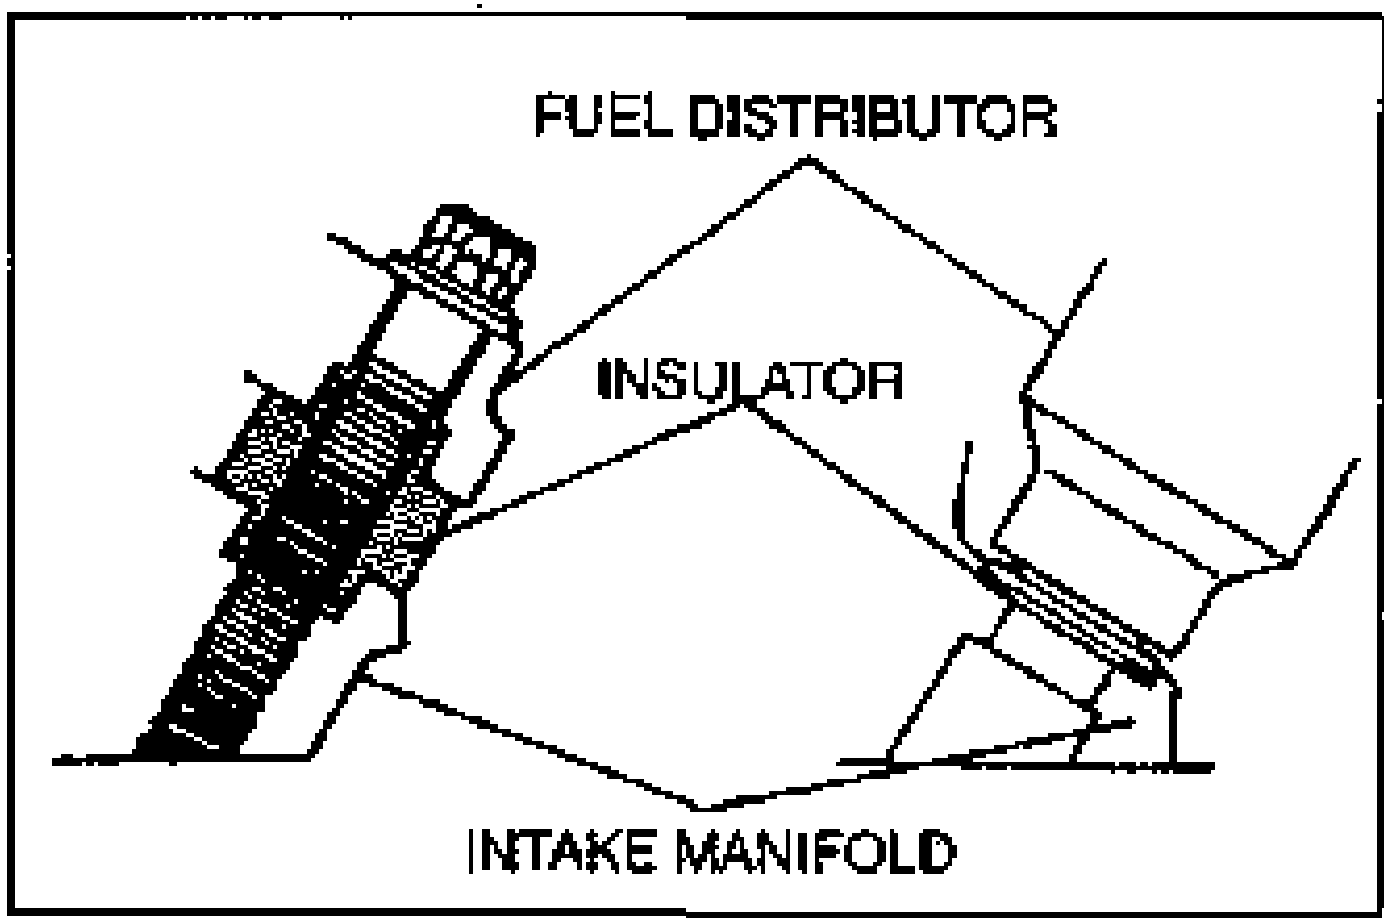
- 2Install the insulators, making sure that each is pressed in fully, and that it is not twisted or bent. Incorrectly installed insulators can cause rough idle.