
FUEL PUMP RELAY / PRESSURE REGULATOR
F2-113prose procedureReplacement
- 1Remove the passenger side wall.
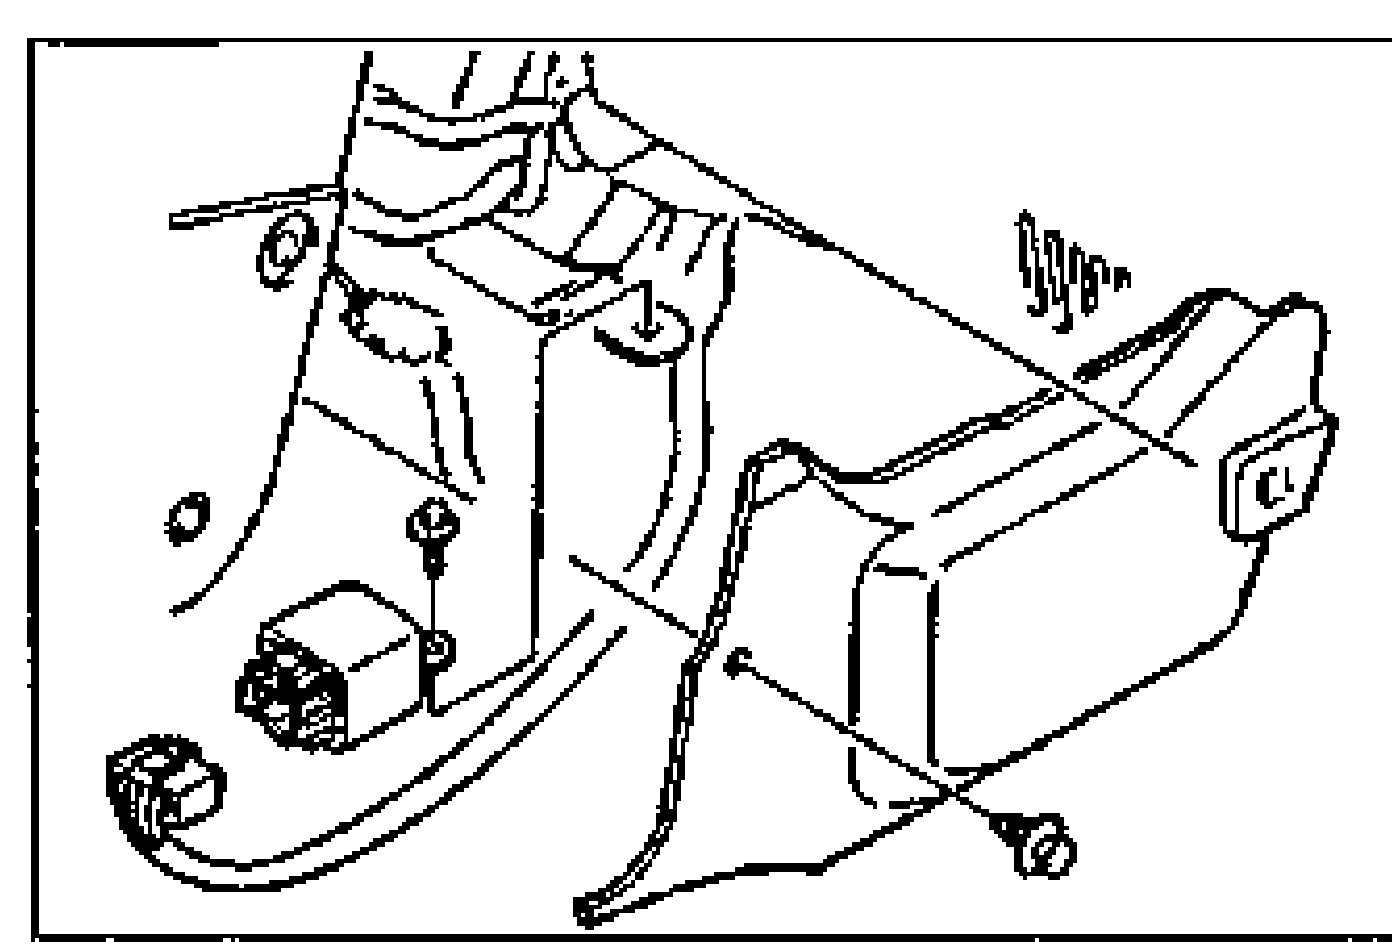
- 2Disconnect the relay connector.
- 3Remove the relay from the ECM bracket.
- 4Install in the reverse order of removal.
Inspection
Operation check
Listen for operational sound of the fuel pump relay while the starter operating.
Continuity
- 1Check continuity between the terminals of the relay by using an ohmmeter.
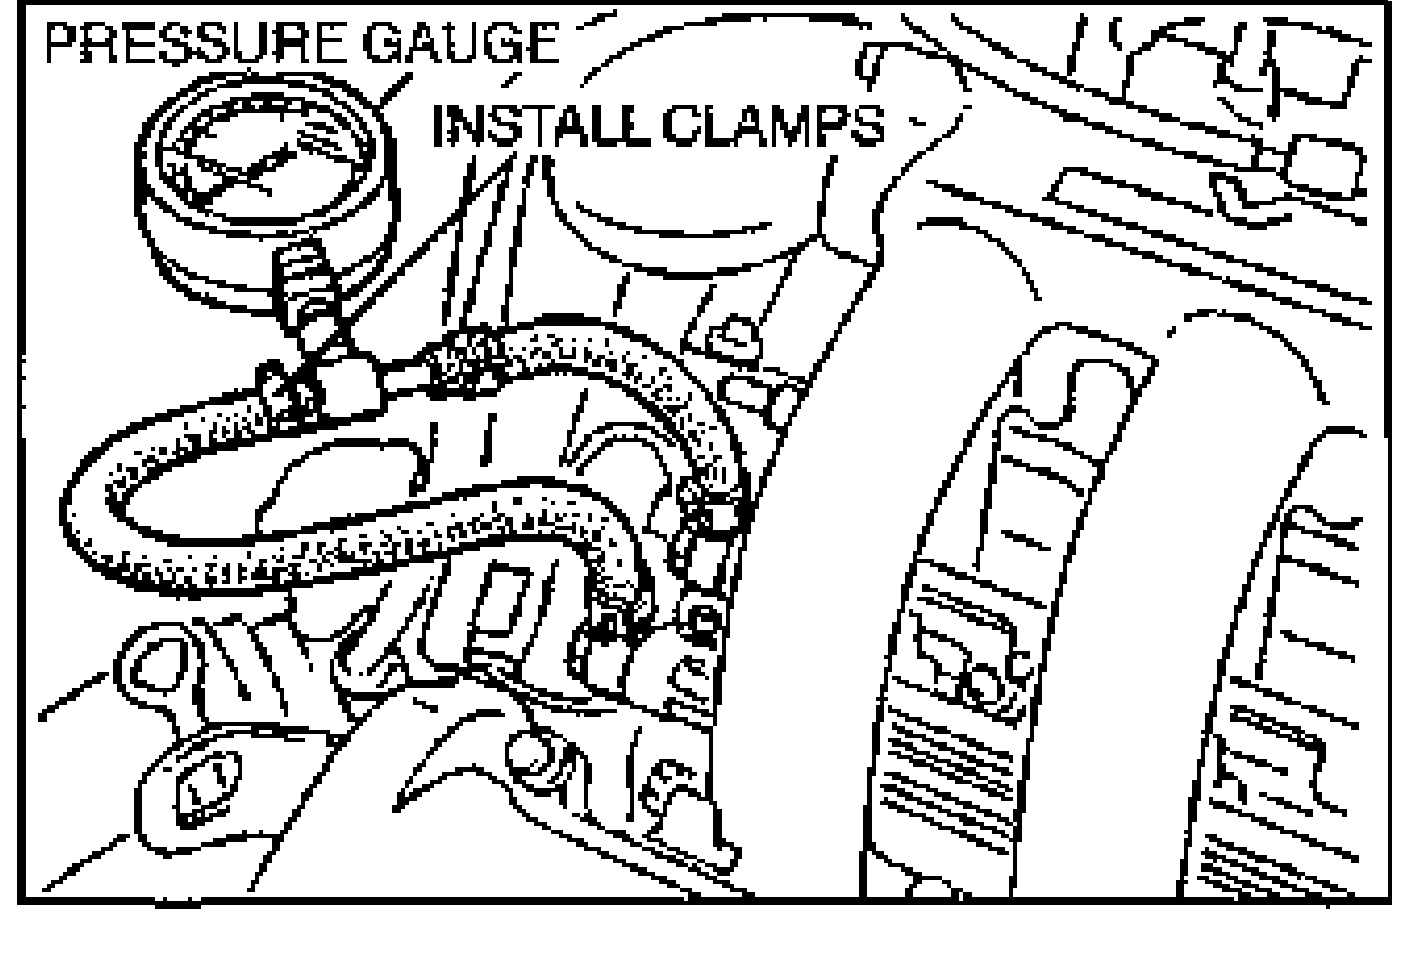
NOTE
B+: Battery positive voltage
Fuel pump relay continuity
Apply B+
Terminal C-DContinuity
Not apply B+
Terminal C-DNo continuity
PRESSURE REGULATOR
Inspection
Fuel line pressure
WARNING
Fuel line spills and leaks are dangerous. Fuel can ignite and cause serious injuries or death and damage. Fuel can also irritate skin and eyes. To prevent this, always complete the "Fuel Line Safety Procedures" on page F2-106.
Fuel line pressure
- 1Disconnect the negative battery cable.
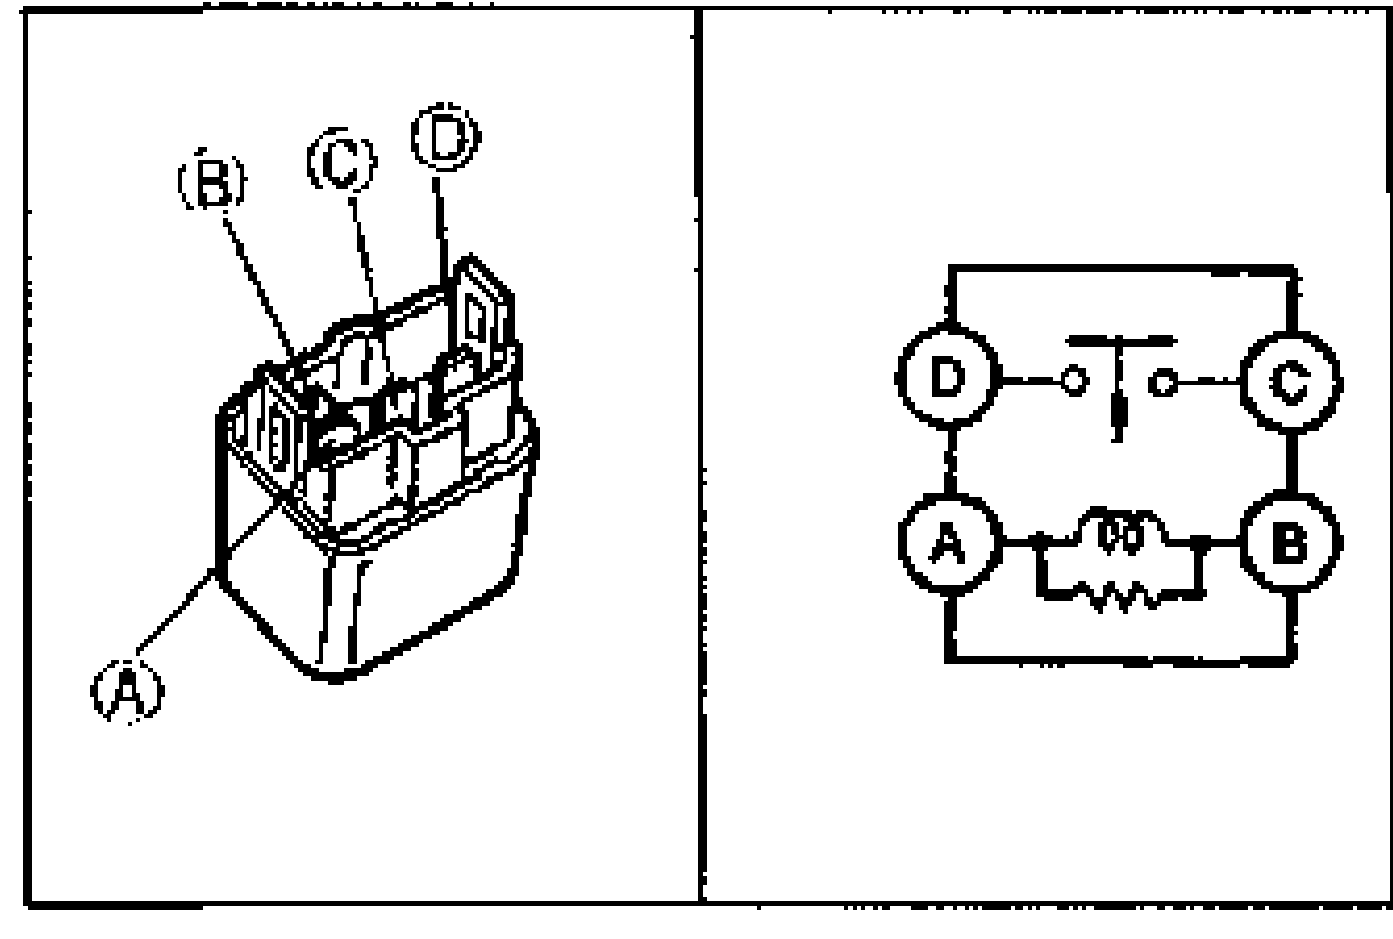
- 2Connect a fuel pressure gauge between the fuel filter and the fuel main hose. (Install clamps as shown.)
- 3Connect the negative battery cable.
- 4Start the engine and run it at idle.
- 5Measure the fuel line pressure.
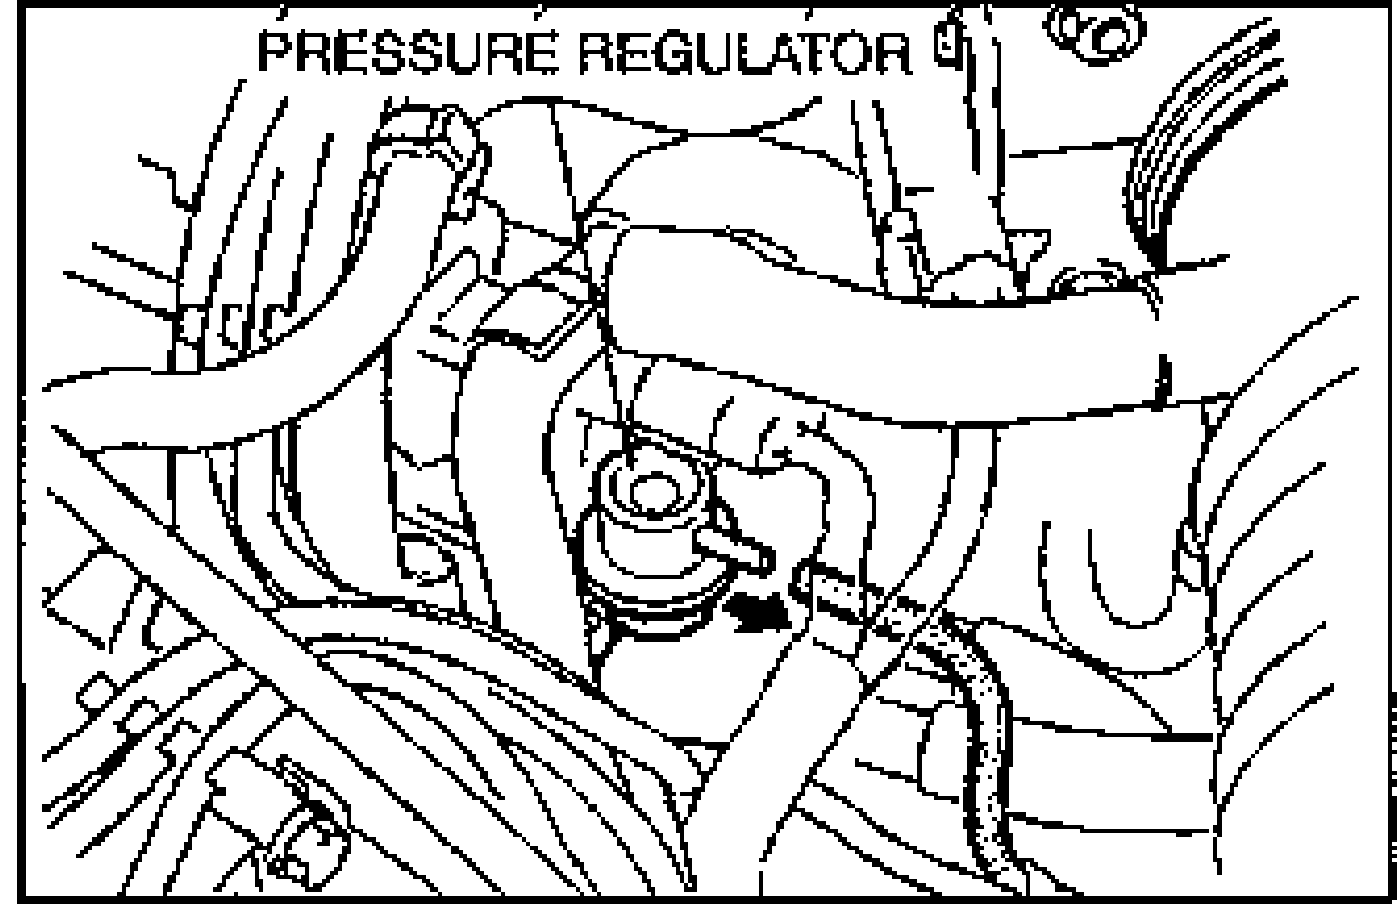
- 6Disconnect the vacuum hose from the pressure regulator and measure the fuel line pressure.
| Specification | Value |
|---|---|
| Fuel line pressure (step 5)vacuum hose connected | 210-260 kPa {2.1-2.7 kgf/cm2, 30-38 psi} |
| Fuel line pressure (step 6)vacuum hose disconnected | 260-310 kPa {2.6-3.2 kgf/cm2, 37-45 psi} |
Fuel line pressure (step 5)vacuum hose connected
210-260 kPa {2.1-2.7 kgf/cm2, 30-38 psi}
Fuel line pressure (step 6)vacuum hose disconnected
260-310 kPa {2.6-3.2 kgf/cm2, 37-45 psi}