
TRIM — Removal notes
S-66prose procedureRemoval note
A-pillar trim
- 1Remove the seaming welt.
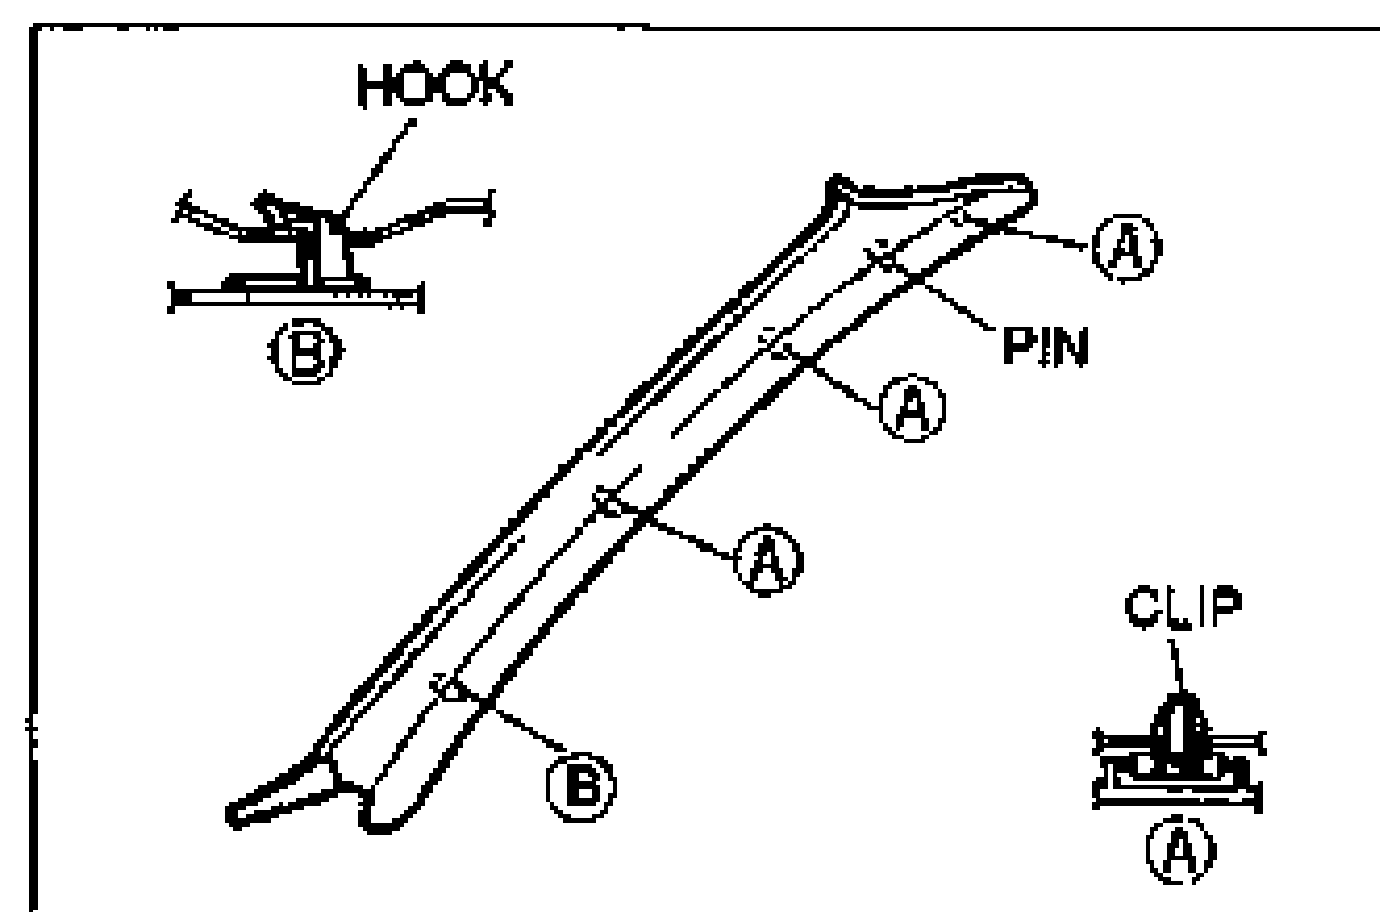
- 2Pull the A-pillar trim to remove the clips from the body.
- 3Pull the A-pillar trim upward to remove the hook from the body.
Scuff plate
Pull the scuff plate to remove the clips from the body.
Quarter trim
- 1Remove the rear seat back. (Refer to page S-76.)
- 2Remove the scuff plate. (Refer above.)
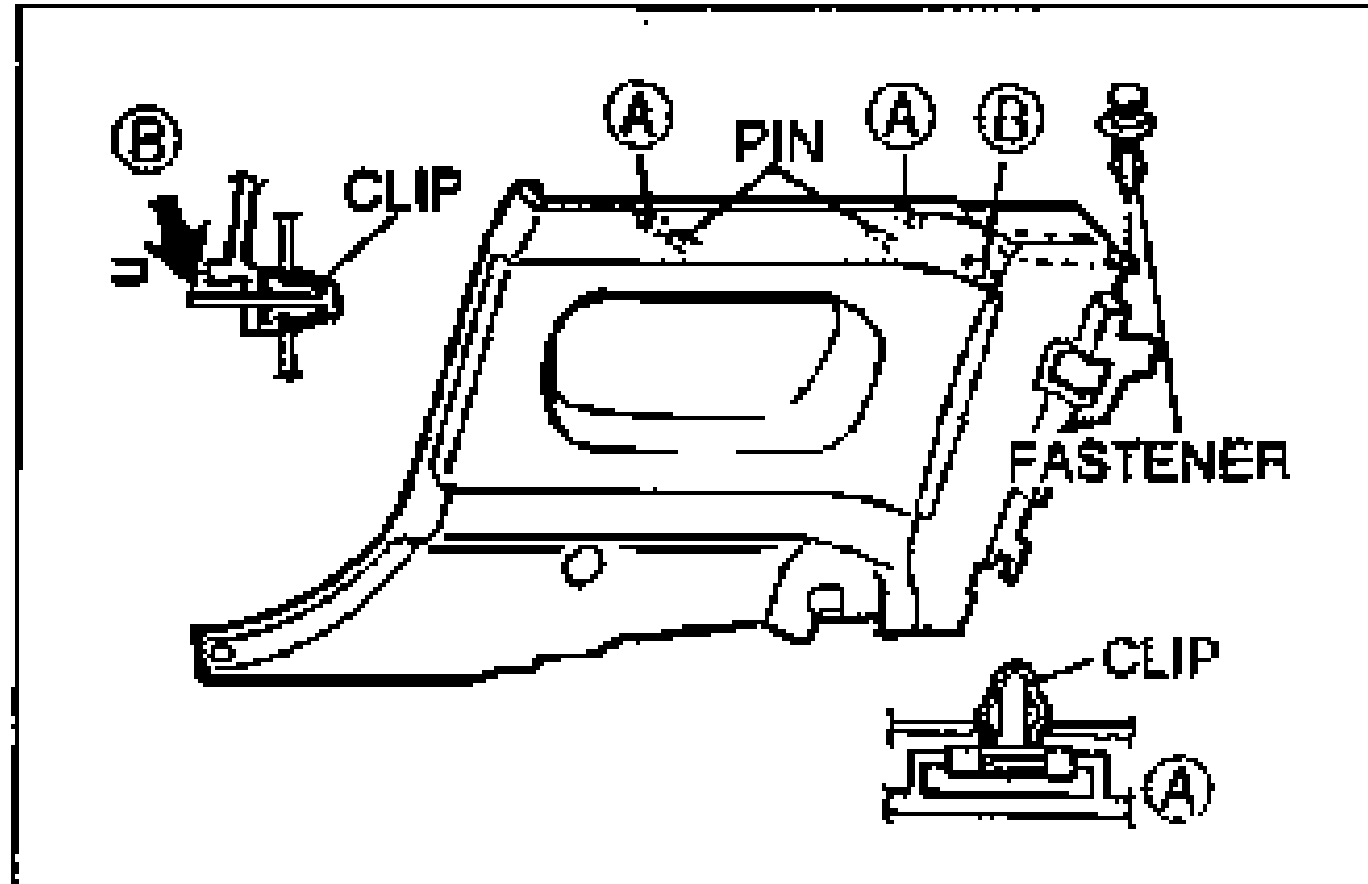
- 3Remove the quarter trim installation fastener.
- 4Pull the quarter trim to remove the clips from the body.
B-pillar trim
- 1Remove the seaming welt.
- 2Remove the front seat belt upper anchor. (Refer to page S-73.)
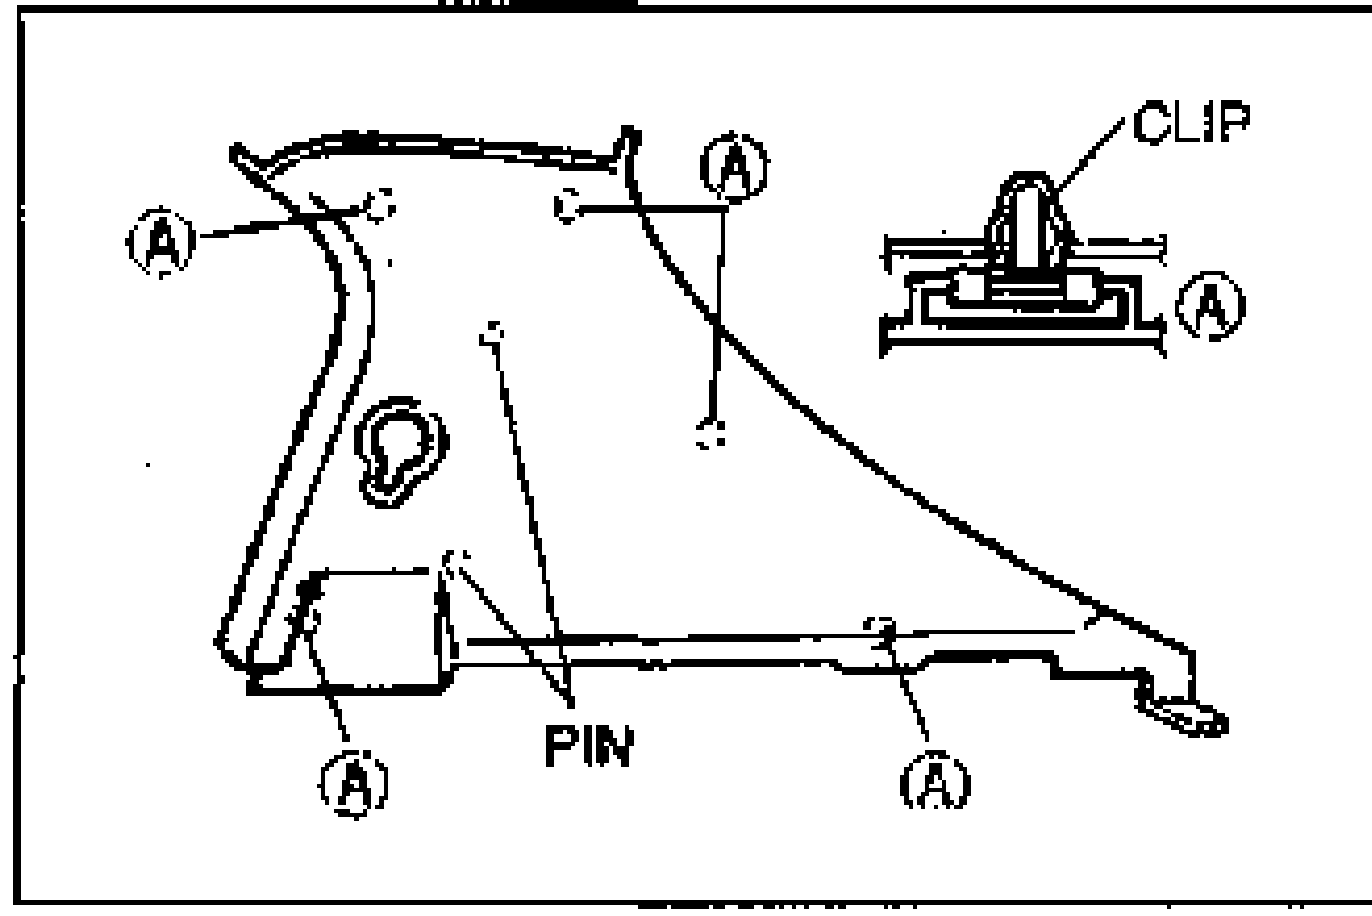
- 3Pull the B-pillar trim to remove the clips from the body.
Door trim
Driver side
Door trim — Driver side
- 1Remove the regulator handle. (Refer to page S-11.)
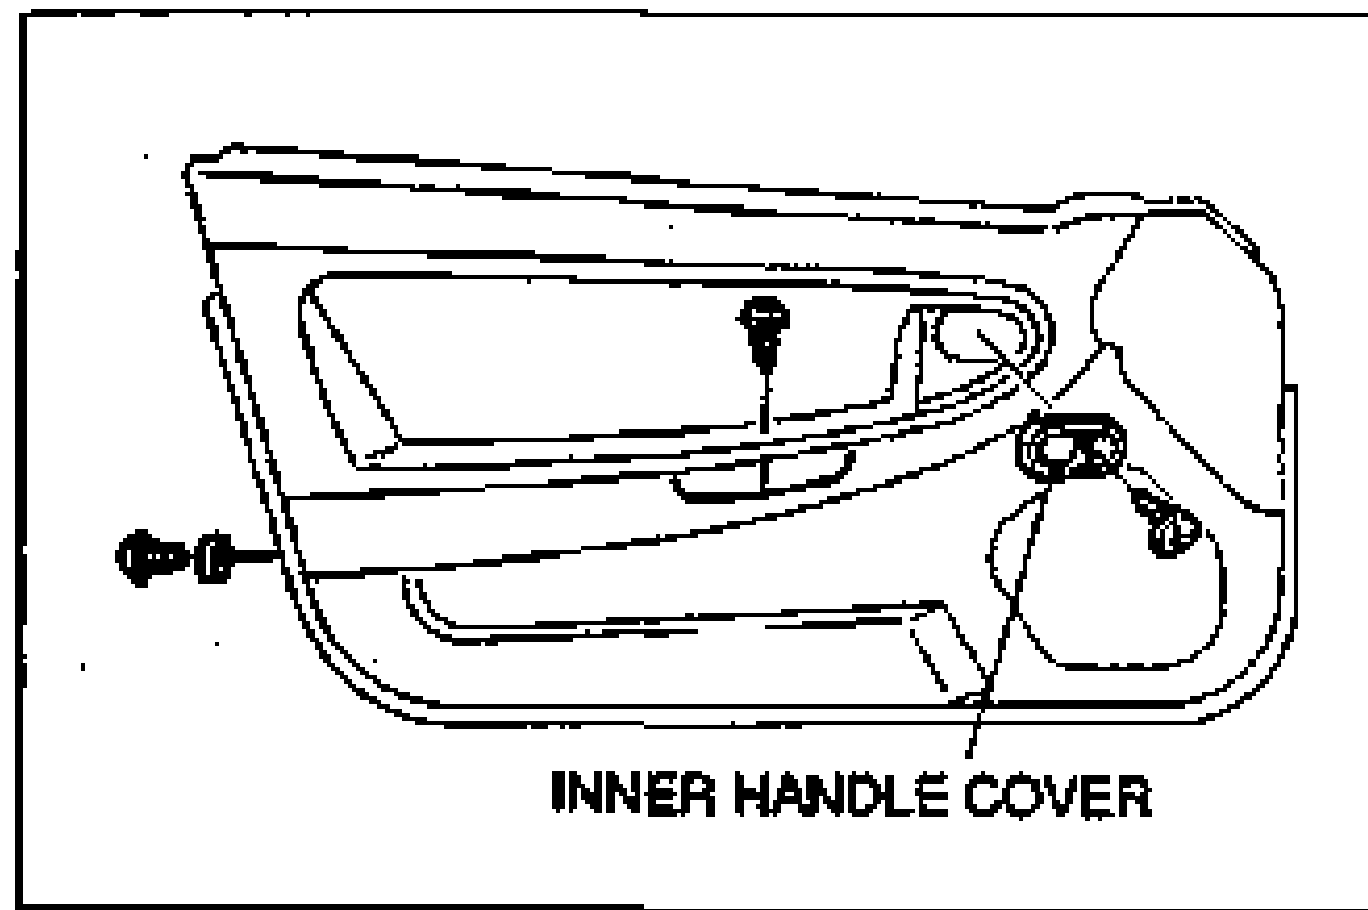
- 2Remove the inner handle cover.
- 3Remove the door trim installation screws.