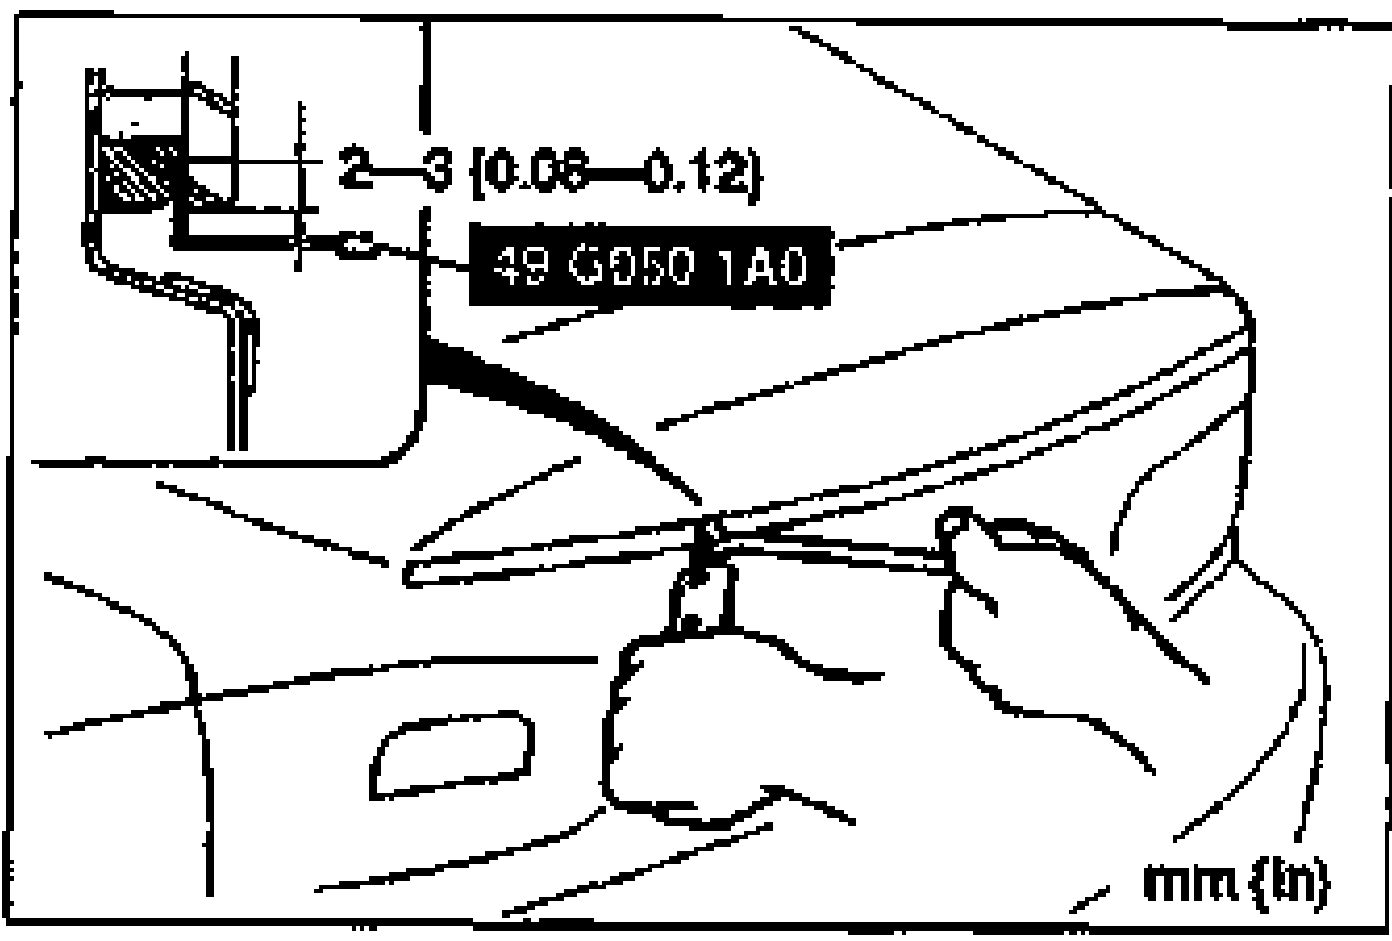
Molding
S-28prose procedureInstallation note — Liftgate molding (continued)
- 9Install the liftgate molding before the sealant hardens. 1) Align the mark on the glass to that on the molding. 2) Install the top of the molding. 3) Install the corners of the molding. 4) Install the sides of the molding, starting from the top and then toward the bottom.
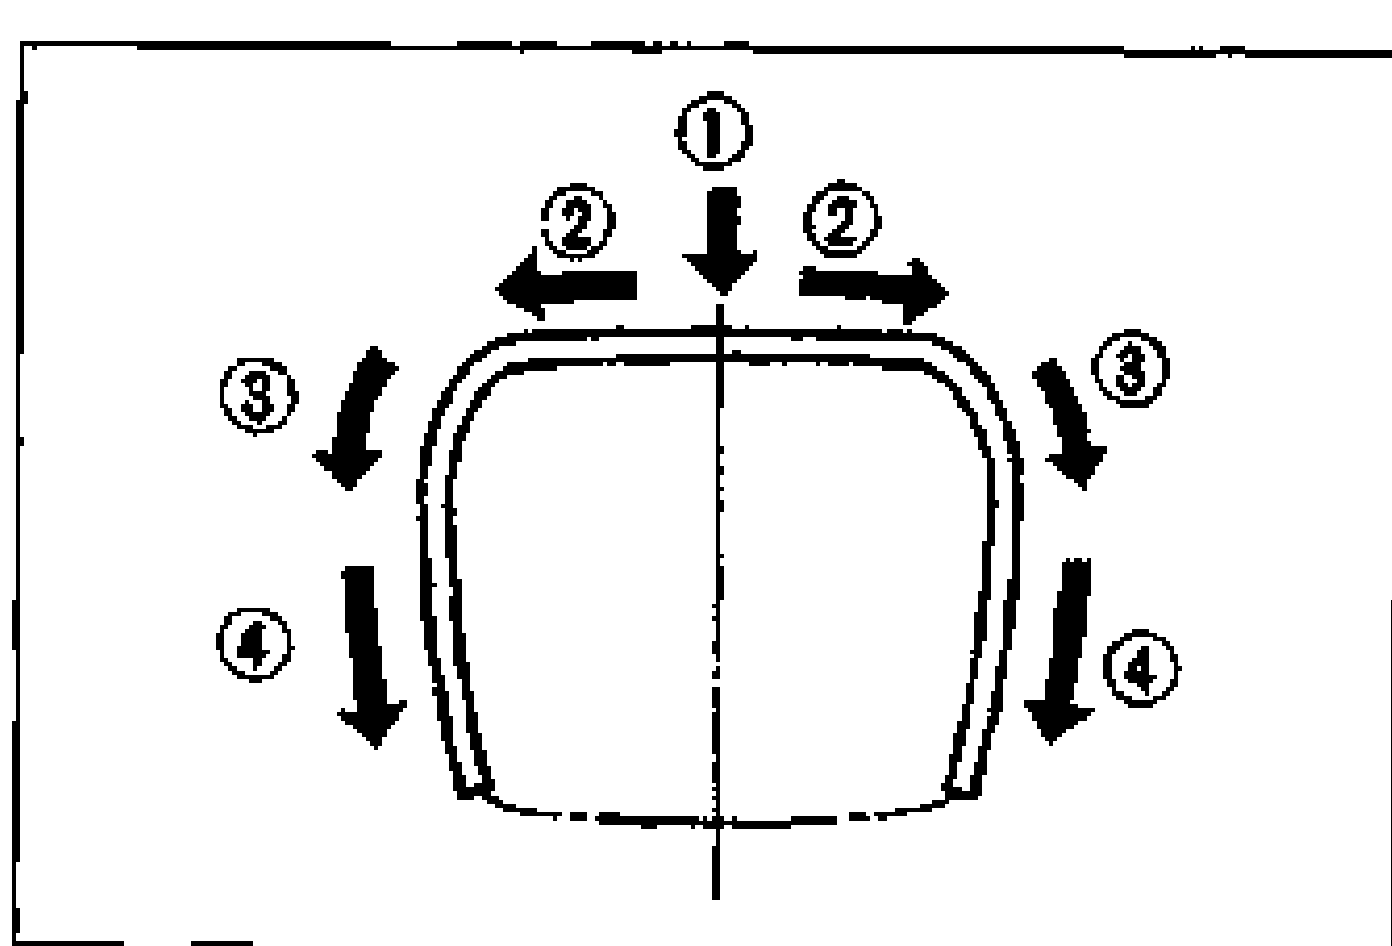
- 10Check for water leaks. If a leak is found, wipe the water off well and repeat the installation.
Hardening time of repair sealant
Hardening time of repair sealant
5°C (41°F)
Surface hardening timeApprox. 1.5 hr
Time required until car can be put into service12 hr
20°C (68°F)
Surface hardening timeApprox. 1 hr
Time required until car can be put into service4 hr
35°C (95°F)
Surface hardening timeApprox. 10 min
Time required until car can be put into service2 hr
Vertical window molding
Installation note — Vertical window molding
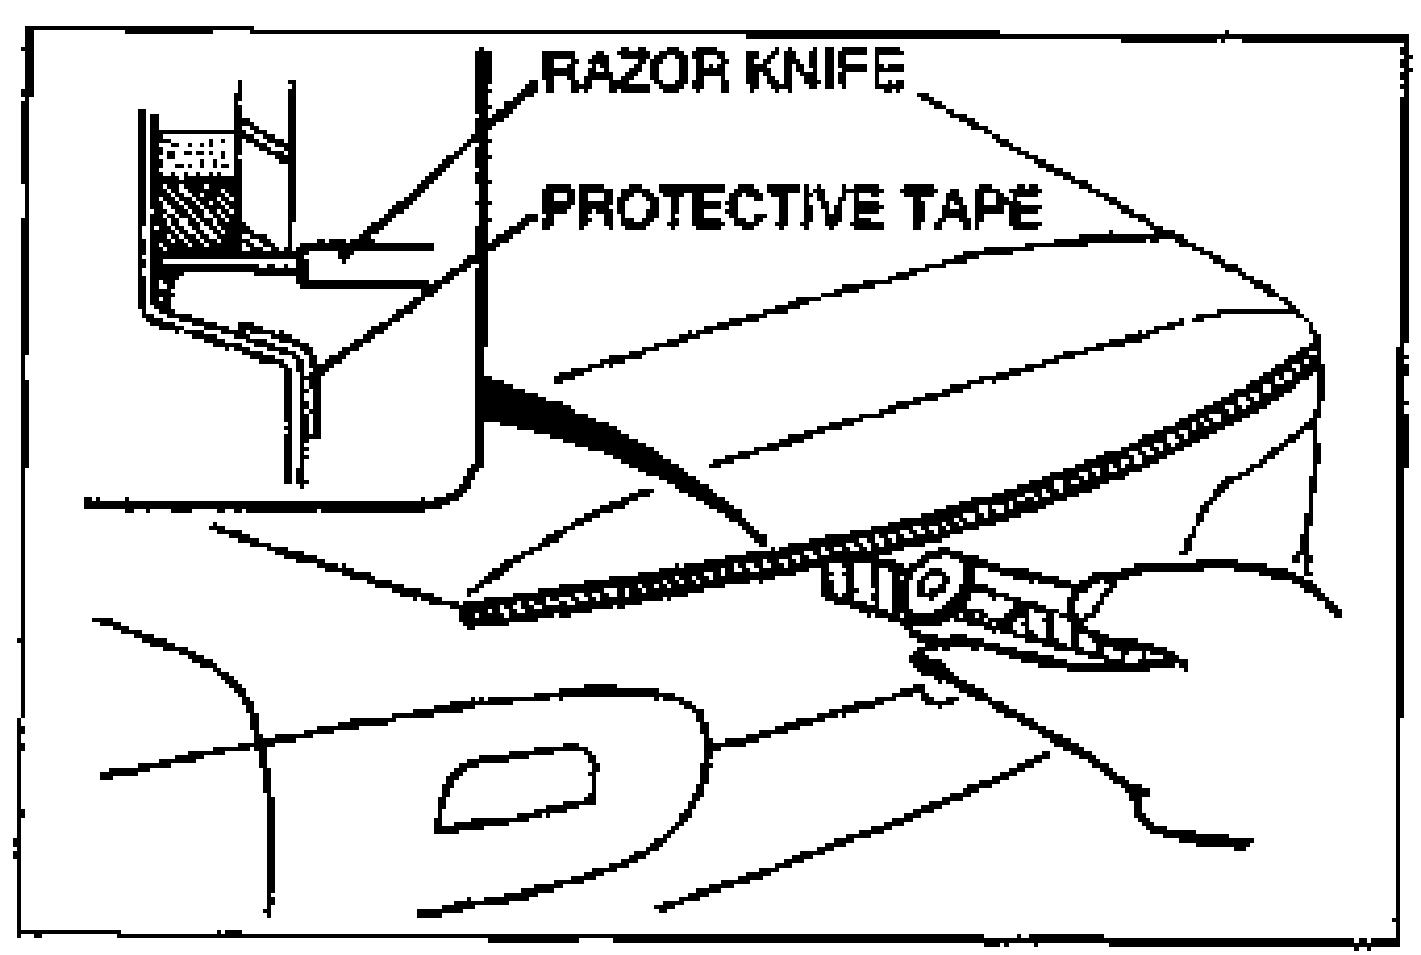
- 1Cut the sealant by using a razor knife as shown.
- 2Insert the blade of the SST into the sealant, and pull on the bar to cut the sealant near the body as shown.
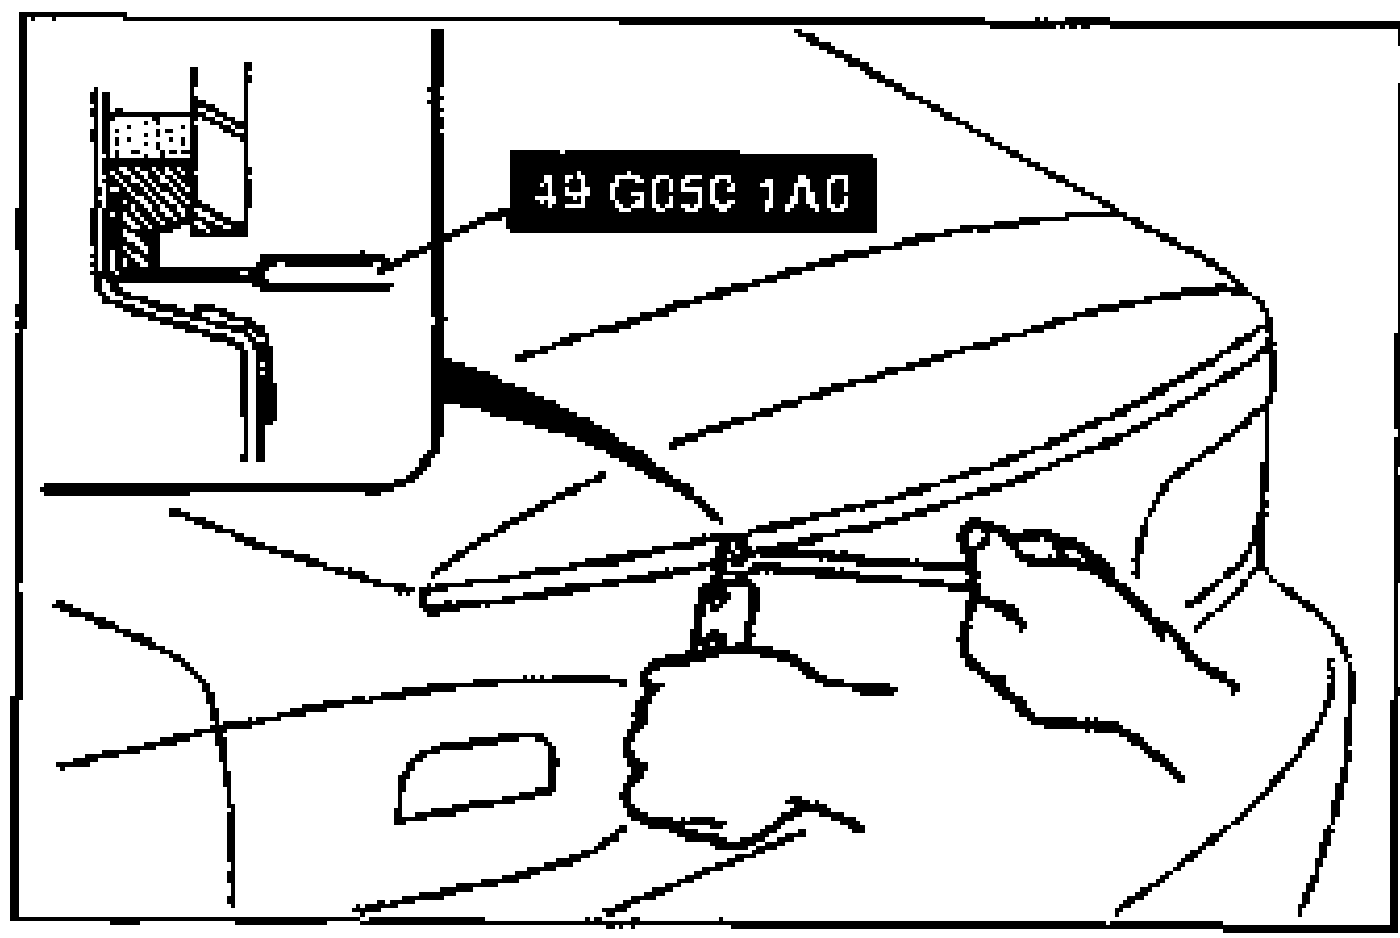
- 3Insert the blade of the SST into the sealant, and pull on the bar to cut the sealant near the glass as shown.