
MOLDING
S-31prose procedureROOF MOLDING installation note (continued).
Roof molding installation note (continued)
- 4Remove the protective liner paper of the double-sided adhesive tape at the rear end of the molding. Align the rear end of the molding to the clip and press the clip area 1.
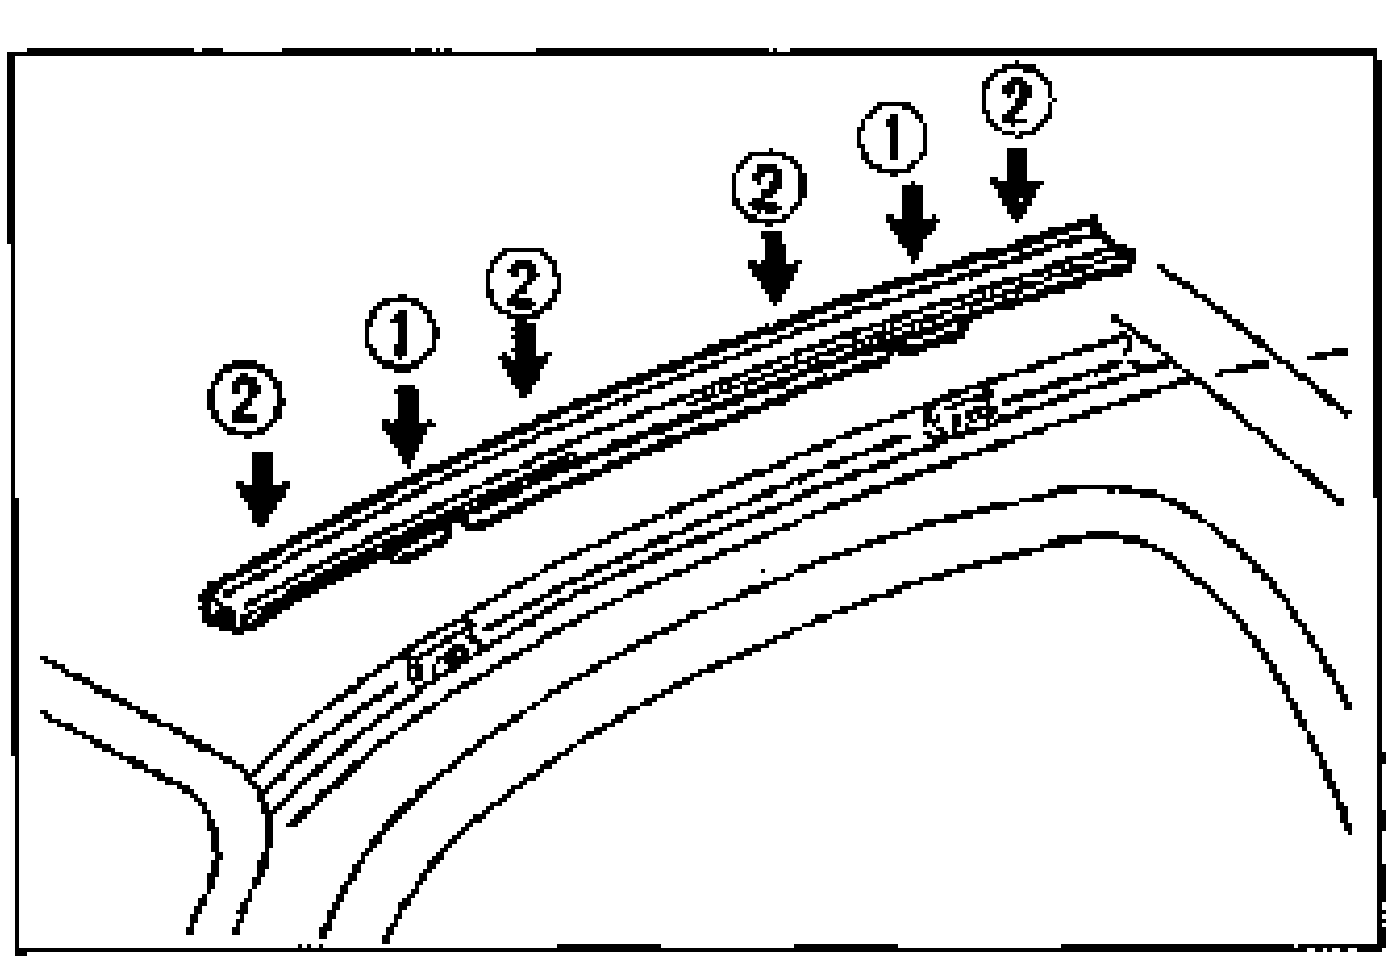
- 5Press the molding down firmly, especially the rear end of the molding 2.
BELTLINE MOLDING
Removal / Installation
- 1Lower the door glass fully.
- 2Remove the power outside mirror. (Refer to page S-34.)
- 3Remove in the order shown in the figure, referring to Removal note.
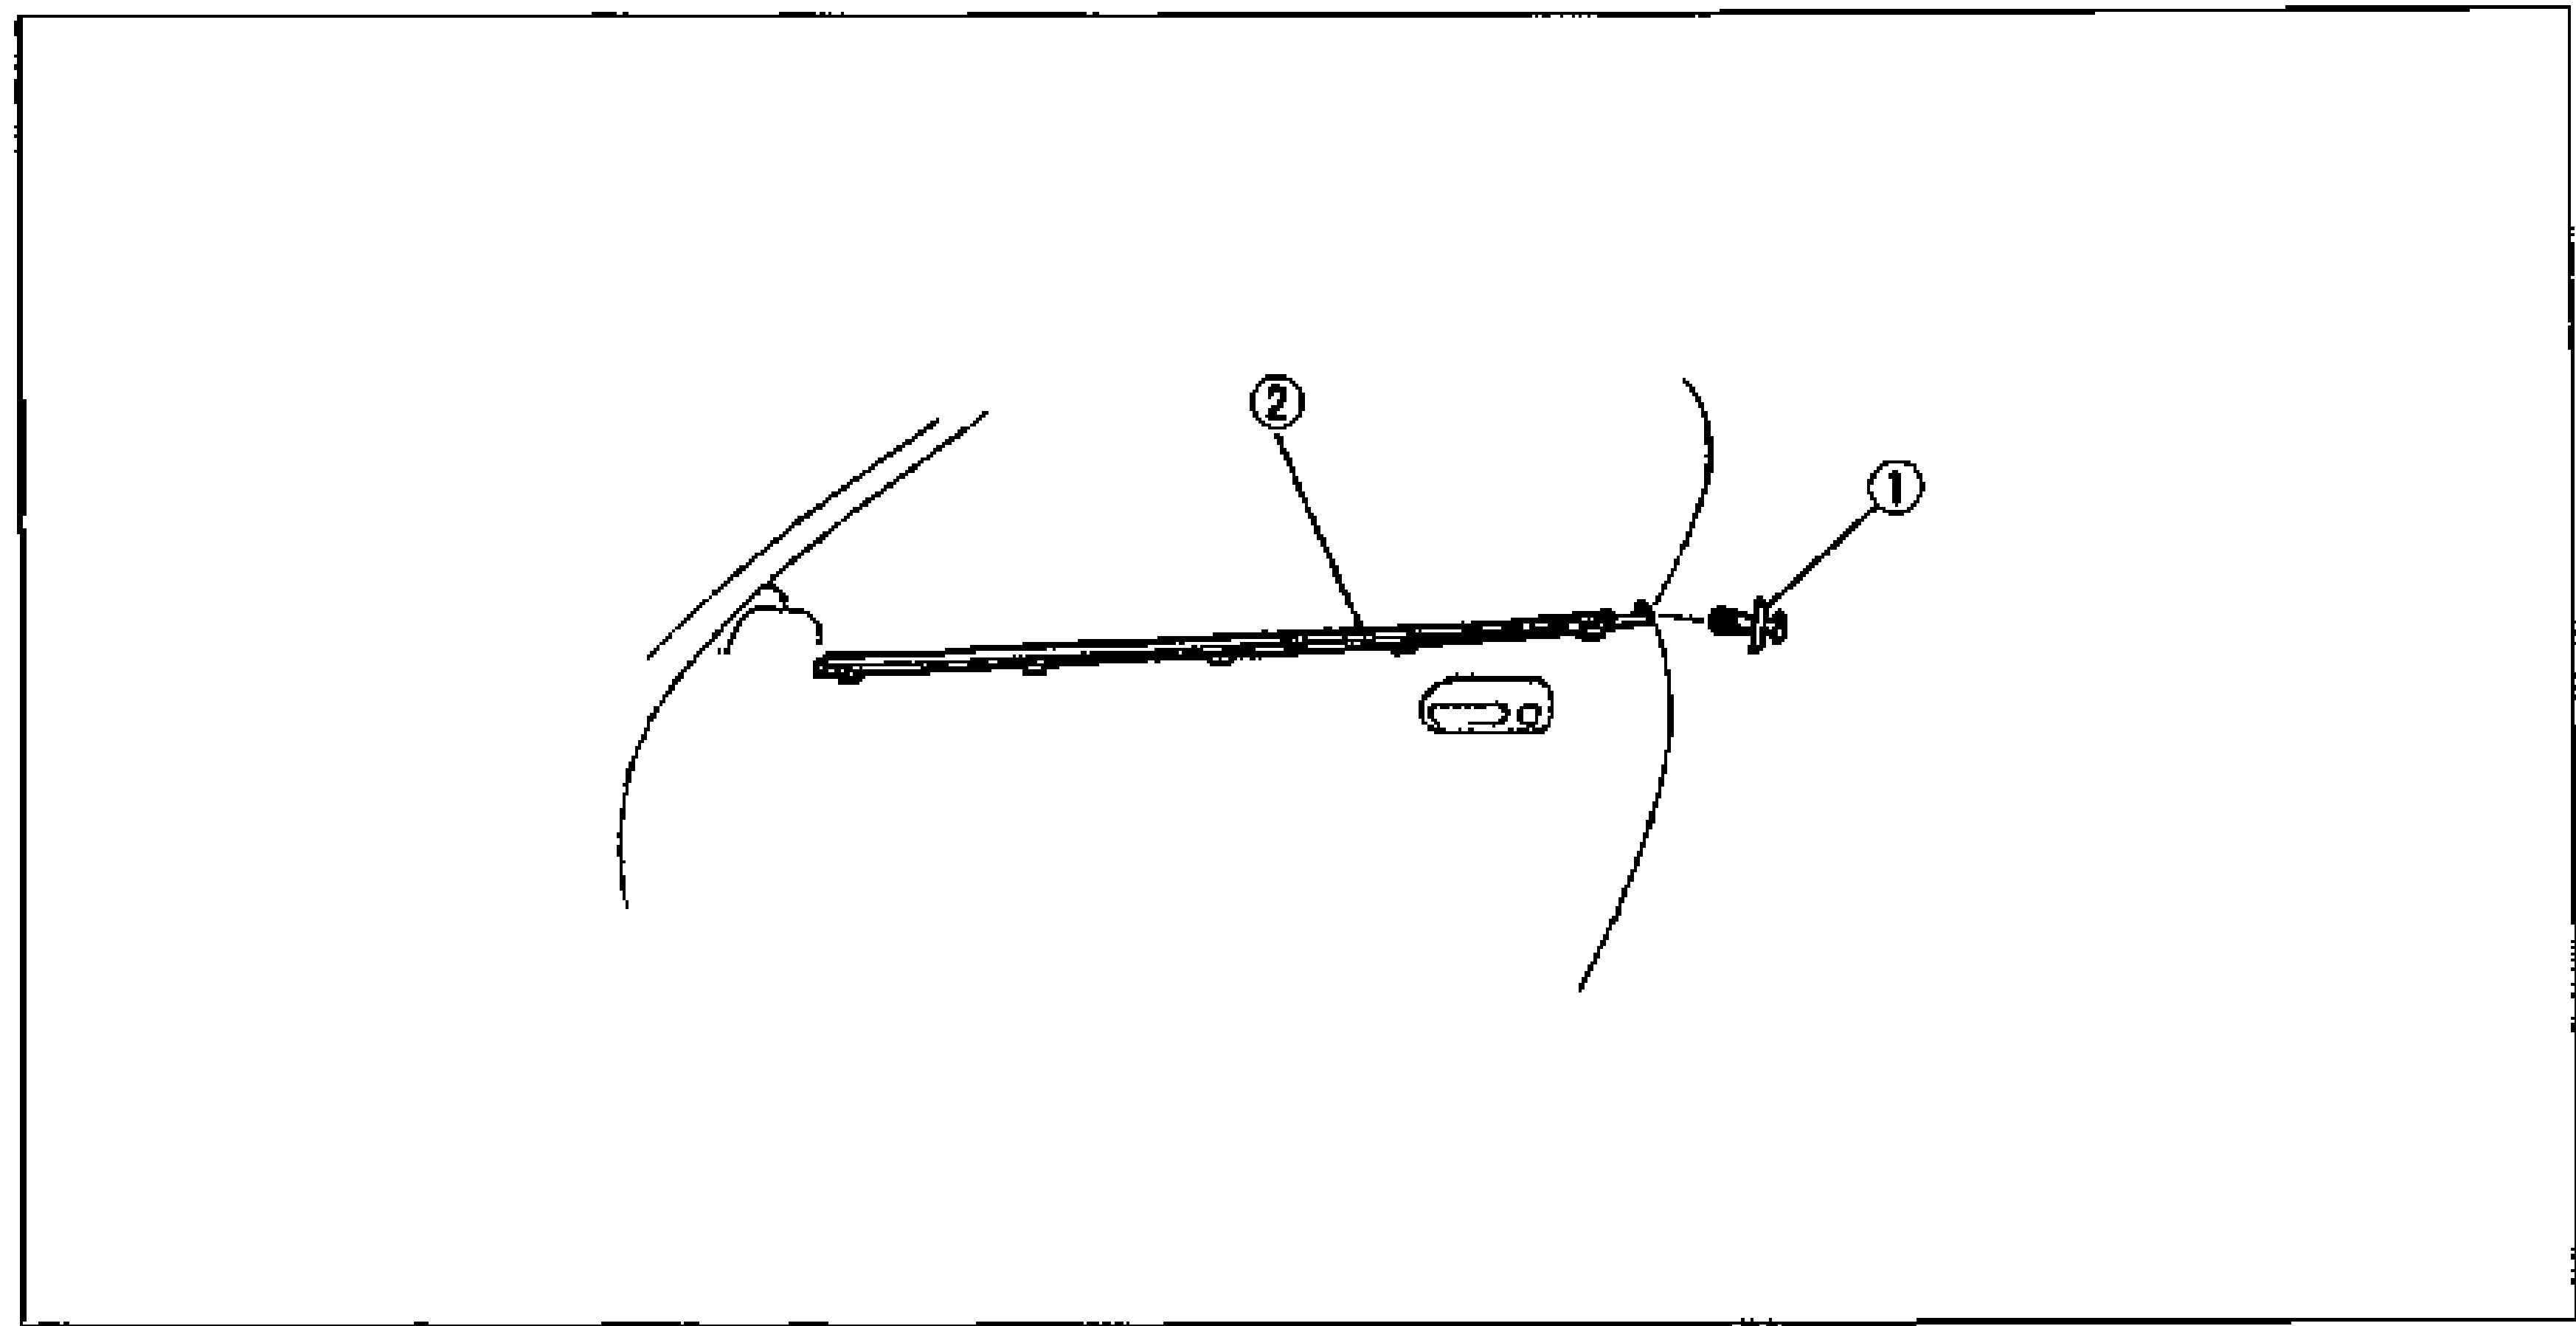
- 4Install in the reverse order of removal.
Parts DiagramFig. fig2
Removal note
Beltline molding
NOTE
Pull the beltline molding upward to remove the clips from the body.