
SLIDING SUNROOF
S-55prose procedureSunroof drive unit installation (continued)
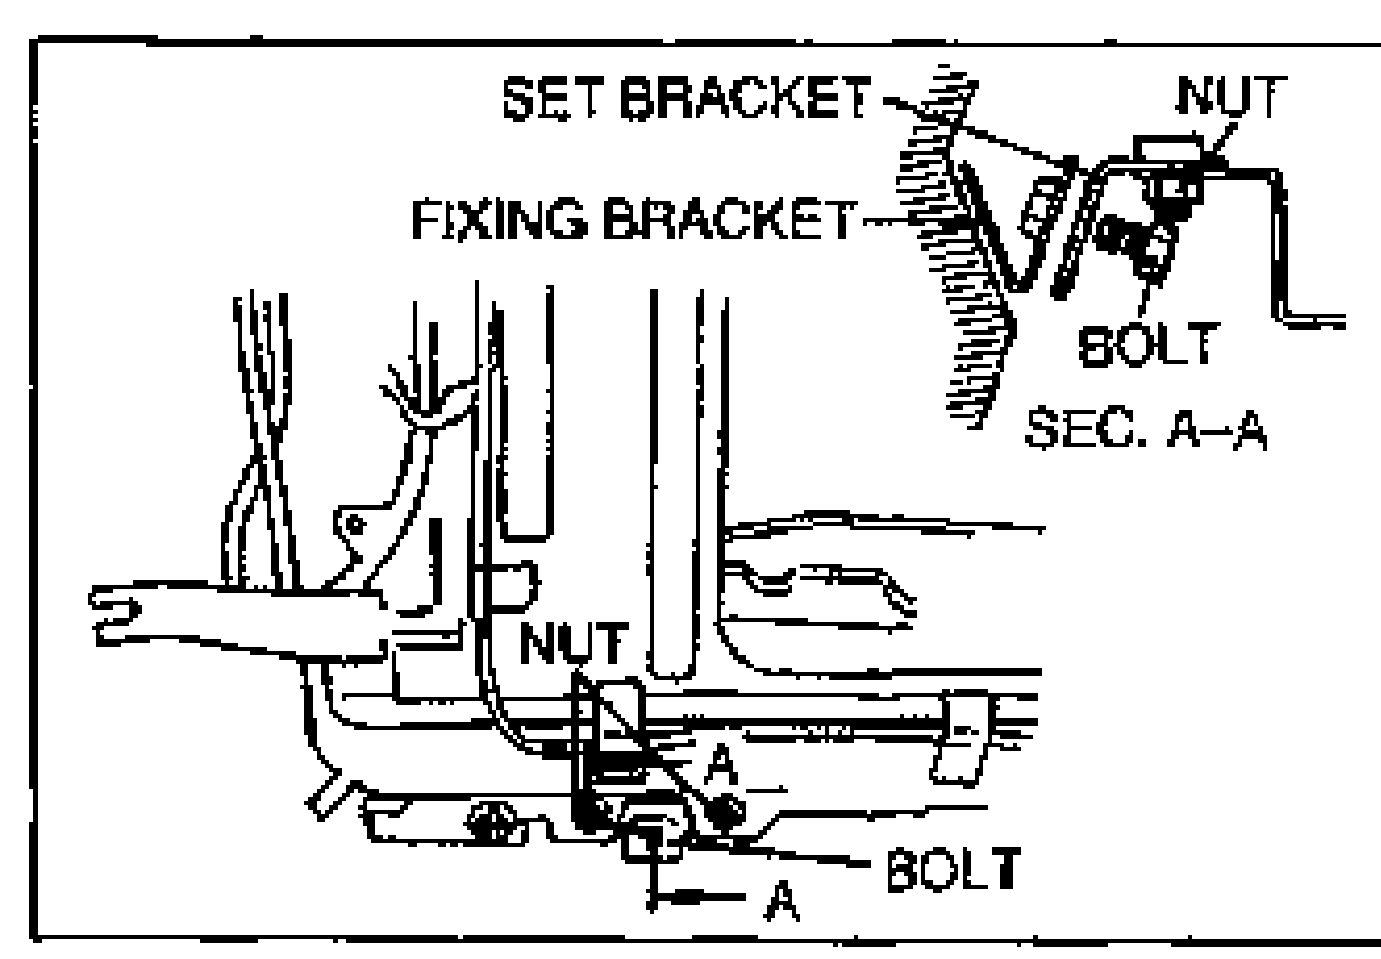
- 3Loosen the set bracket attaching nuts. Position the set bracket so that it touches the roof panel fixing bracket. Tighten the fixing bracket bolts, and then tighten the nuts.
- 4Affix the rear of the sunroof frame to the roof panel.
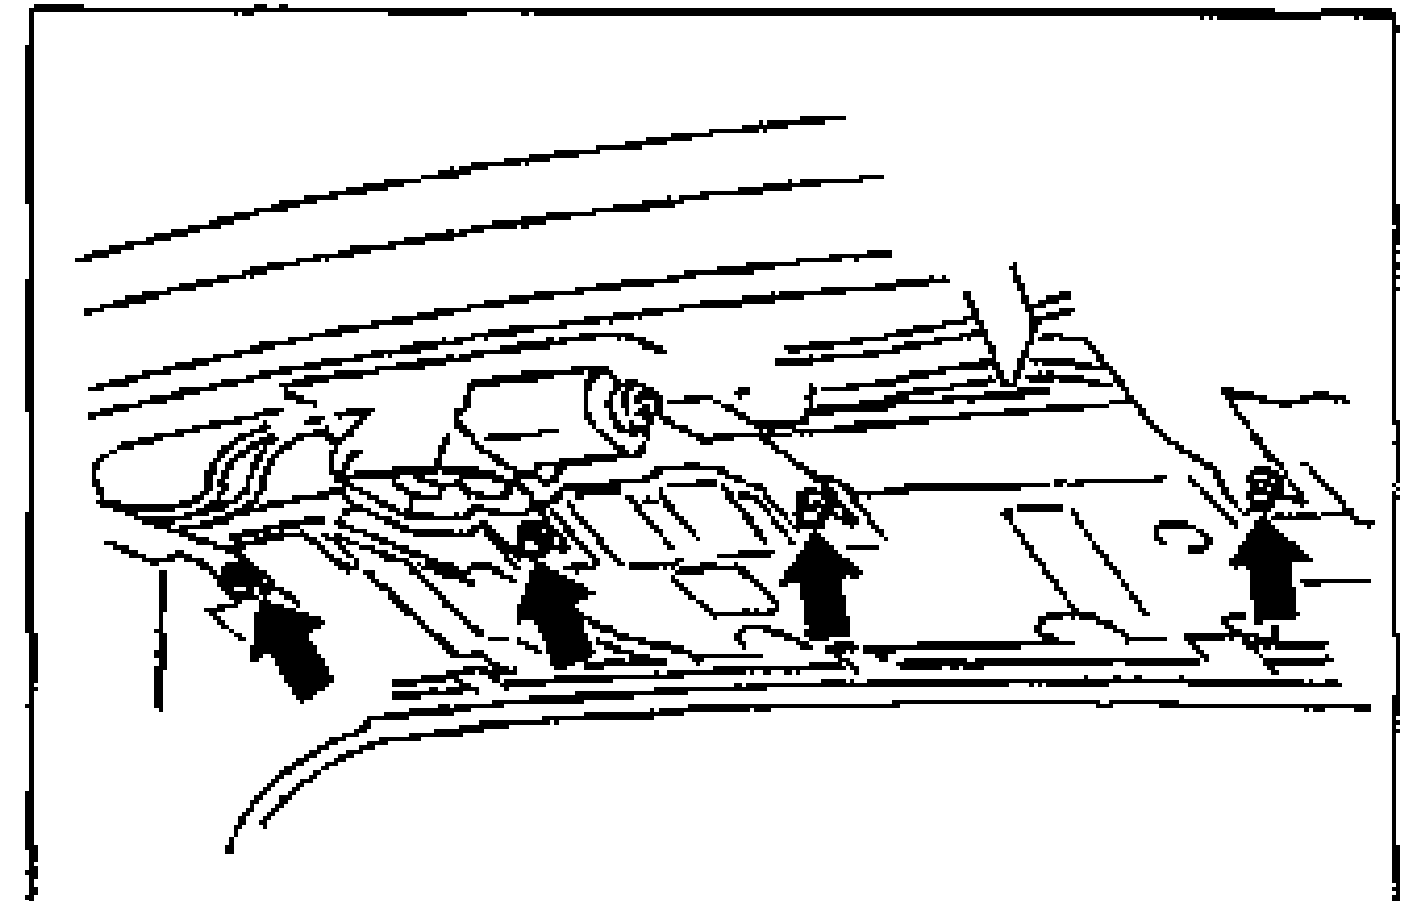
| Specification | Value |
|---|---|
| Set bracket fixing / sunroof frame rear | 7.9–10.7N·m {80–110 kgf·cm, 70–95.4 in·lbf} |
Set bracket fixing / sunroof frame rear
7.9–10.7N·m {80–110 kgf·cm, 70–95.4 in·lbf}
Slide panel
Install the slide panel to the lower panel. If the height difference between the slide panel and the roof panel is greater than 2.0 mm {0.08 in}, loosen the slide panel attaching nuts and insert shims between the panels.
| Specification | Value |
|---|---|
| Slide panel attaching nuts | 6.4–8.8N·m {65–90 kgf·cm, 57–78 in·lbf} |
Slide panel attaching nuts
6.4–8.8N·m {65–90 kgf·cm, 57–78 in·lbf}
Drain hose
NOTE
Apply soapy water to the drain hose and insert it fully into the sunroof frame.
Drain hose
- 1On the A-pillar side, insert one end of the hose into the sunroof frame, set the hose along the A-pillar, and insert the other end into the cowl side panel hole.
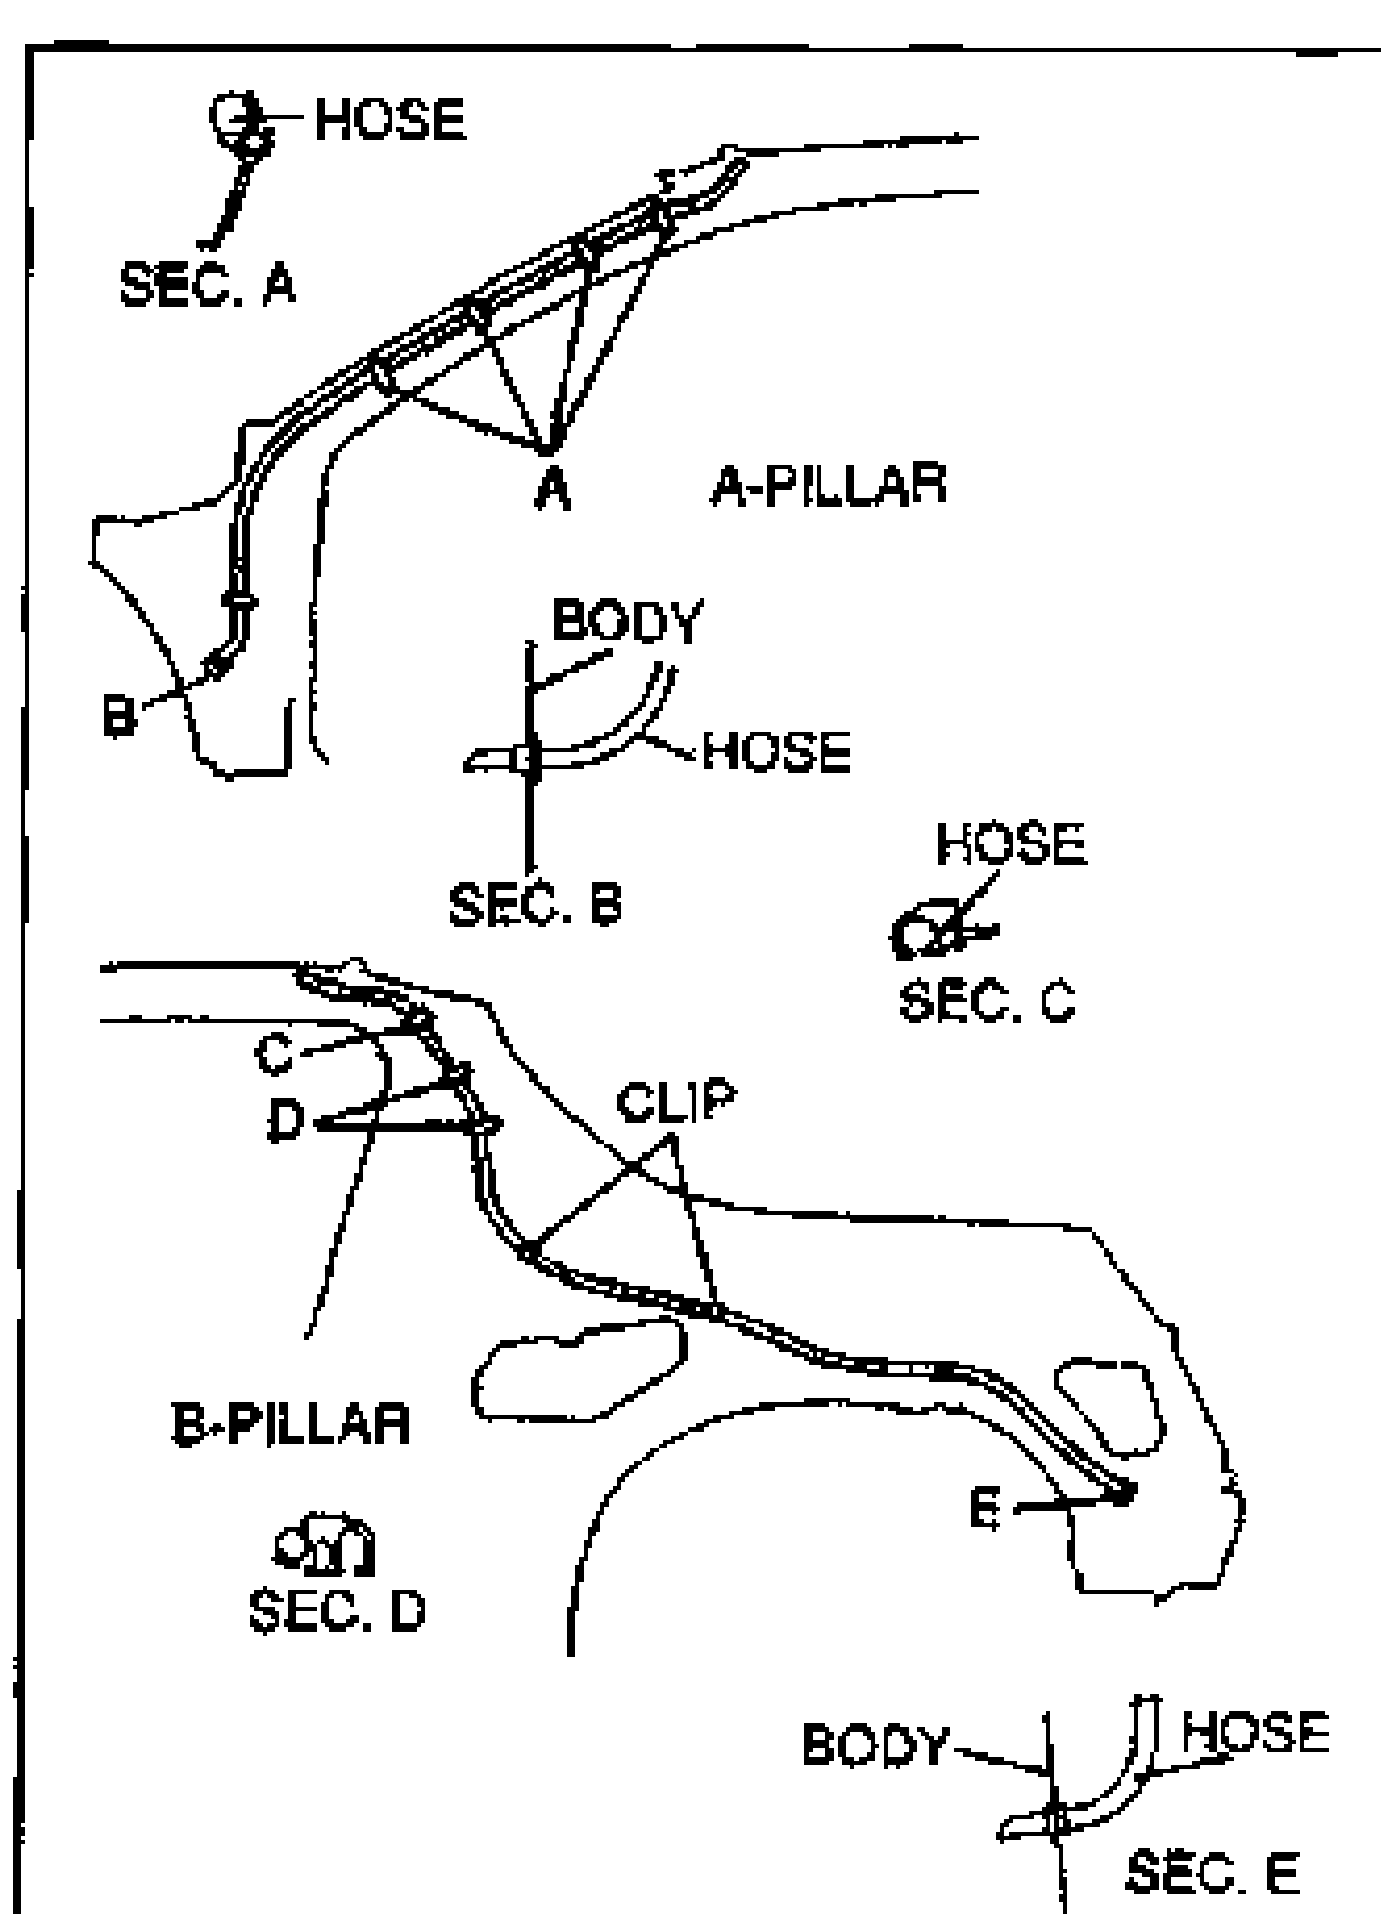
- 2On the B-pillar side, insert one end of the hose into the sunroof frame, and insert the other end into the rear fender panel hole via the hole in the upper part of the B-pillar.