
Shift Mechanism — Parts Legend / Assembly Note
J2-55prose procedureManual transmission shift mechanism (M/T).
Parts DiagramFig. page J2-54 fig1

Assembly Note
Extension bar
- 1Install the extension bar to the floor, and then onto the transaxle.Tightening torque: 38—51 N·m {3.8—5.3 kgf·m, 28—38 ft·lbf}
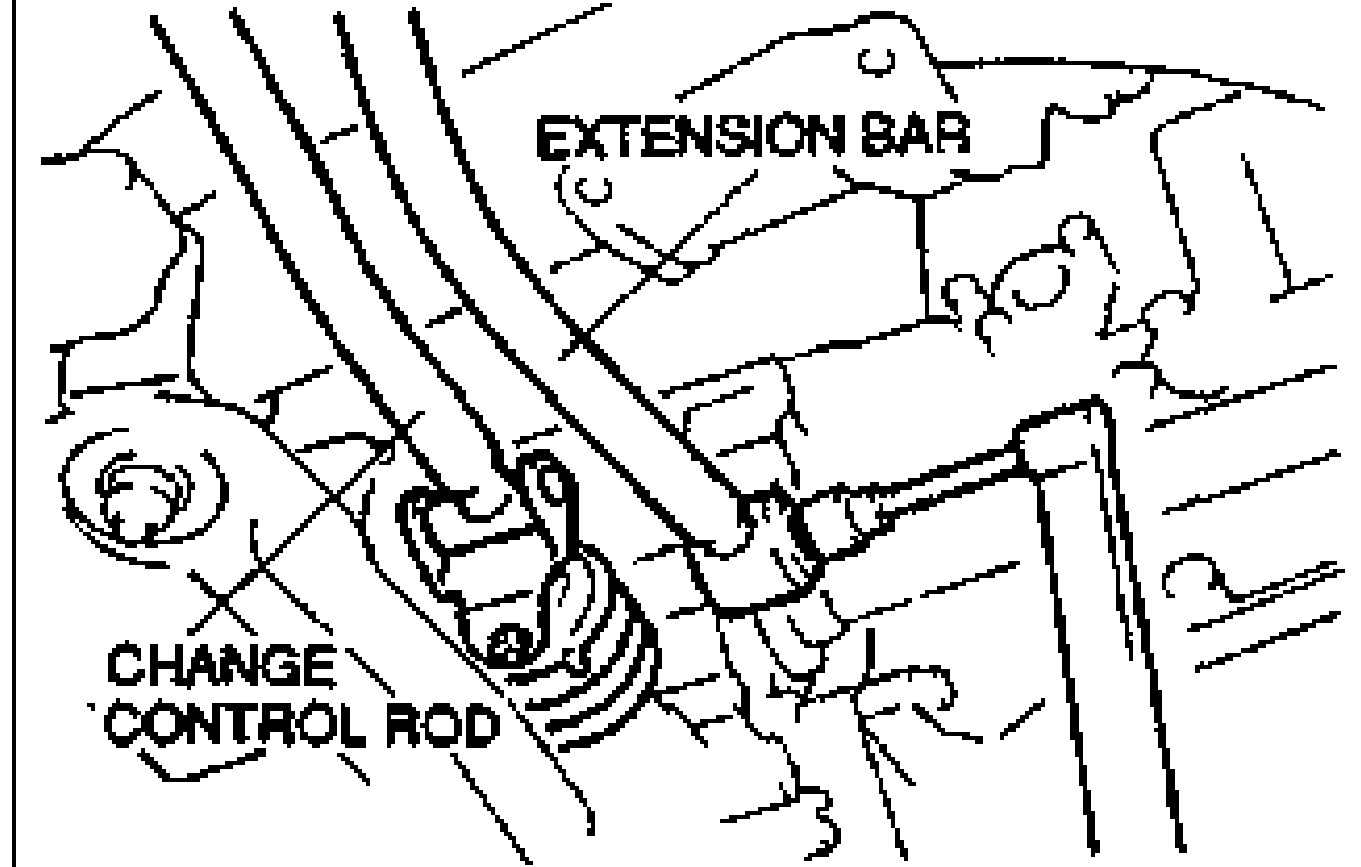
- 2Tighten the bracket installation nuts to the specified torque.Tightening torque: 9.81—14.7 N·m {100—150 kgf·cm, 86.8—130.2 in·lbf}
| Specification | Value |
|---|---|
| Tightening torque (extension bar to floor/transaxle)step 1 | ≈373 - 500N·m |
| Tightening torque (bracket installation nuts)step 2 | ≈96 - 144N·m |
Tightening torque (extension bar to floor/transaxle)step 1
373 - 500N·m
Tightening torque (bracket installation nuts)step 2
96 - 144N·m
Spring
Make sure that the hooked part of the spring is properly seated in the bracket groove, as shown in the figure.