TRANSAXLE — REMOVAL (parts legend & Removal Notes)
J2-13prose procedureManual transaxle (M/T) removal continuation.
Transaxle removal — numbered parts
1
PartWheel and tire
Removal Note
2
PartSplash shield
Removal Note
3
PartFresh-air duct
Removal Note
4
PartAir cleaner assembly
Removal Note
5
PartBattery
Removal Note
6
PartBattery carrier
Removal Note
7
PartStarter
Removal Note
8
PartHarness bracket
Removal Note
9
PartFuel filter
Removal Note
10
PartNeutral switch connector
Removal Note
11
PartBack-up light switch connector
Removal Note
12
PartVehicle speedometer sensor (speedometer driven gear) connector
Removal Note
13
PartClutch release cylinder
Removal Notebelow
14
PartTransverse member
Removal Note
15
PartExhaust pipe
Removal Note
16
PartExtension bar
Removal Note
17
PartChange control rod
Removal Note
18
PartTie rod end
Removal Notebelow
19
PartStabilizer control link
Removal Note
20
PartDrive shaft
Removal Notepage J2-14
21
PartJoint shaft
Removal Note
22
PartEngine mounting member
Removal Notepage J2-14
23
PartUndercover
Removal Note
24
PartNo.4 engine mount
Removal Note
25
PartTransaxle
Removal Notepage J2-15
Removal Note
Clutch release cylinder
- 1Remove the bolts shown.
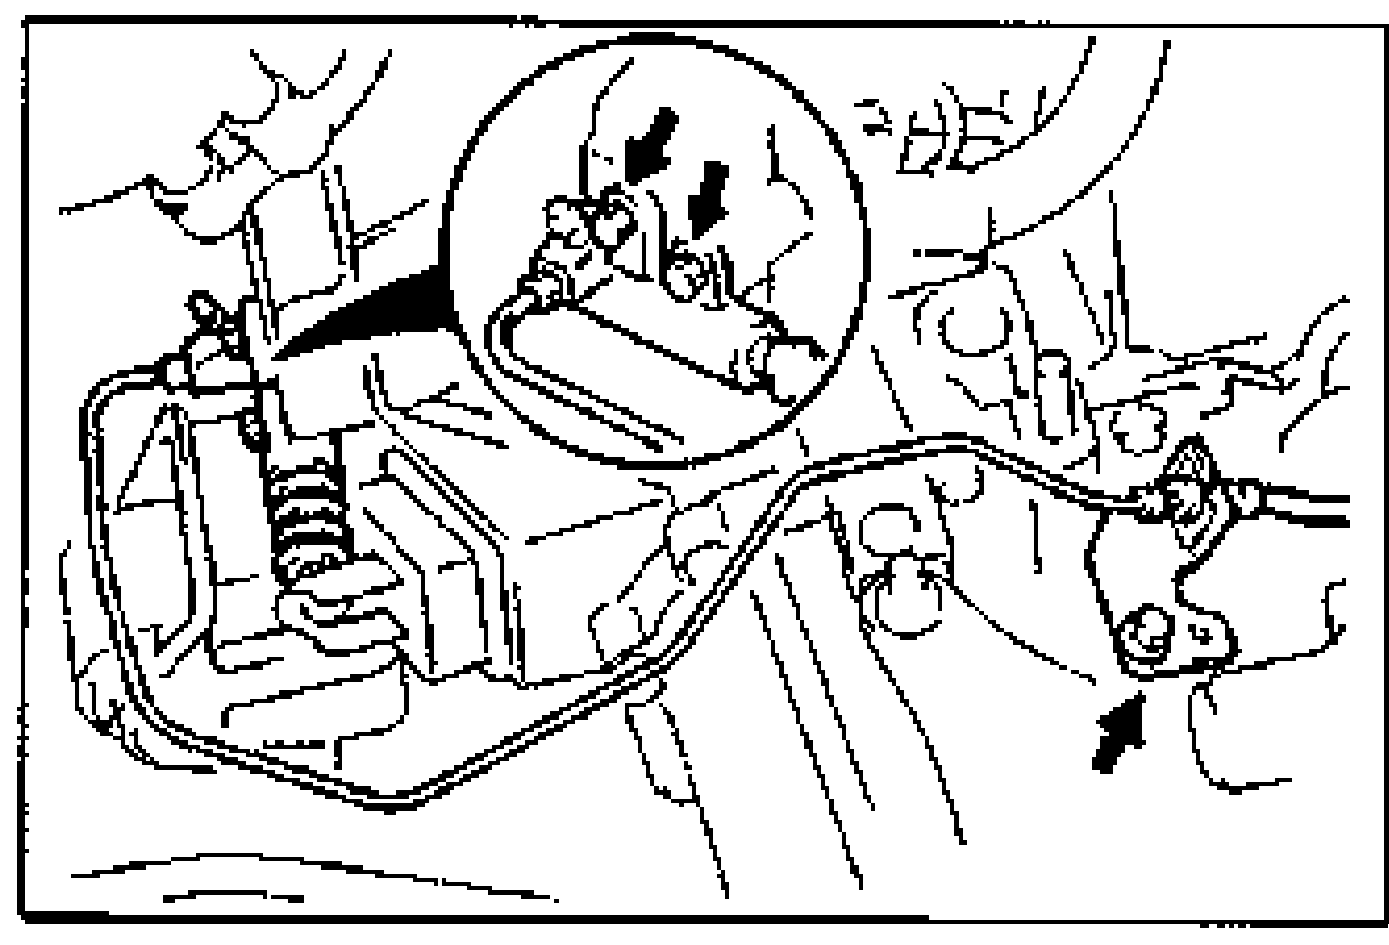
- 2Put the clutch release cylinder and the clutch pipe in a place where they will not interfere with transaxle removal.
Tie rod end
CAUTION
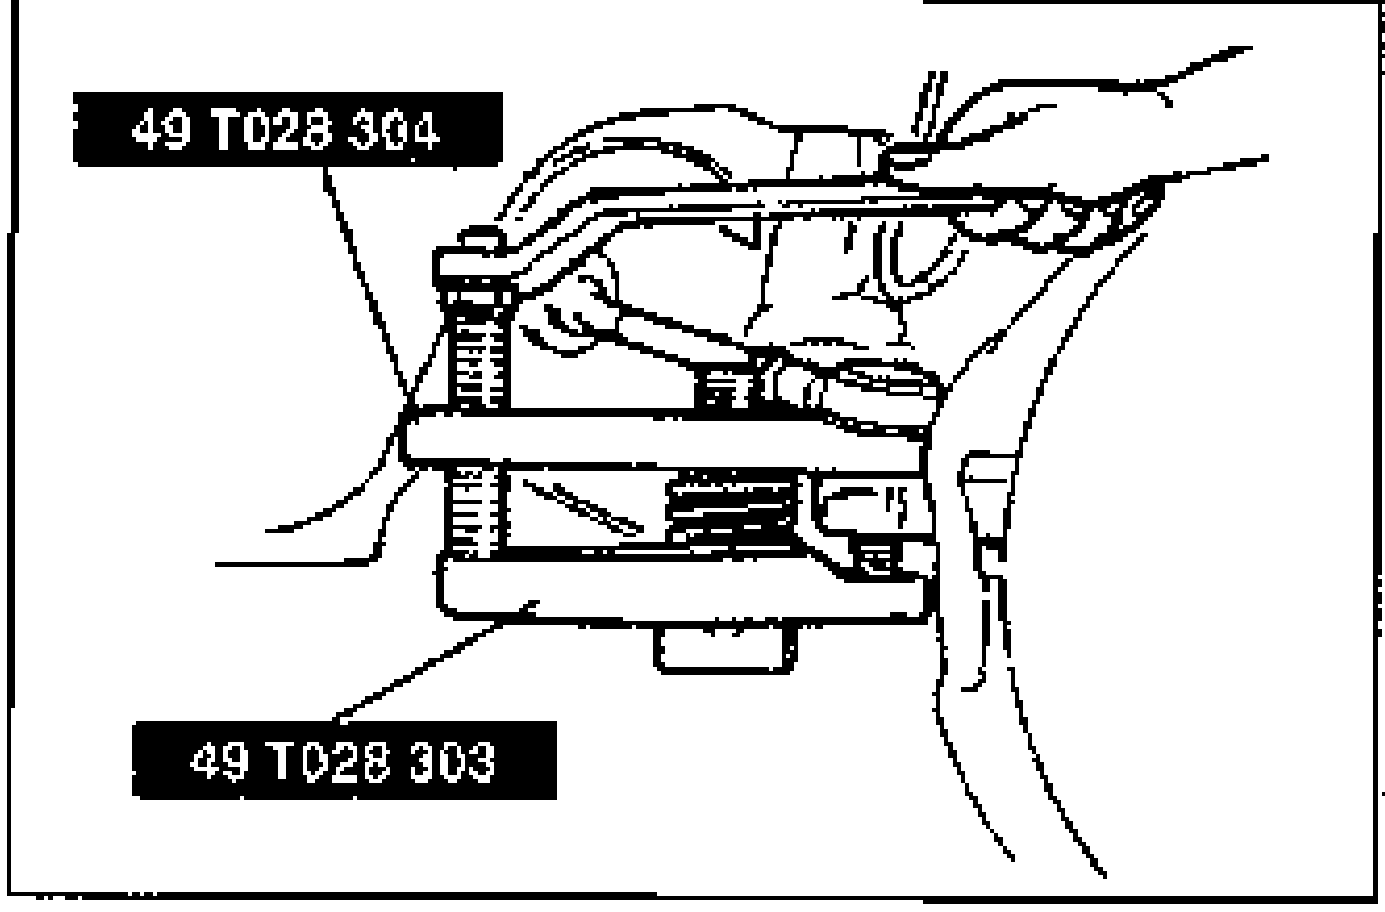
The sharp edges of the SST can slice the tie rod end dust boot. Install the SST so that the sharp edges are between the dust boot and the knuckle.
Tie rod end
- 1Remove the cotter pin and the nut.
- 2Disconnect the tie rod end from the knuckle by using the SST.