
TRANSAXLE — Removal Note: Drive shaft & Engine mounting member
J2-14prose procedureManual transaxle (M/T) removal note continuation.
Drive shaft
- 1Remove the clinch bolt from the lower arm ball joint.
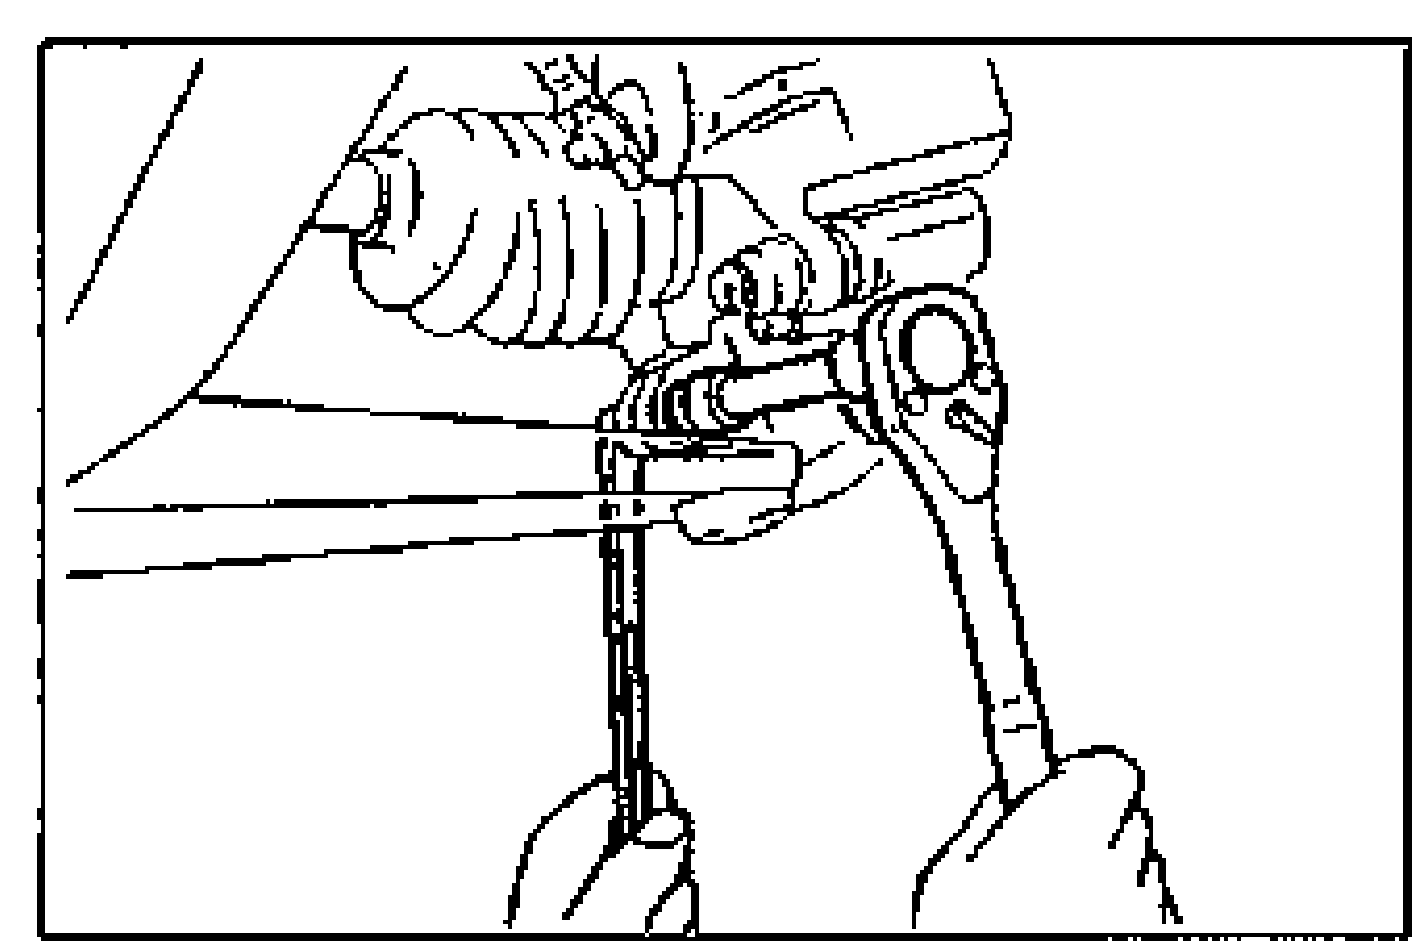
- 2Wrap a rag around the ball joint dust seal.
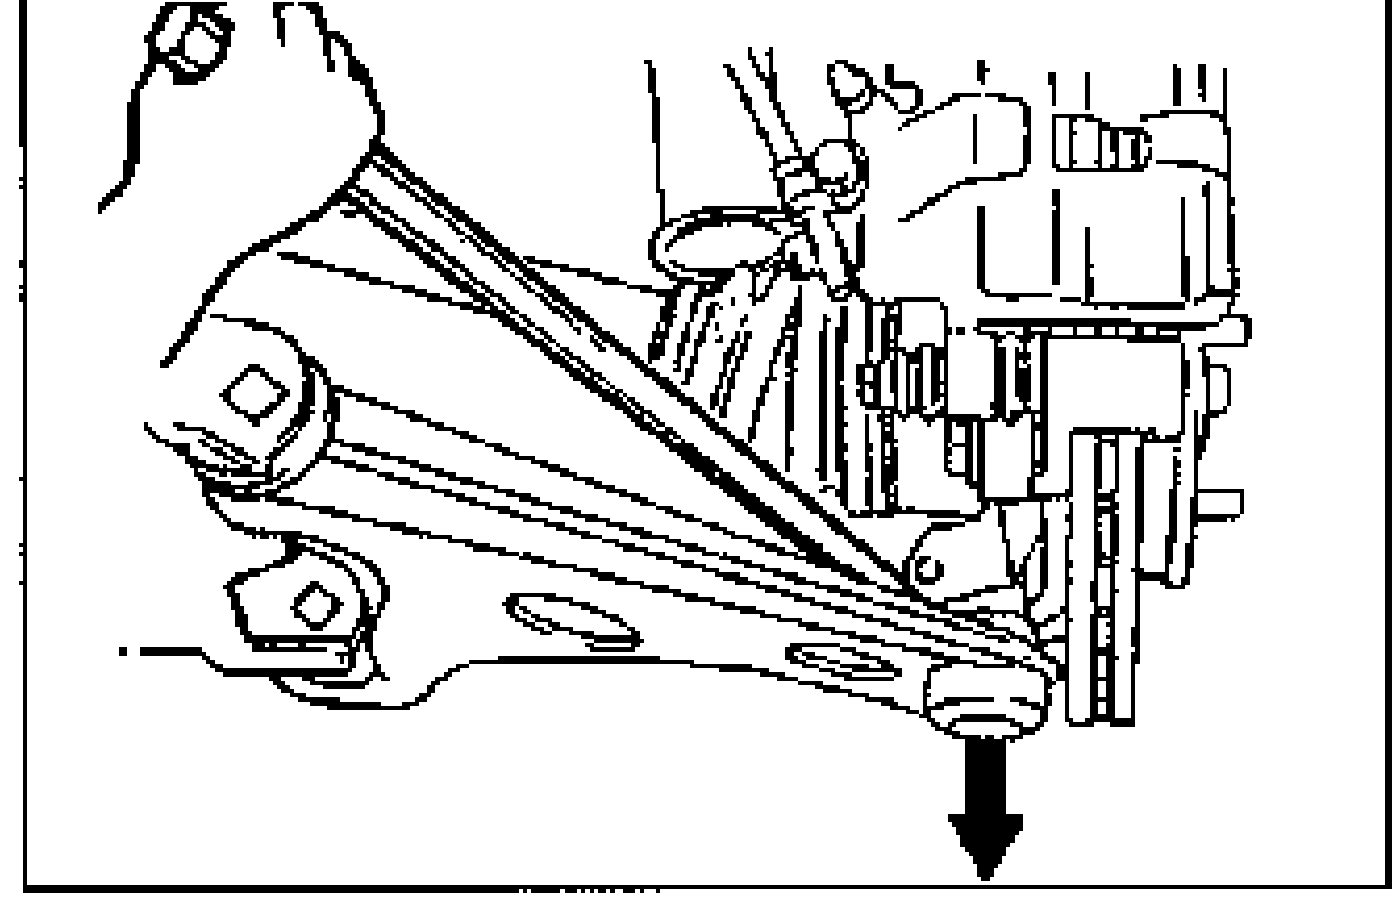
- 3Pry the lower arm out of the knuckle.
- 4Separate the drive shaft from the transaxle by prying with a bar inserted between the outer ring and the transaxle.The sharp edges of the drive shaft snap ring can slice or puncture the oil seal. Be careful when removing the drive shaft from the transaxle.
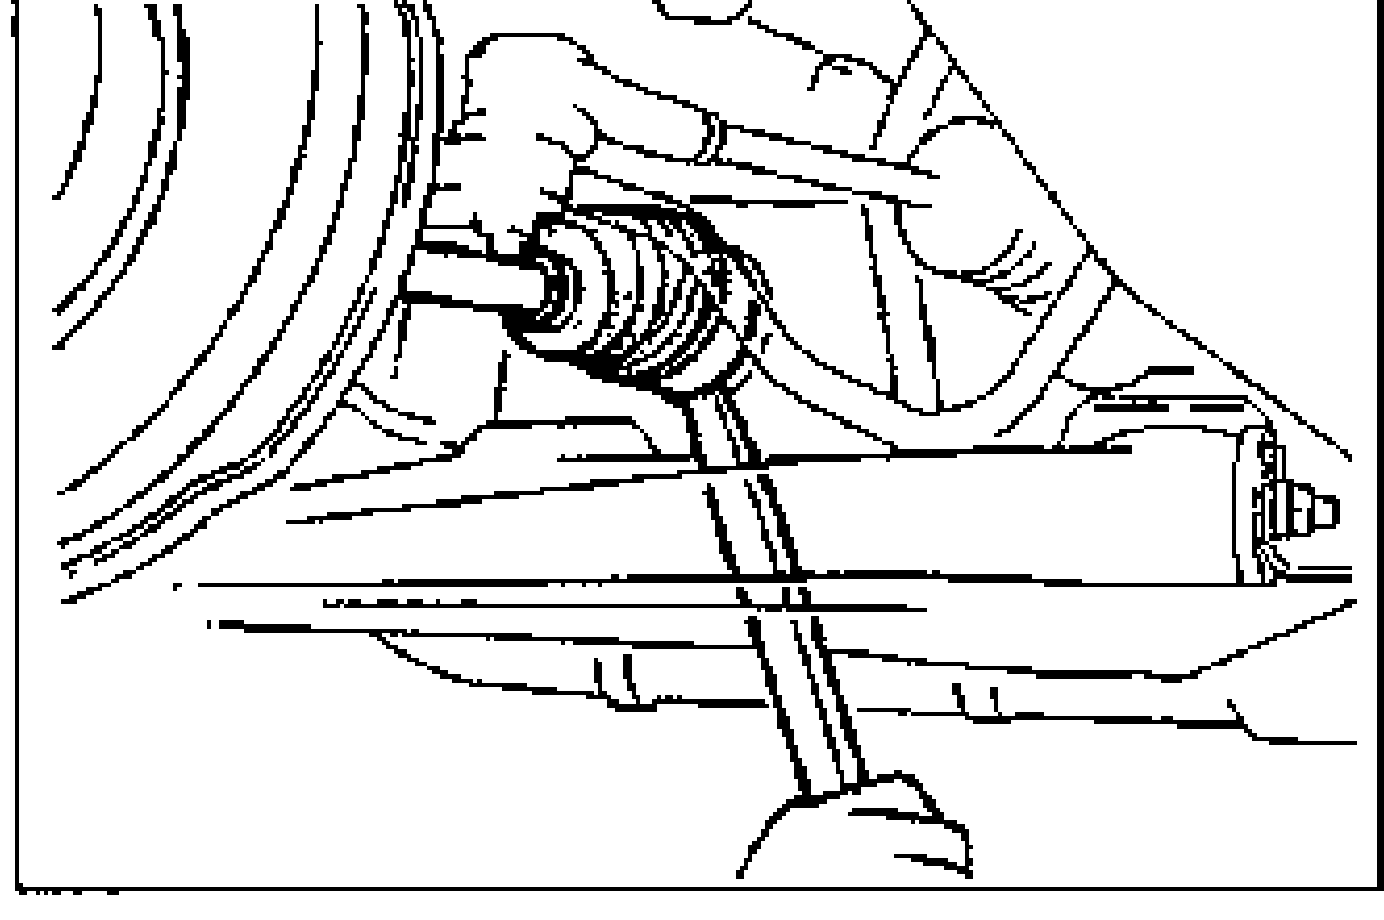
- 5Suspend the drive shaft with a rope.
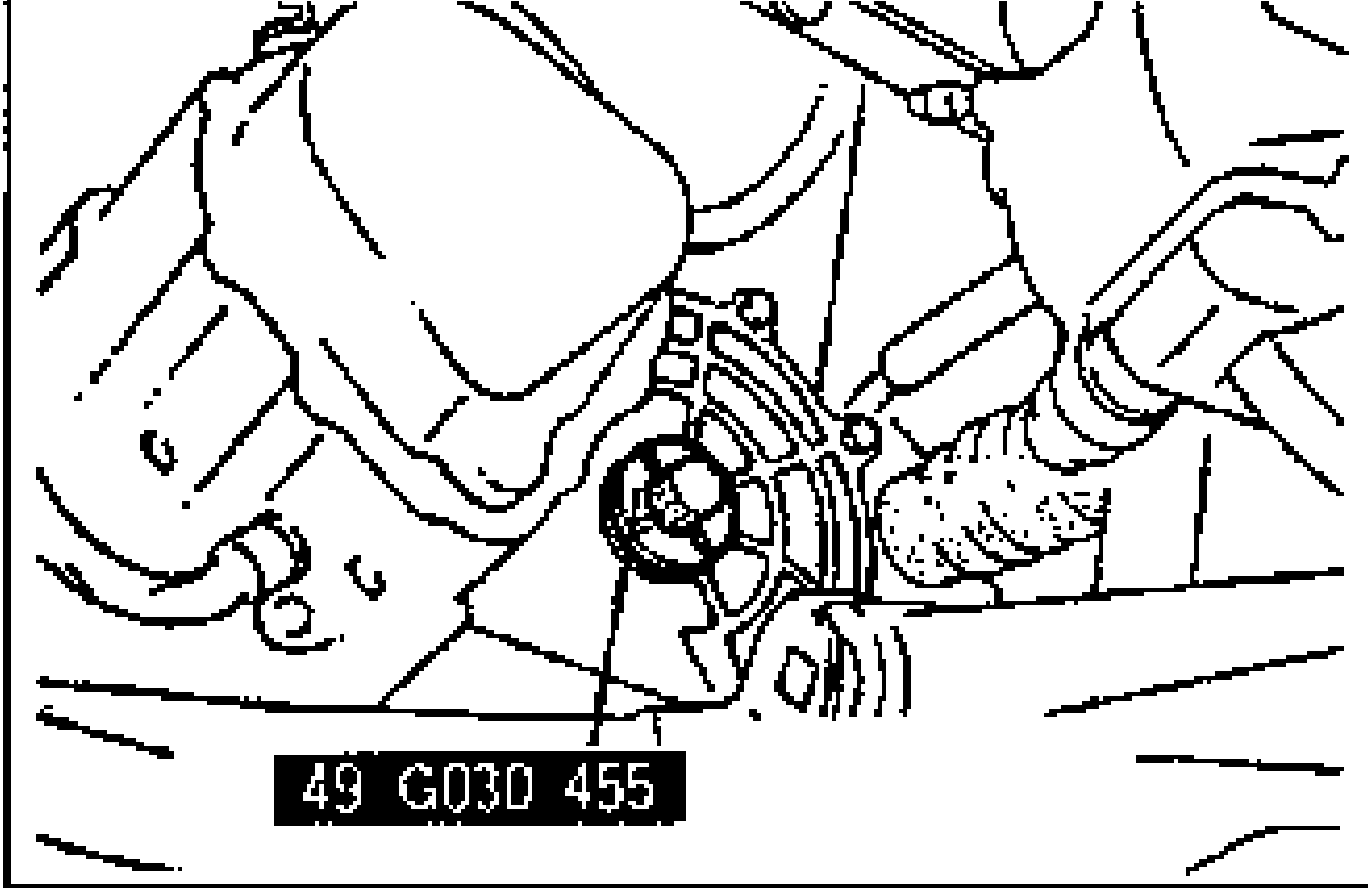
- 6Install the SSTs into the transaxle to hold the side gears.
CAUTION
The sharp edges of the drive shaft snap ring can slice or puncture the oil seal. Be careful when removing the drive shaft from the transaxle.
Engine mounting member
- 1Support the engine by using the SST before removing the engine mounting member.
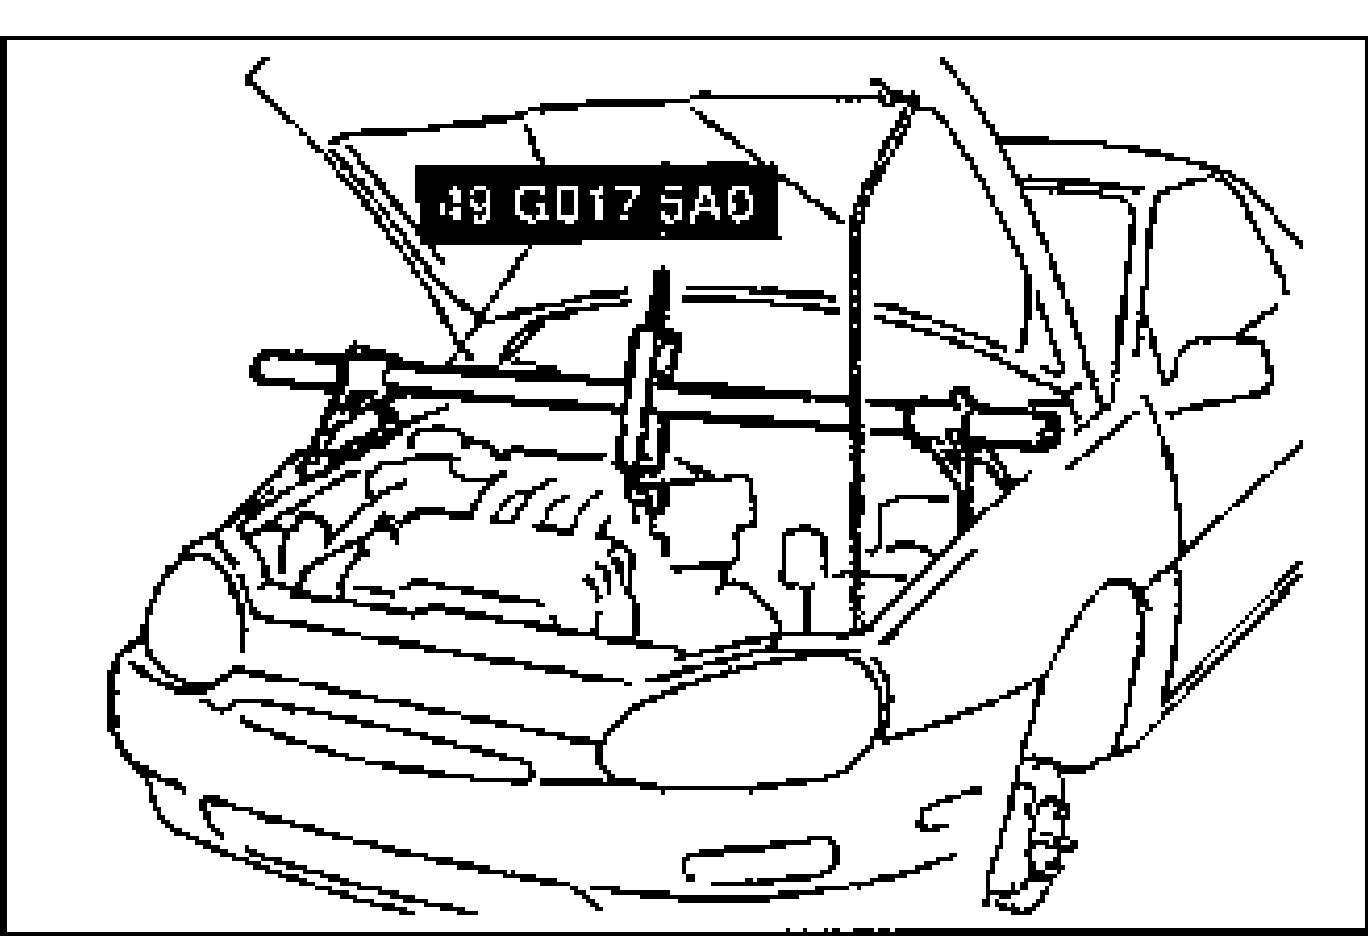
- 2Remove the engine mounting member.