
Transaxle Installation Notes (stabilizer link, tie-rod end, change control rod, back-up switch)
J2-49prose procedureManual transaxle (M/T) installation notes and post-installation road test.
Stabilizer control link
- 1Install the stabilizer control link.
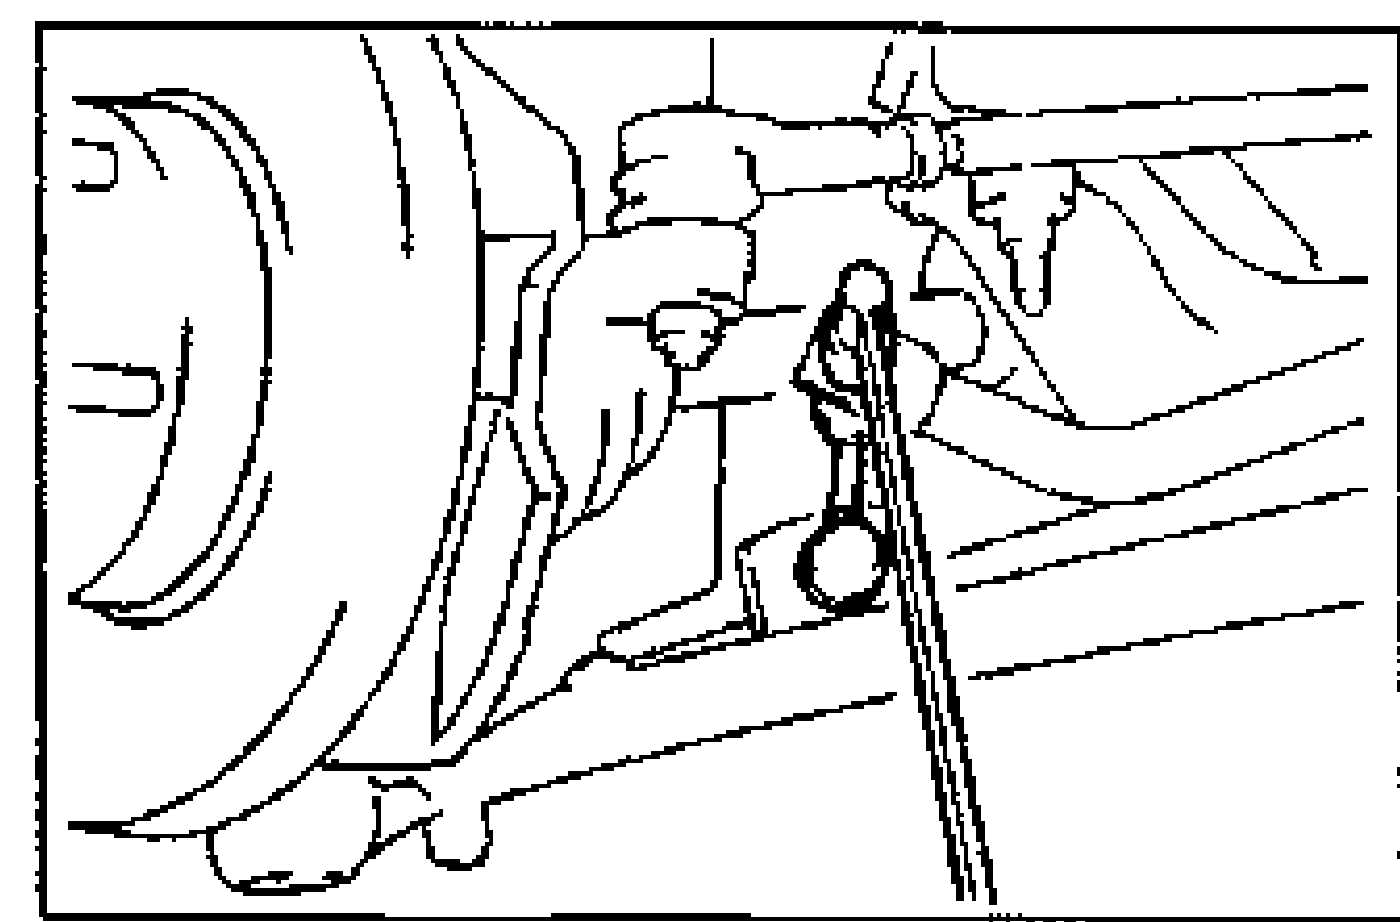
| Specification | Value |
|---|---|
| Stabilizer control link | ≈431 - 588N·m |
Stabilizer control link
431 - 588N·m
Tie-rod end
- 1Install the locknut.
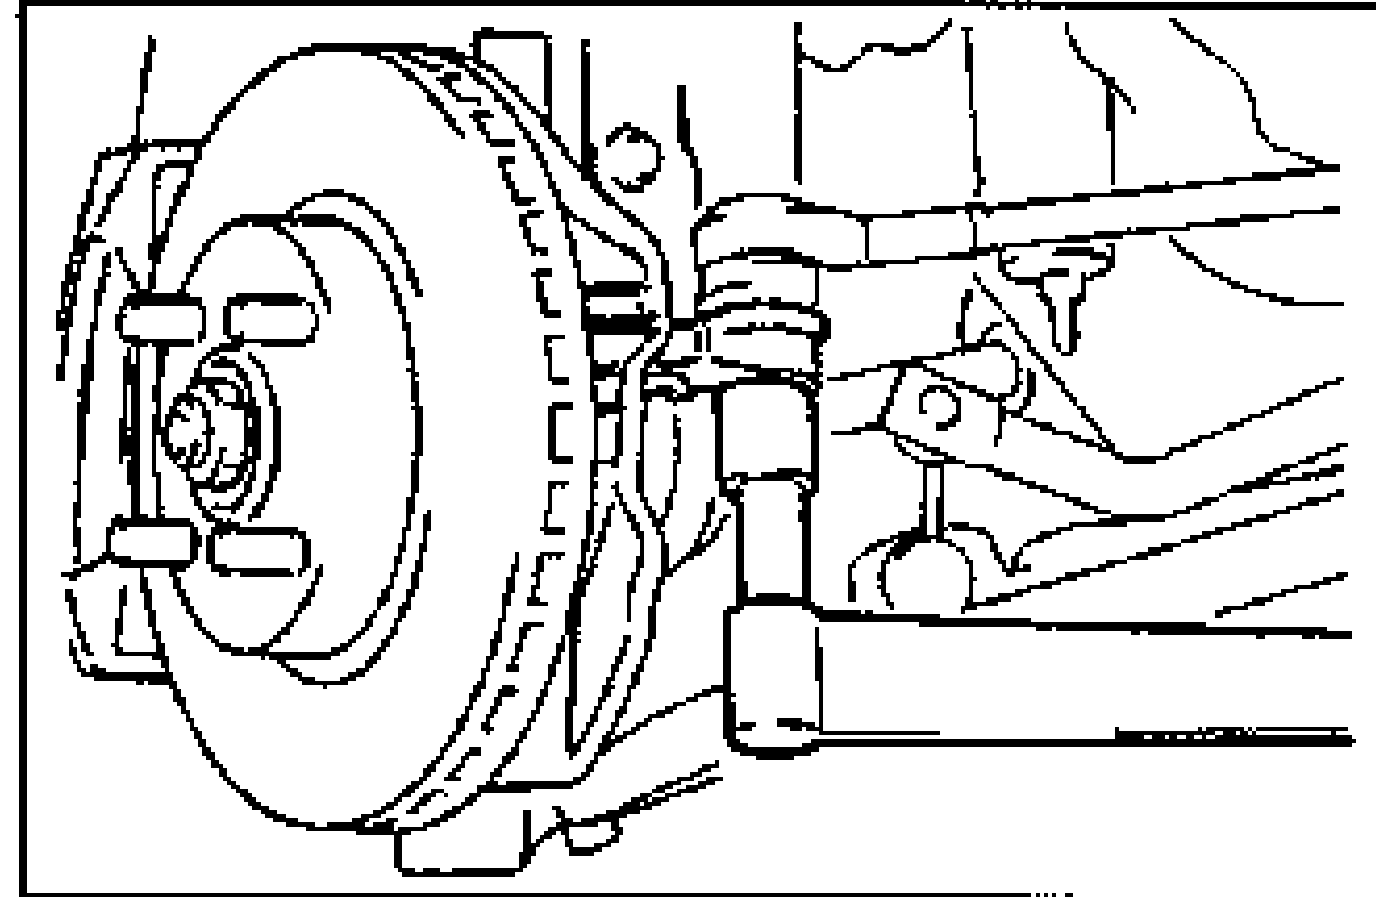
- 2Secure the locknut by using a new cotter pin.
| Specification | Value |
|---|---|
| Tie-rod end locknut | ≈422 - 549N·m |
Tie-rod end locknut
422 - 549N·m
Change control rod and extension bar
- 1Install the extension bar to the transaxle.
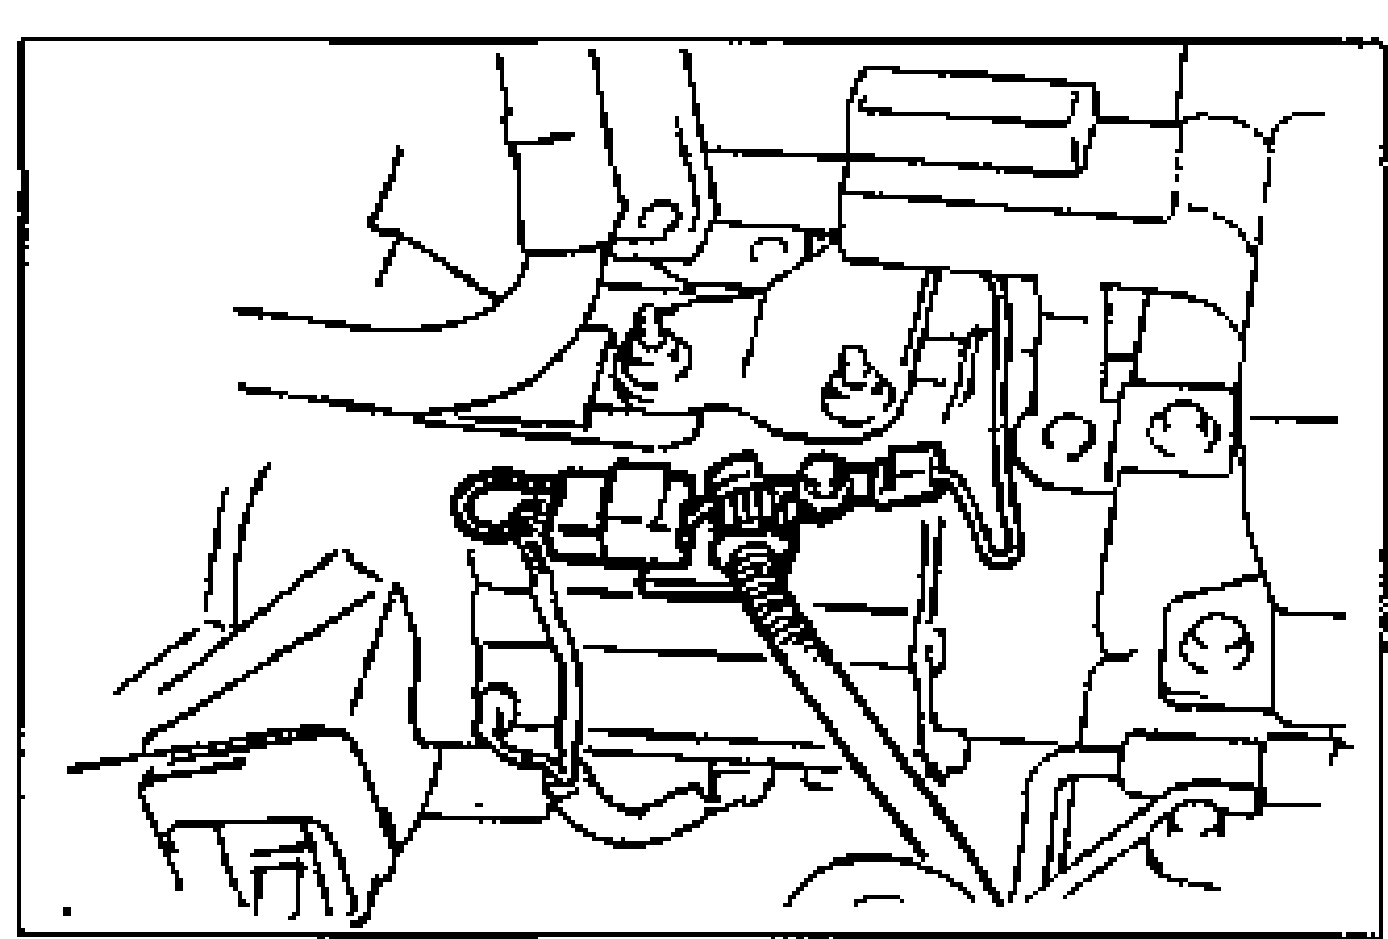
- 2Install the change control rod to the transaxle.
| Specification | Value |
|---|---|
| Extension bar | ≈373 - 500N·m |
| Change control rod | ≈157 - 216N·m |
Extension bar
373 - 500N·m
Change control rod
157 - 216N·m
Back-up light switch connector
- 1Install the back-up light switch connector and the bracket for the ground terminals.
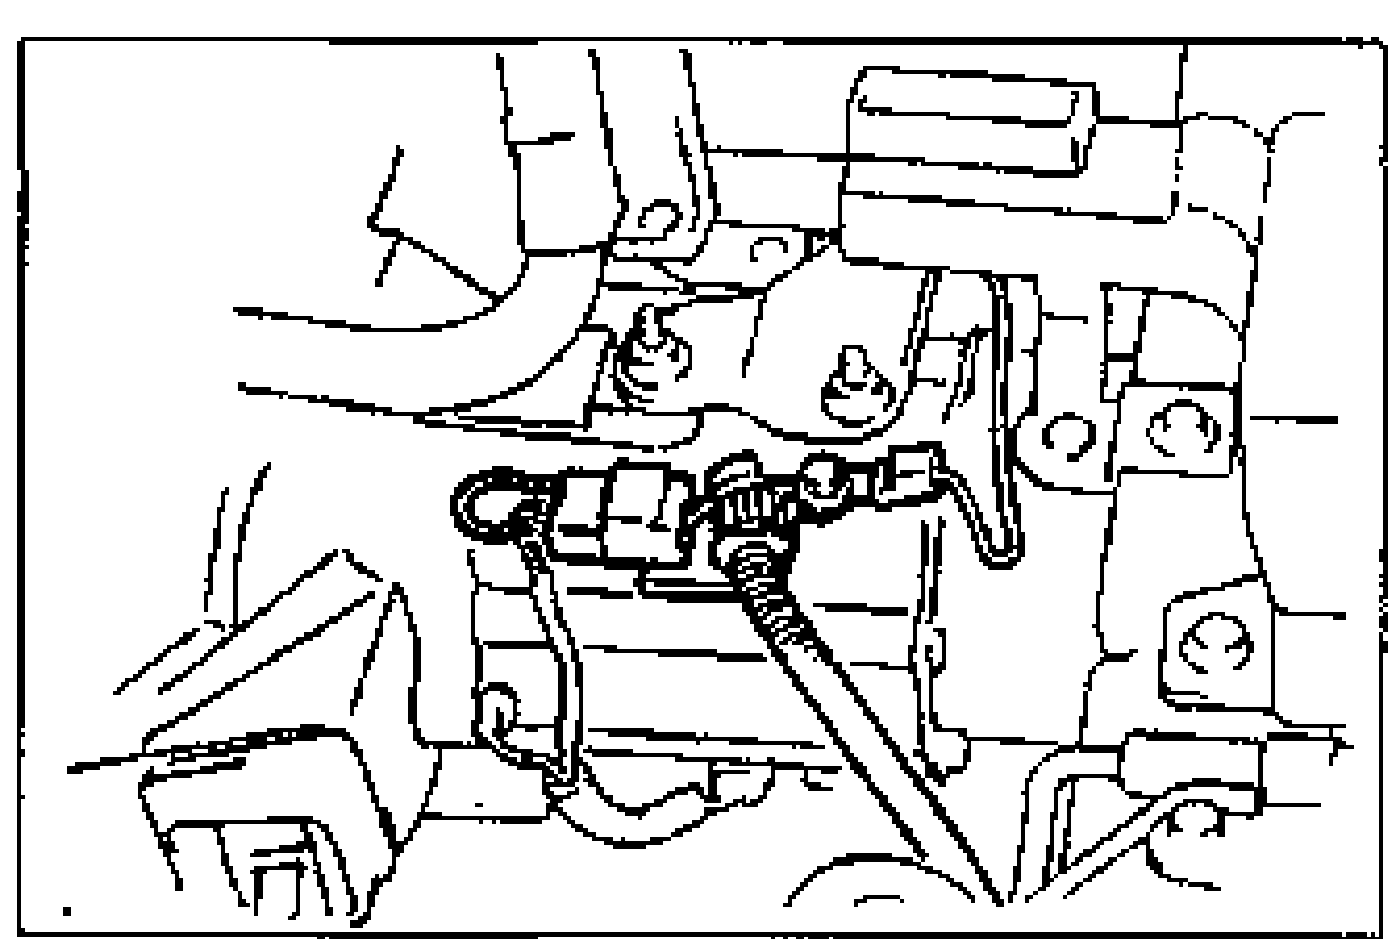
- 2Connect the back-up light switch connector.
- 3Connect the ground terminals.
| Specification | Value |
|---|---|
| Ground terminal | ≈157 - 216N·m |
Ground terminal
157 - 216N·m
After warming-up the engine, do the following.
Check the amount of oil.
Conduct a road test
- 1No abnormal noise in each shift position.
- 2Smooth shift change is possible.
- 3Transaxle does not jump out of gear.
- 4Speedometer operates correctly.
- 5Back-up lights operate correctly.