
TRANSAXLE — Disassembly Note: Locknut & Shift fork and control rod assembly
J2-18prose procedureManual transaxle (M/T) disassembly note continuation.
Locknut (continued)
- 2Lock the primary shaft by using the SST.
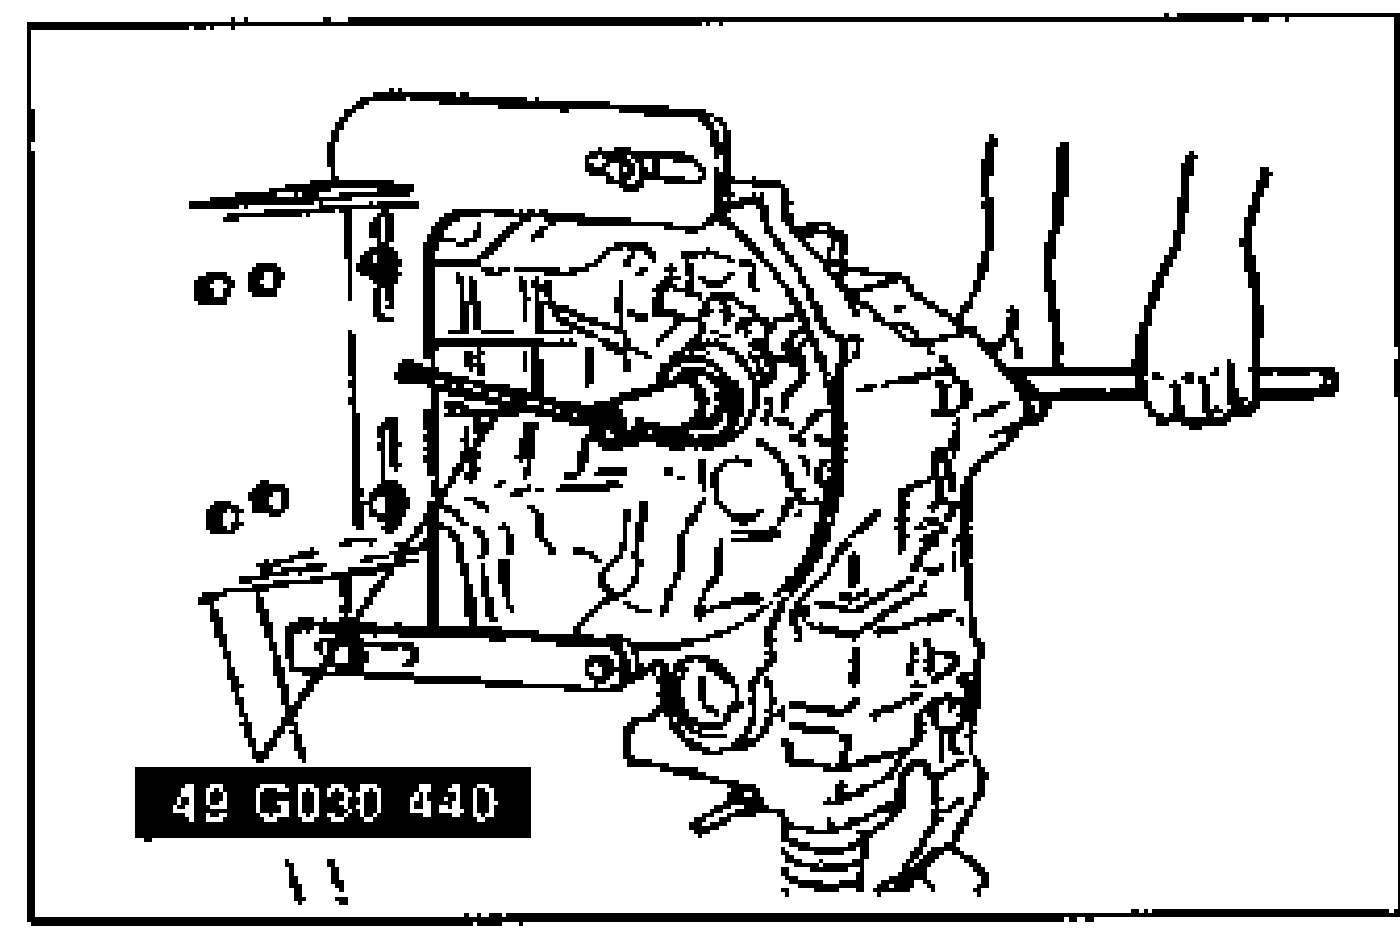
- 3Shift to 1st gear to lock the rotation of the primary shaft.
- 4Uncrimp the tabs of the locknuts.
- 5Remove the locknuts from the primary and secondary shafts.
Shift fork and control rod assembly
- 1Align the ends of the interlock sleeve and of the control lever (arrow). Turn the control rod counterclockwise.
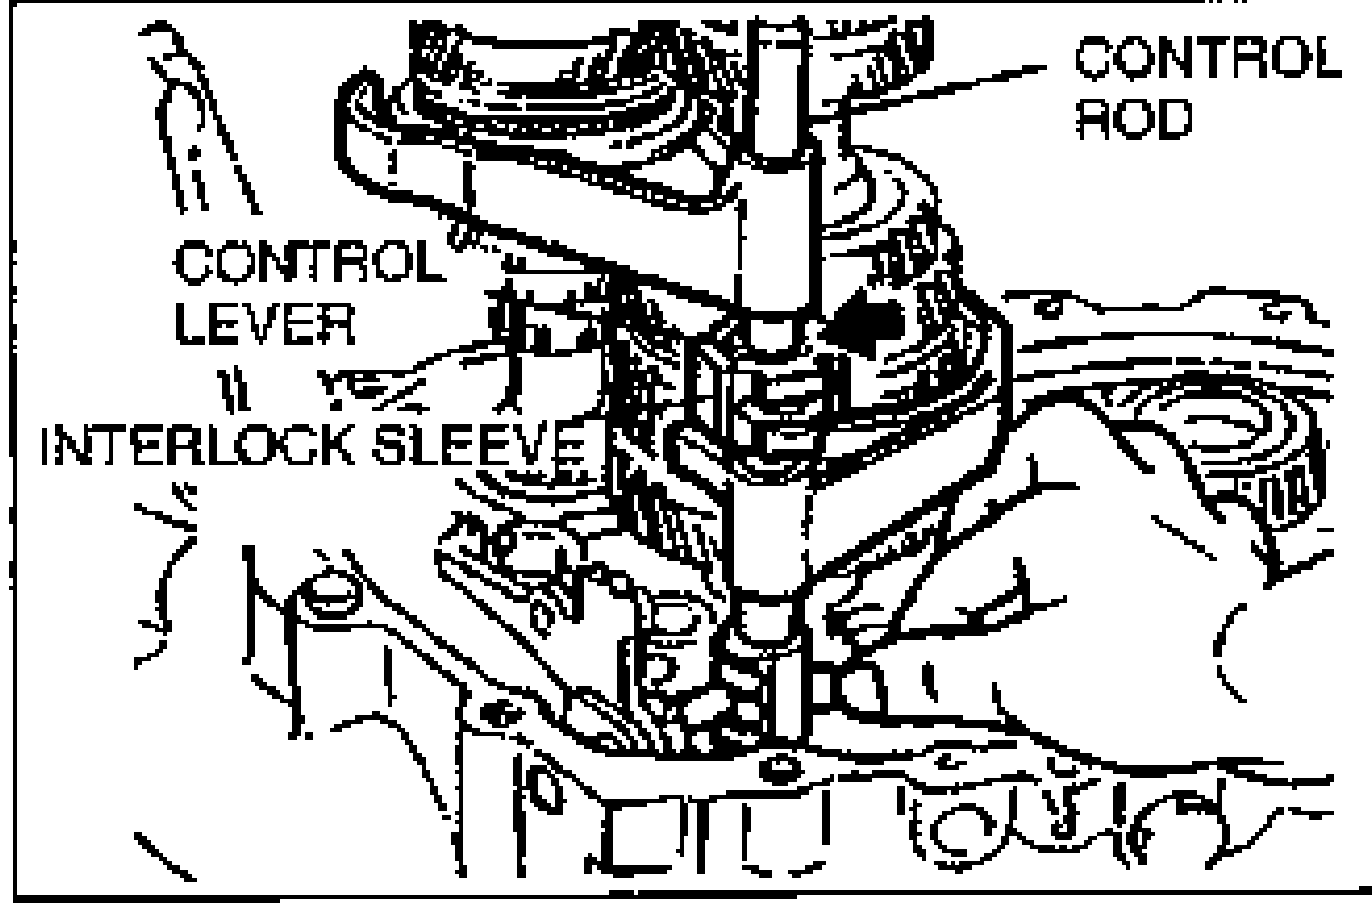
- 2While holding the 1st/2nd shift fork with one hand and the 3rd/4th shift fork with the other, raise them both at the same time and shift each of the clutch hub sleeves.
- 3Lift the control end and remove the steel ball, and, at the same time, remove the control rod from the clutch housing.
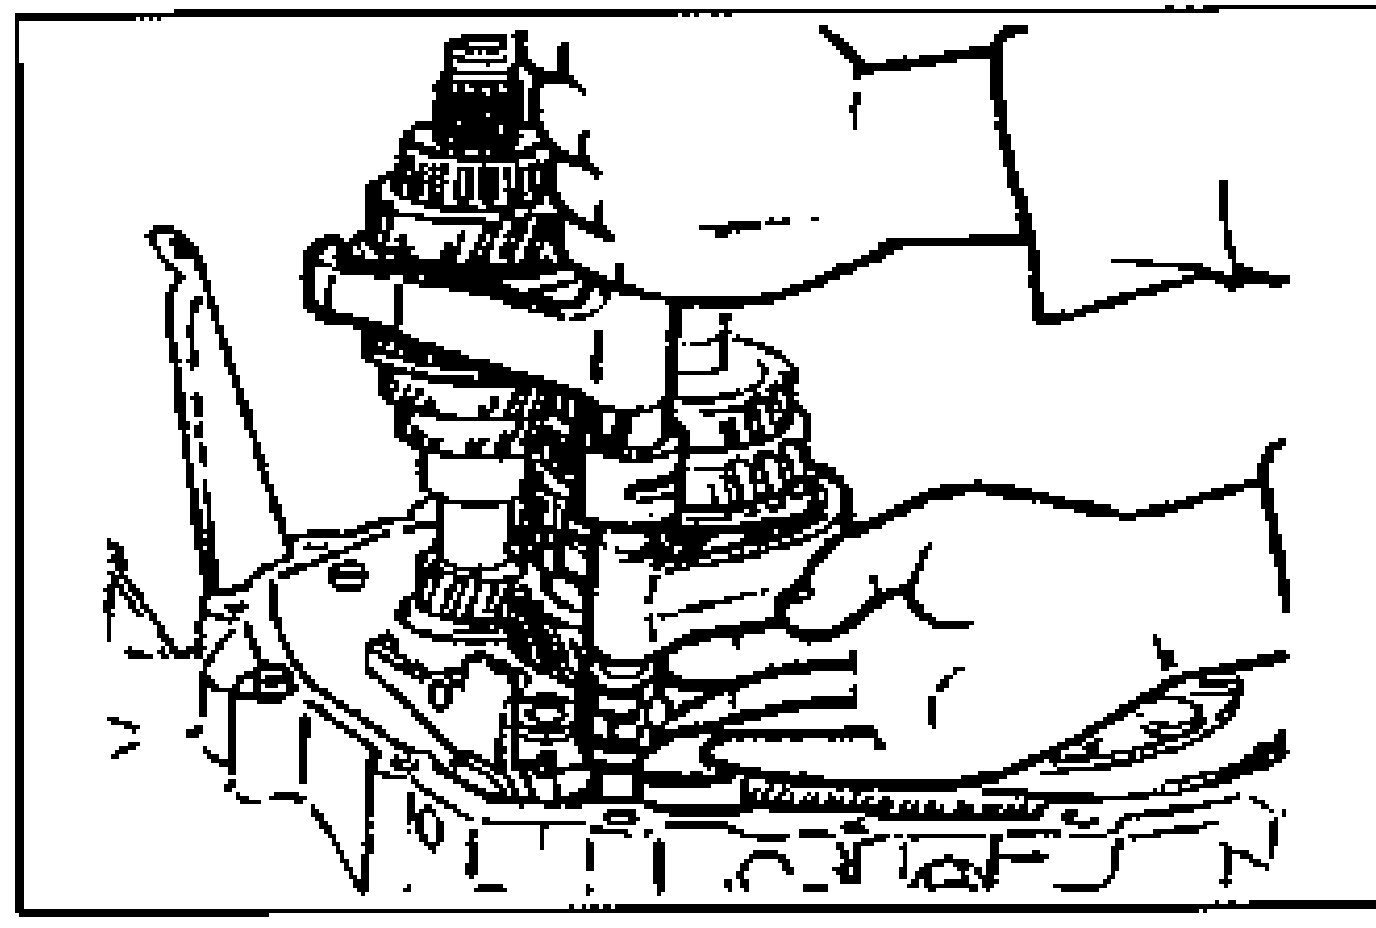
- 4Separate the control rod and shift fork assembly from each of the clutch hub sleeves.