FRONT SUSPENSION (STRUT) — Lower arm ball joint / bushing Inspection, Removal & Installation Notes
R-19prose procedureInspection
Lower arm ball joint
Check the following and replace the ball joint if necessary.
Lower arm ball joint inspection
- 1Inspect for damage.
- 2Attach the SST to the ball stud, and measure the torque with a pull scale.
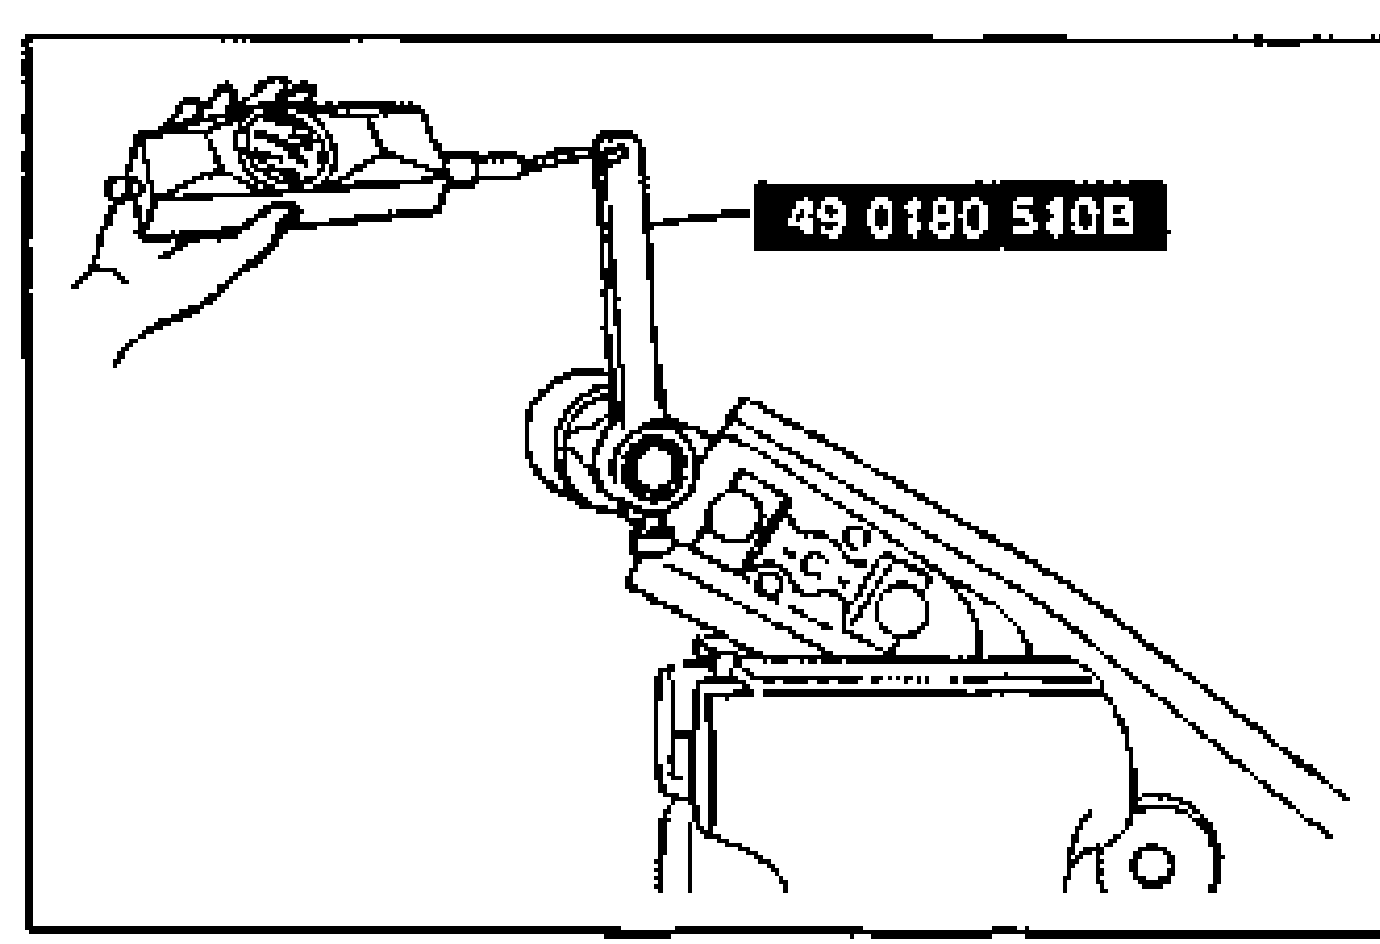
| Specification | Value |
|---|---|
| Rotation torque (while ball stud rotating)While ball stud rotating | ≈20 - 33N·m |
| Pull scale reading | 20-34N {2.0-3.5 kgf, 4.4-7.7 lbf} |
Rotation torque (while ball stud rotating)While ball stud rotating
20 - 33N·m
Pull scale reading
20-34N {2.0-3.5 kgf, 4.4-7.7 lbf}
Removal Note
Ball joint dust boot
Ball joint dust boot removal
- 1Secure the ball joint in vise.
- 2Carefully remove the dust boot from the ball joint with a chisel.
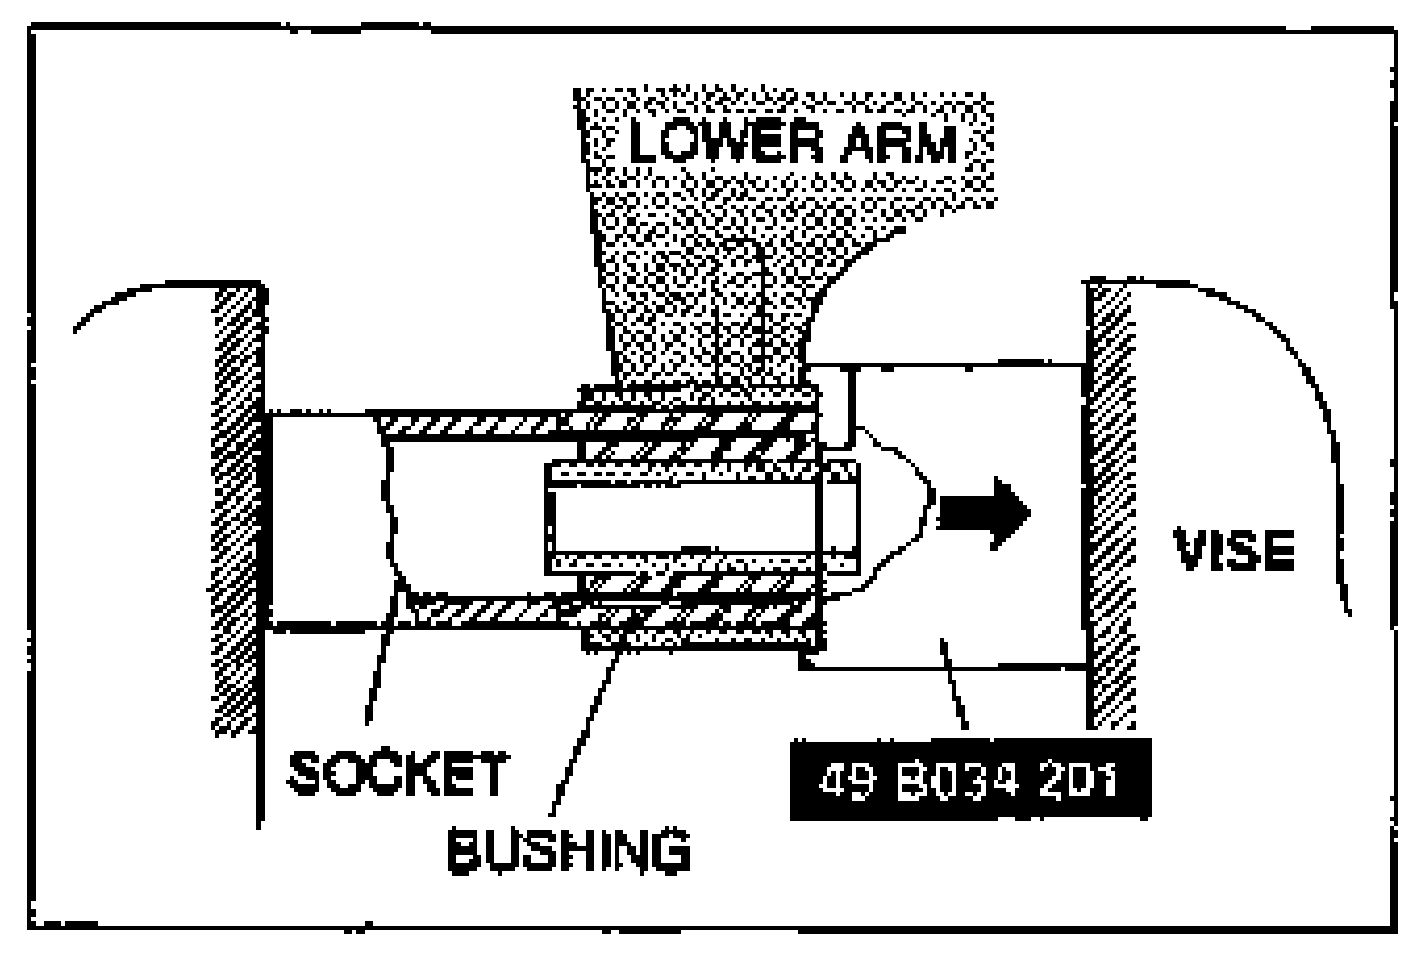
Lower arm bushing (front)
Lower arm bushing (front) removal
- 1Cut away the protecting rubber of the bushing.
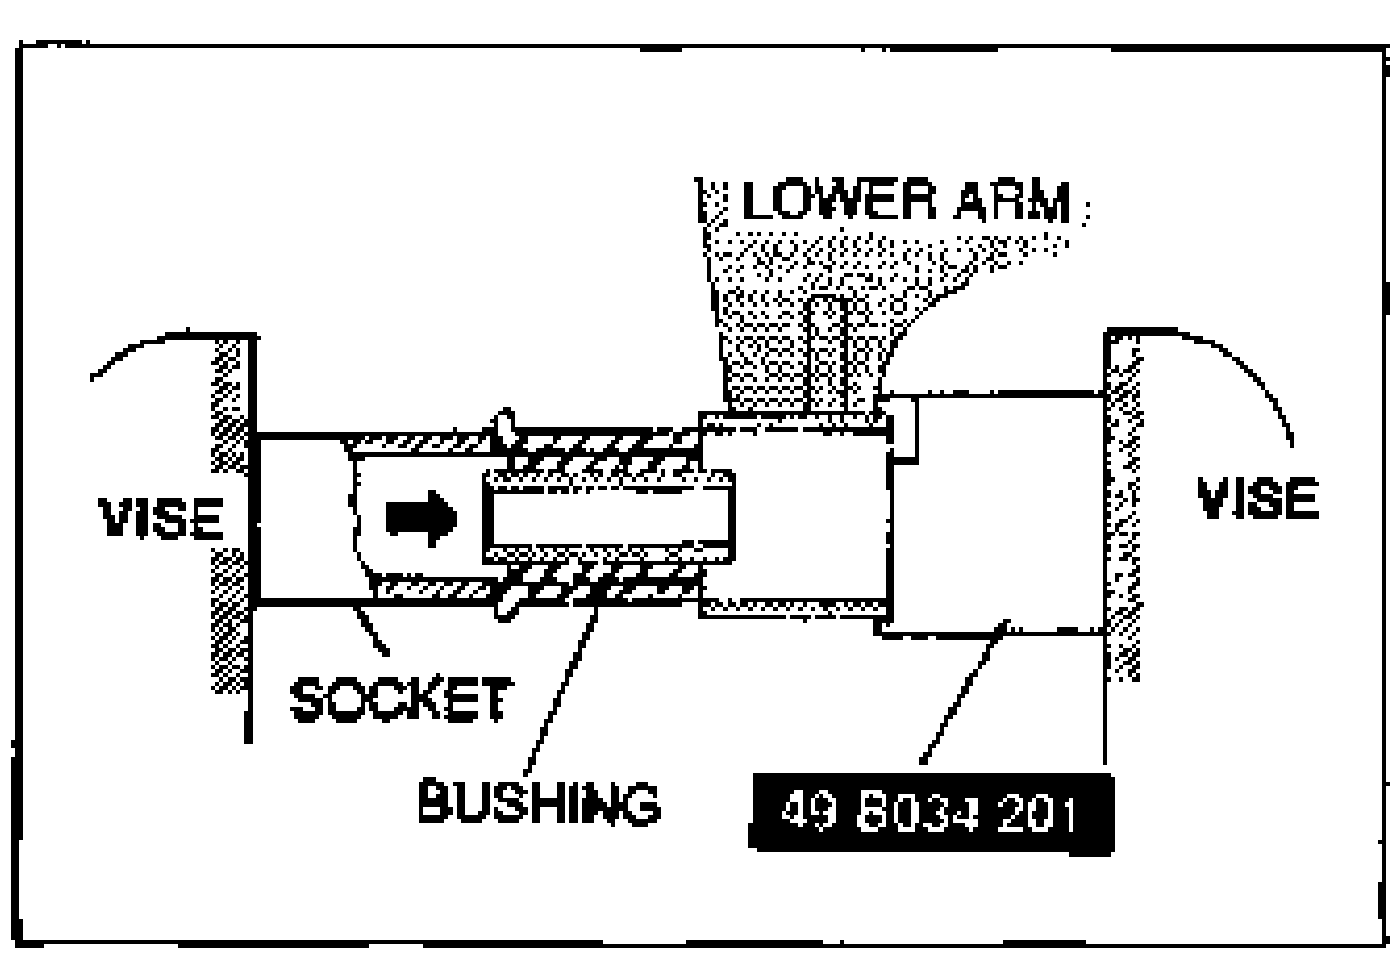
- 2Remove the bushing by using the SST and a suitable socket as shown.If the bushing is not easily removed, burn and cut the outer circumference to release the tension.
Installation Note
Ball joint dust boot
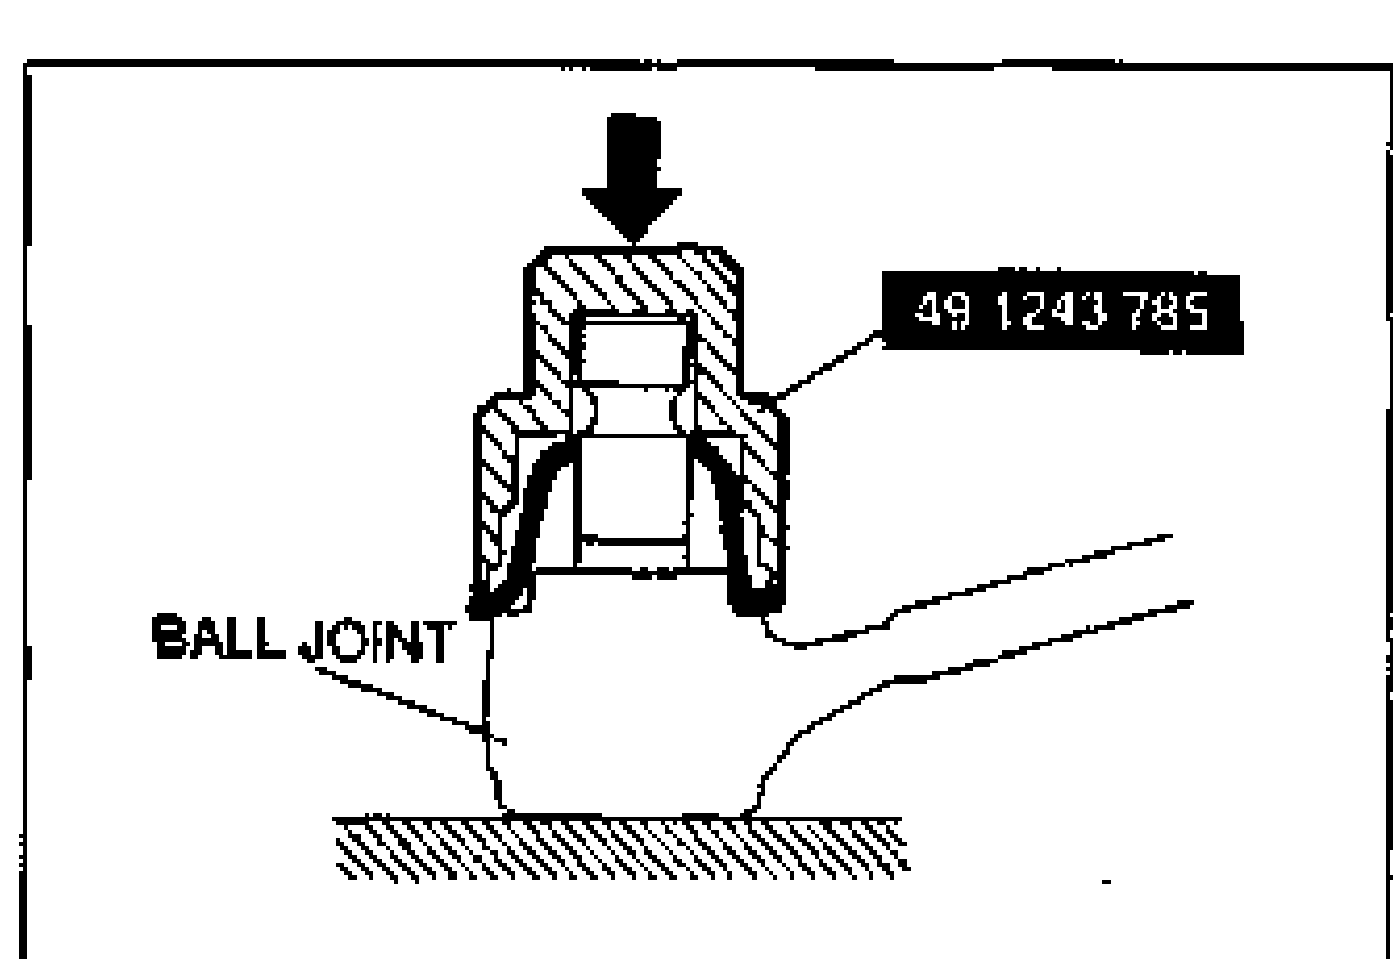
Ball joint dust boot installation
- 1Wipe the grease off the ball stud.
- 2Apply general-purpose grease to the new dust boot.
- 3Install the dust boot to the ball joint, and press it on by using the SST.
- 4Wipe off the leaked grease.
Lower arm bushing (front)
Lower arm bushing (front) installation
- 1Apply soapy water to the new bushing.
- 2Press it into the lower arm by using the SST and a suitable socket as shown.