
DRIVE SHAFT
M-27prose procedureProcedure distinguishes left-side drive shaft (transaxle) from right-side drive shaft (joint shaft).
CAUTION
The sharp edges of the drive shaft can slice or puncture the oil seal. Be careful when removing the drive shaft from the transaxle.
Removal (continued)
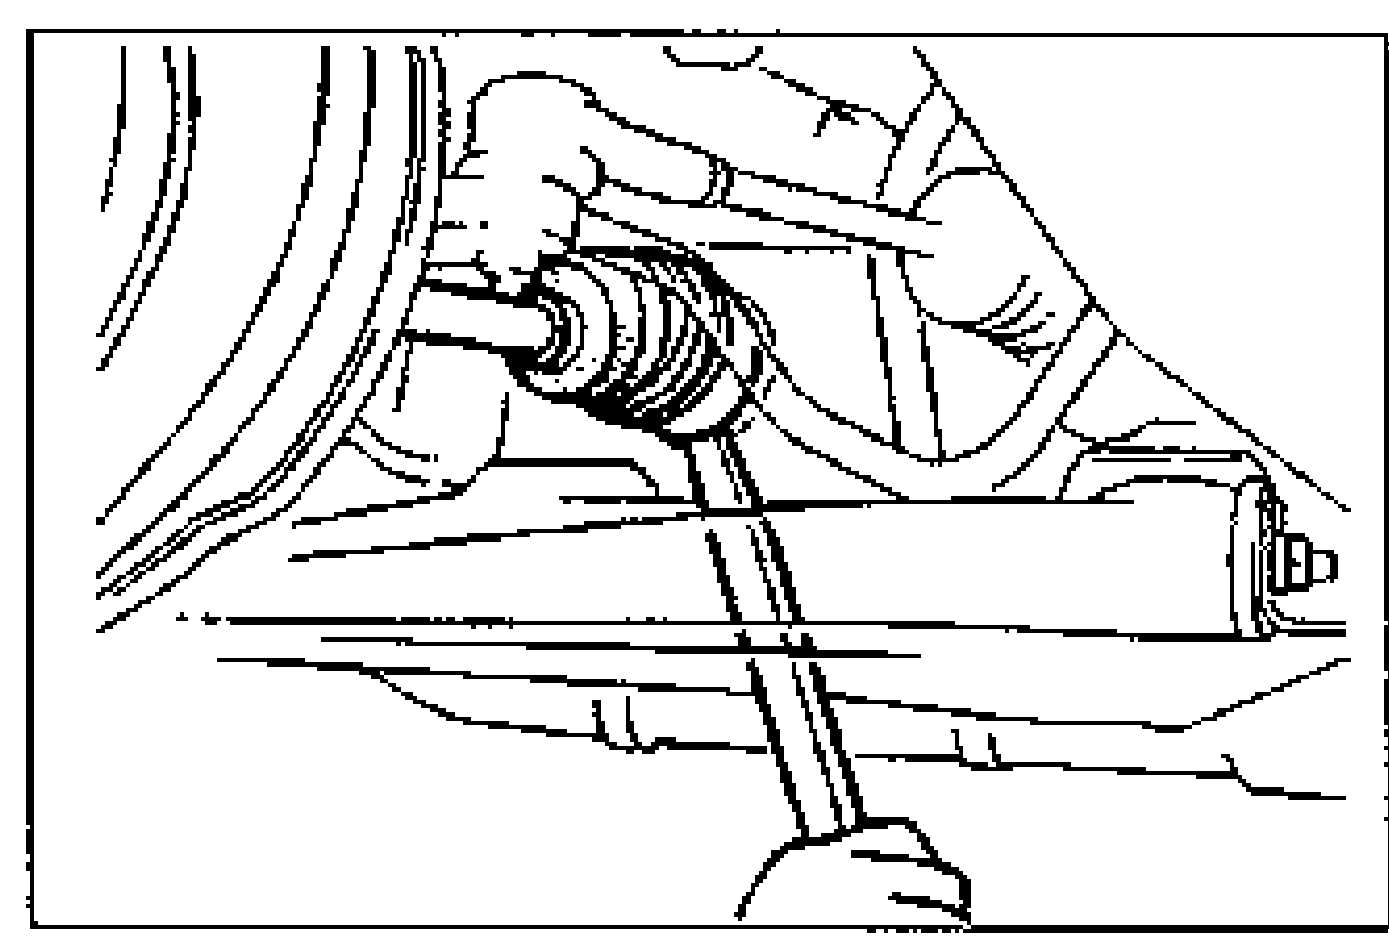
- 3Separate the left-side drive shaft from the transaxle by prying with a bar inserted between the outer ring and the transaxle, as shown in the figure.
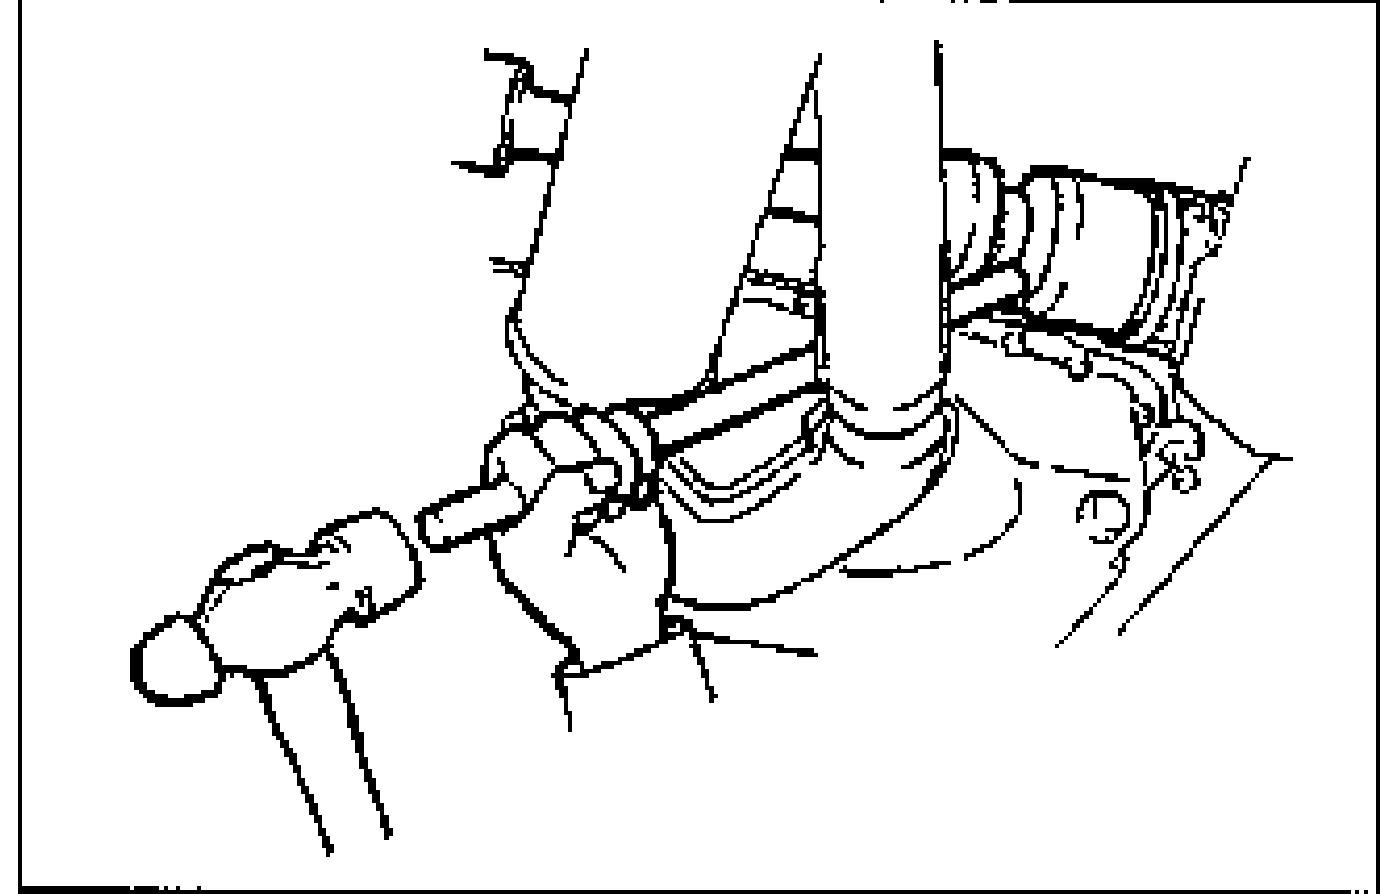
- 4Separate the right-side drive shaft from the joint shaft by hammering on a bar inserted between them.If the drive shaft will not come out of the front wheel hub easily, install an already discarded nut onto the drive shaft so that the nut is flush with the end of the drive shaft. Tap the nut with a copper hammer to loosen the drive shaft from the front wheel hub.
Installation Note
Clip
- 1Install a new clip onto the drive shaft.
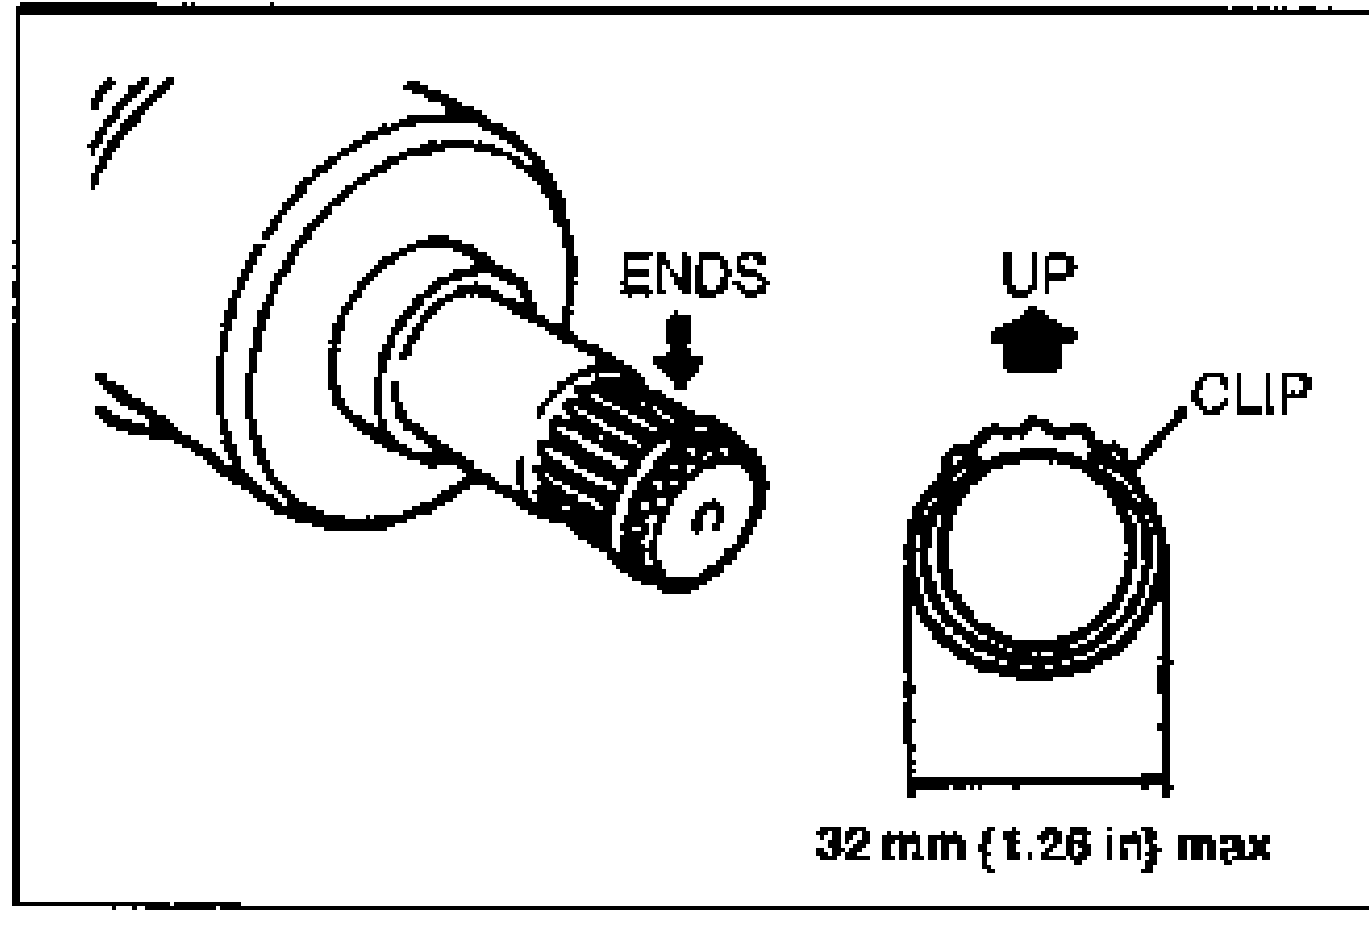
- 2Measure the outer diameter of the clip after installing, and replace the clip if it exceeds the specification.
| Specification | Value |
|---|---|
| Clip outer diametermax | 32mm (1.26 in) |
Clip outer diametermax
32mm (1.26 in)
Drive shaft
CAUTION
The sharp edges of the drive shaft can slice or puncture the oil seal. Be careful when installing the drive shaft to the transaxle. The oil seals are damaged easily if this procedure is not done correctly.
Drive shaft
- 1Apply grease to the ends of the drive shafts.
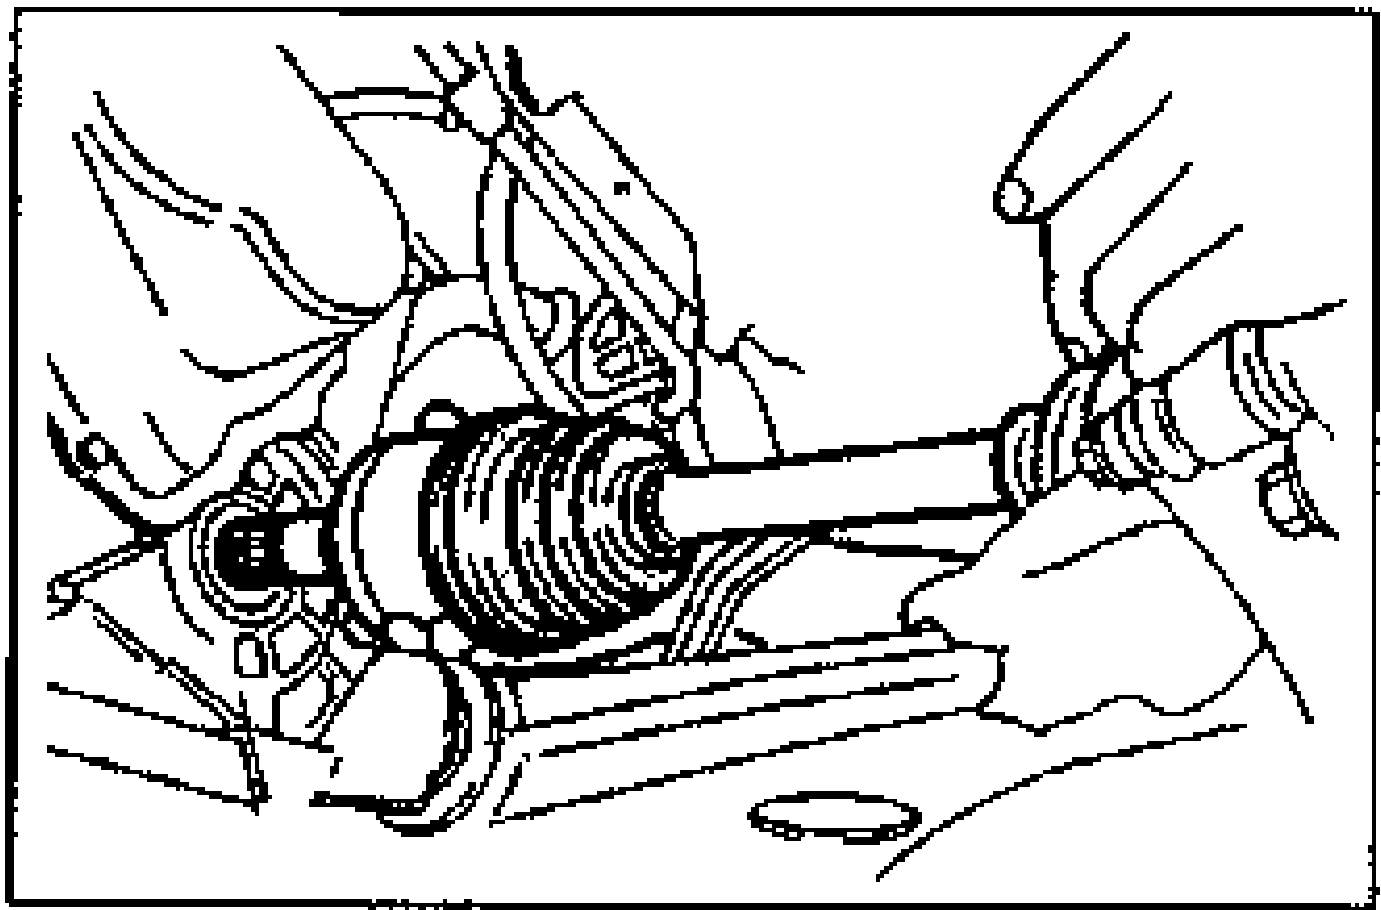
- 2Push the drive shaft into the transaxle (left side) or joint shaft (right side).