
DRIVE SHAFT
M-21prose procedureJoint shaft step 3 (bolt A tightened last) is specific to B6 DOHC.
Installation Note
Clip
- 1Install a new clip so that the opening is facing upward.
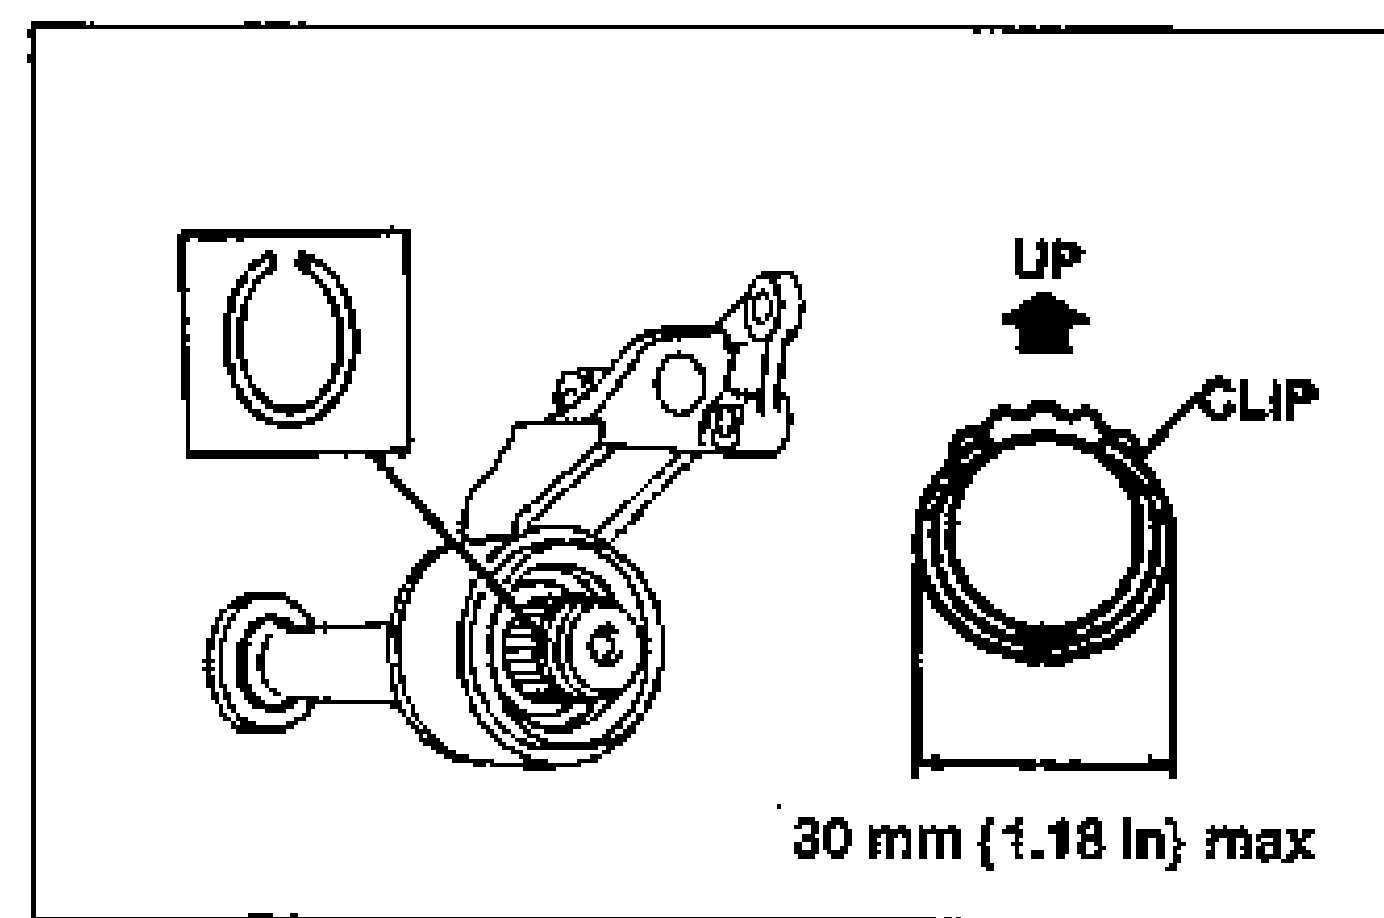
- 2Measure the outer diameter of the clip after installing, and replace the clip if it exceeds the specification.Clip outer diameter: 30 mm {1.18 in} max
Joint shaft
- 1Install a new clip so that the opening is facing upward.Do not damage the transaxle oil seal.
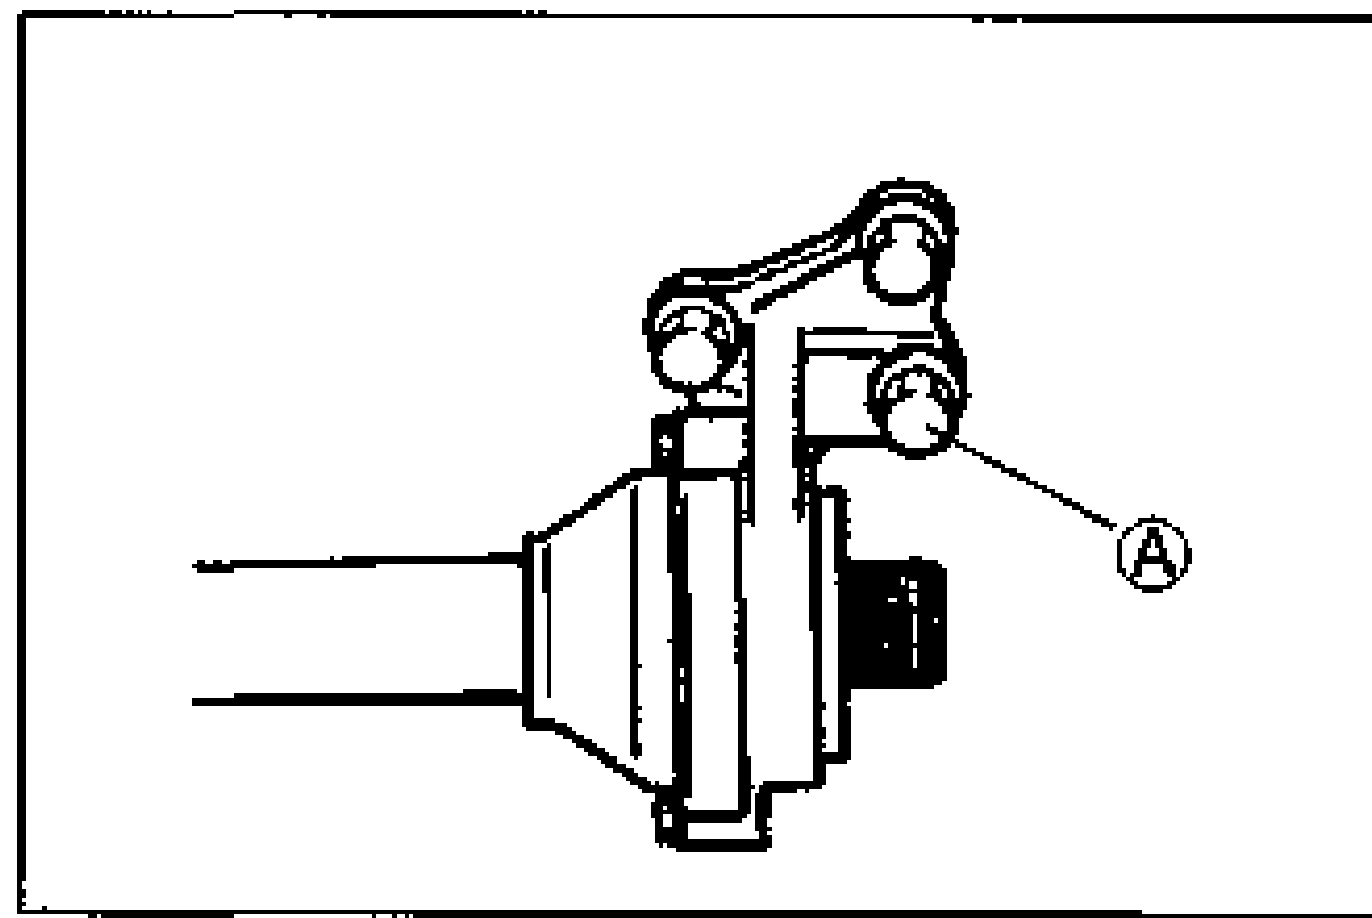
- 2Install the joint shaft.
- 3Install the joint shaft, bolt A must be tightened last as shown. (B6 DOHC)
| Specification | Value |
|---|---|
| Tightening torque (joint shaft) | ≈422 - 598N·m |
Tightening torque (joint shaft)
422 - 598N·m
Right drive shaft and axle
- 1Push the drive shaft into the joint shaft.
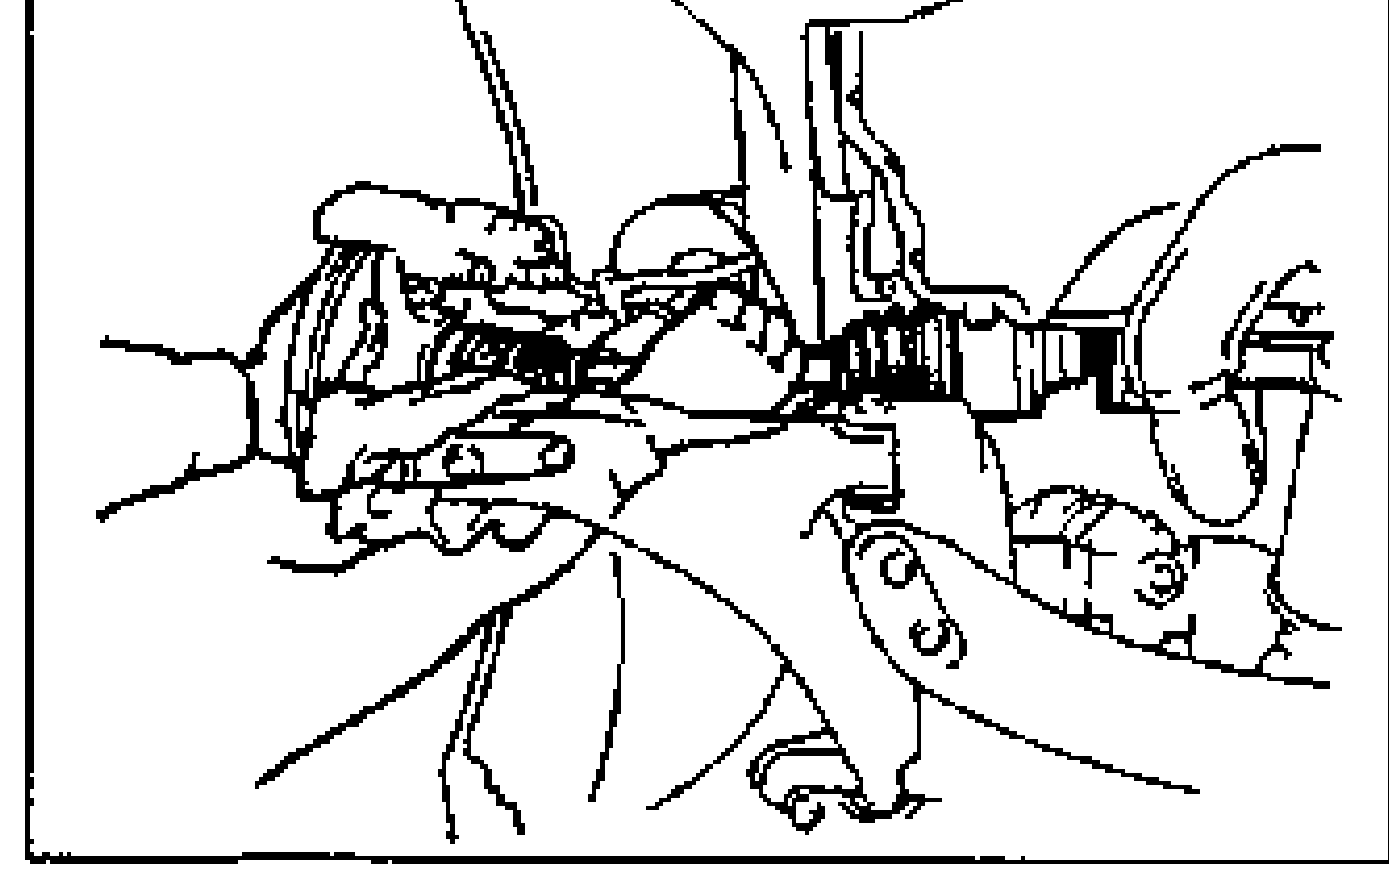
- 2After installation, pull the front hub outward to verify that the drive shaft is securely held by the clip.
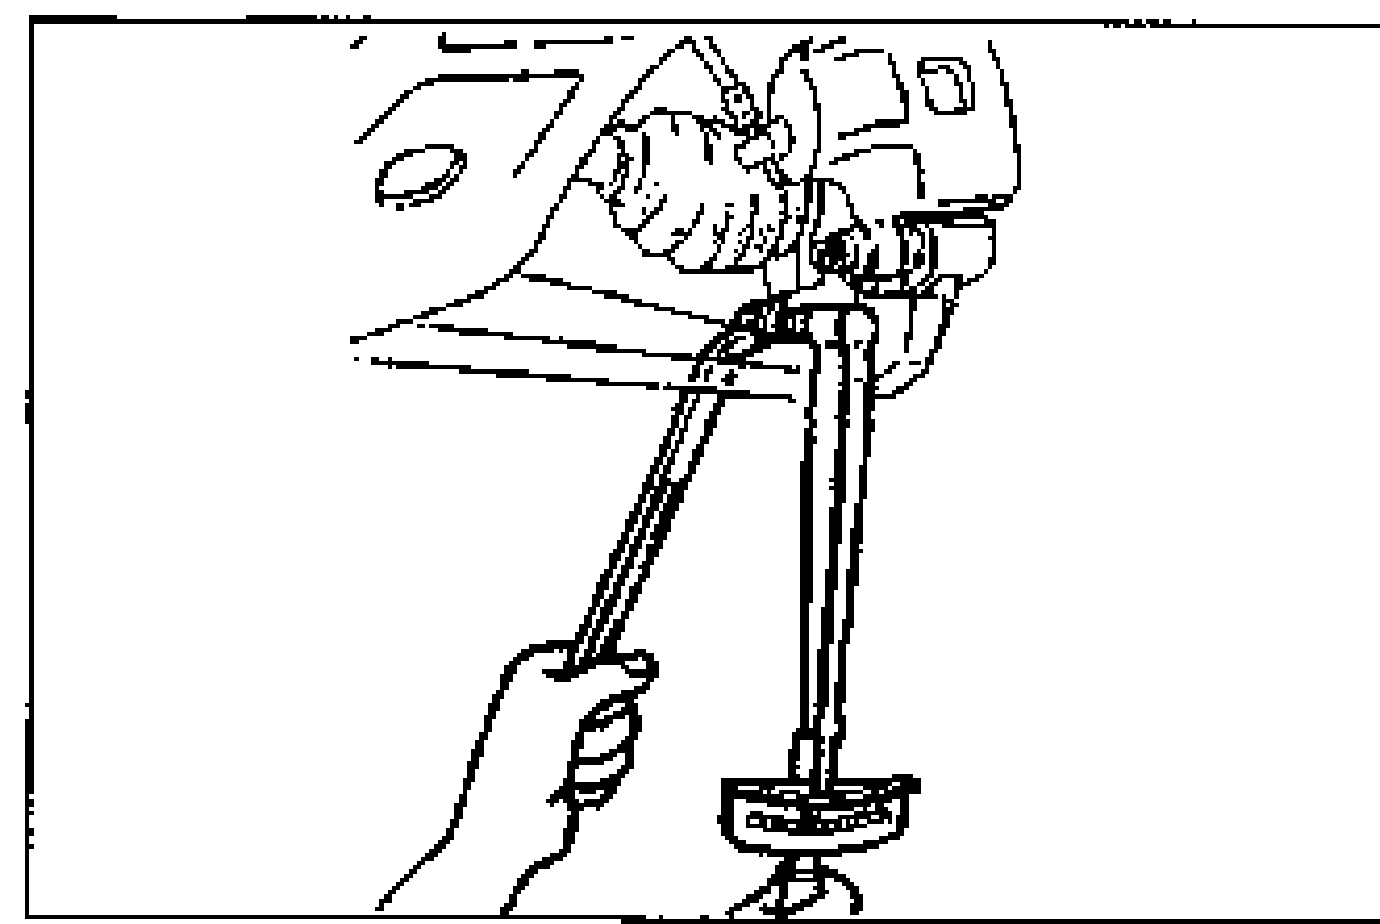
- 3Install the lower arm ball joint to the knuckle and tighten the through bolt.
| Specification | Value |
|---|---|
| Tightening torque (lower arm ball joint through bolt) | ≈431 - 569N·m |
Tightening torque (lower arm ball joint through bolt)
431 - 569N·m
Tie-rod end
- 1Position the tie-rod end and dust boot directly over the knuckle hole.
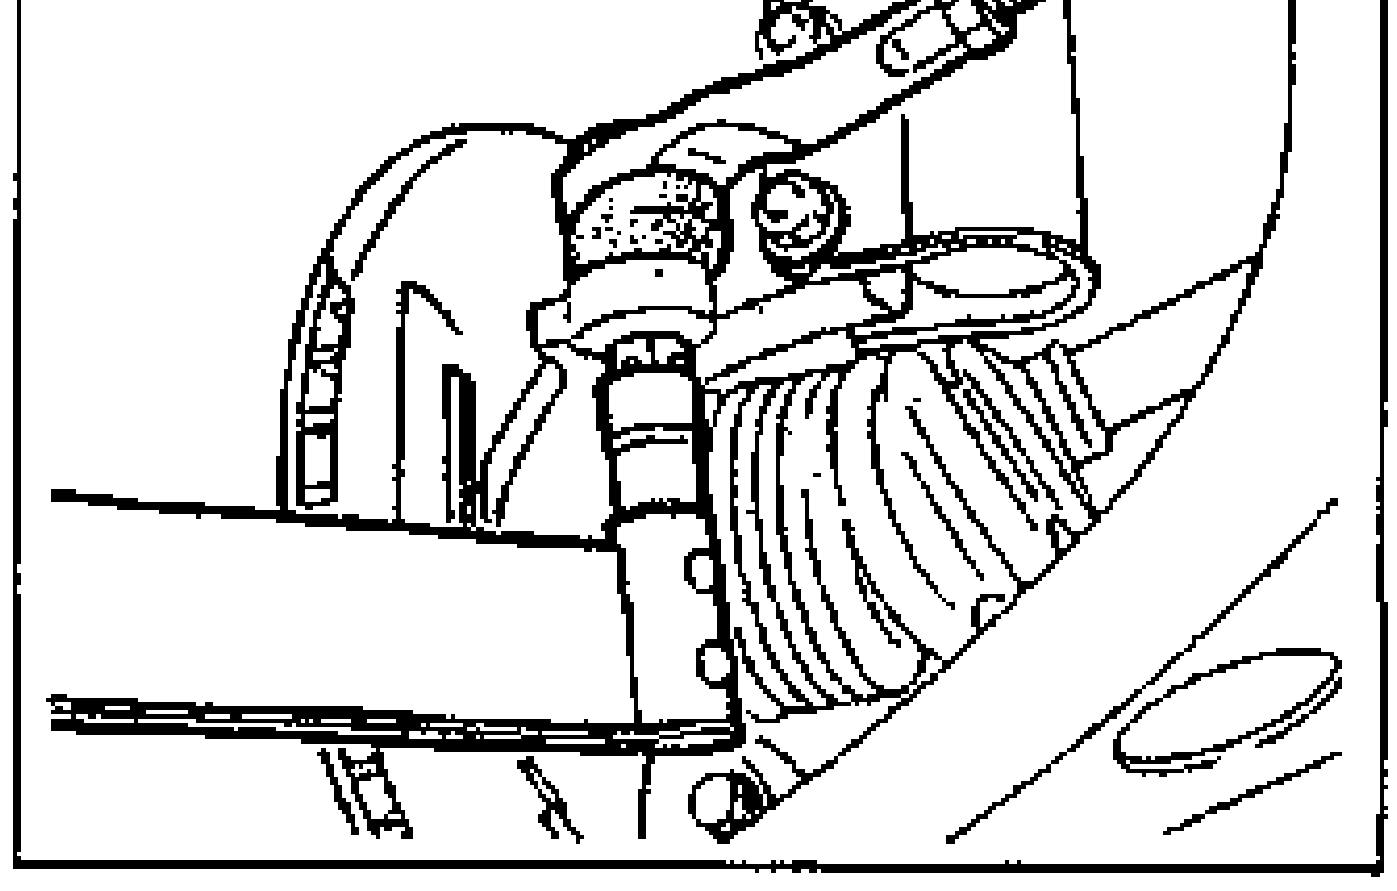
- 2Install the nut to the tie-rod end and tighten.
- 3Install a new cotter pin.
| Specification | Value |
|---|---|
| Tightening torque (tie-rod end nut) | ≈422 - 549N·m |
Tightening torque (tie-rod end nut)
422 - 549N·m