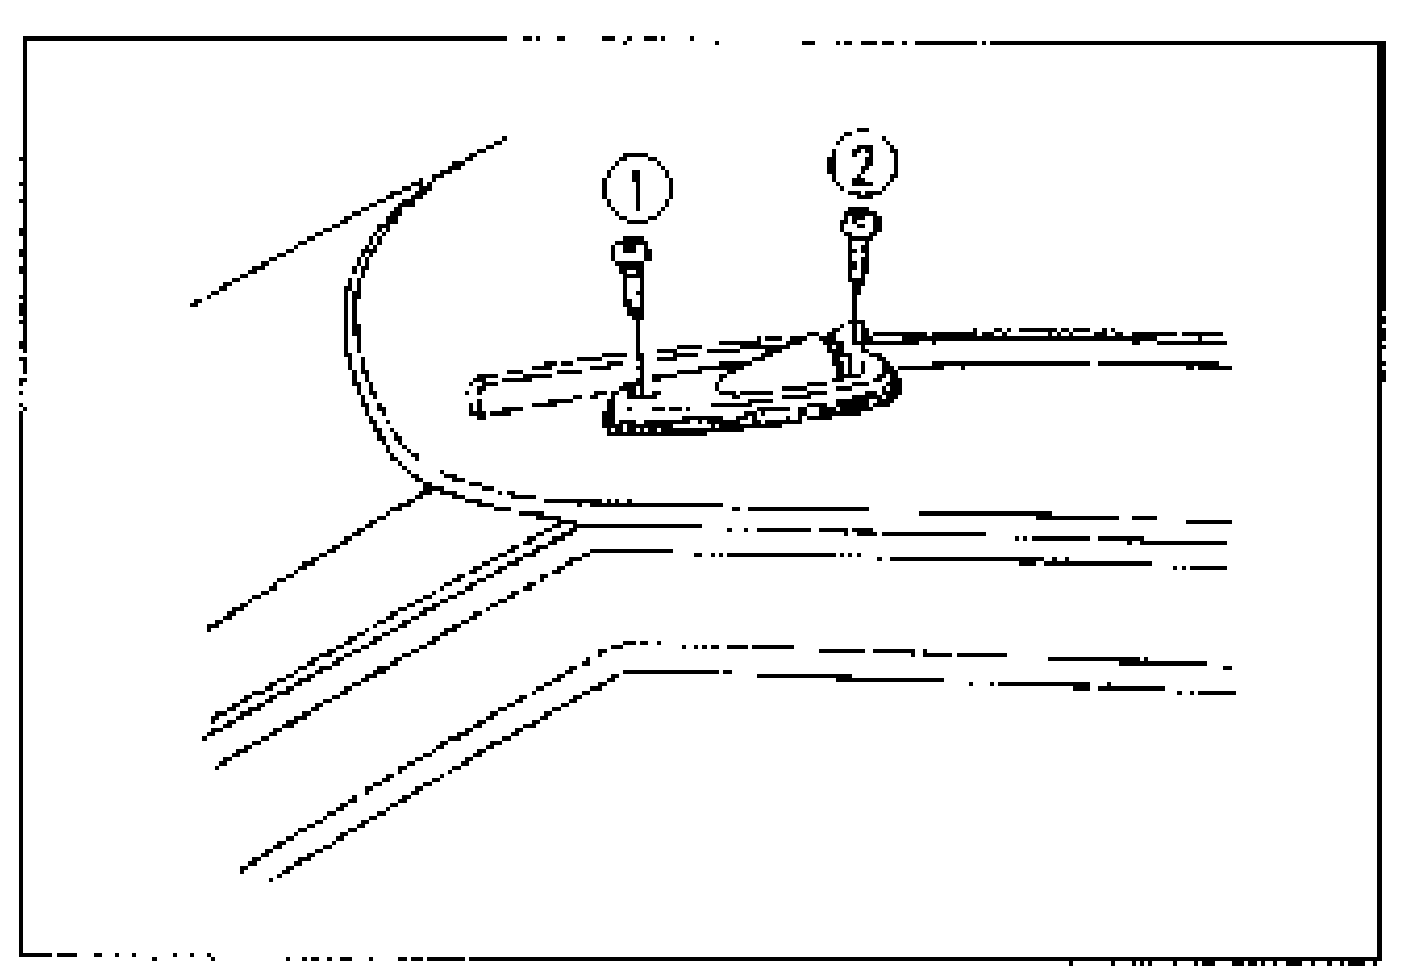
AUDIO — Speaker Inspection; Roof Antenna Removal/Installation
J-21prose procedureInspection
Speaker Inspection
- 1Measure the resistance between the speaker terminals.
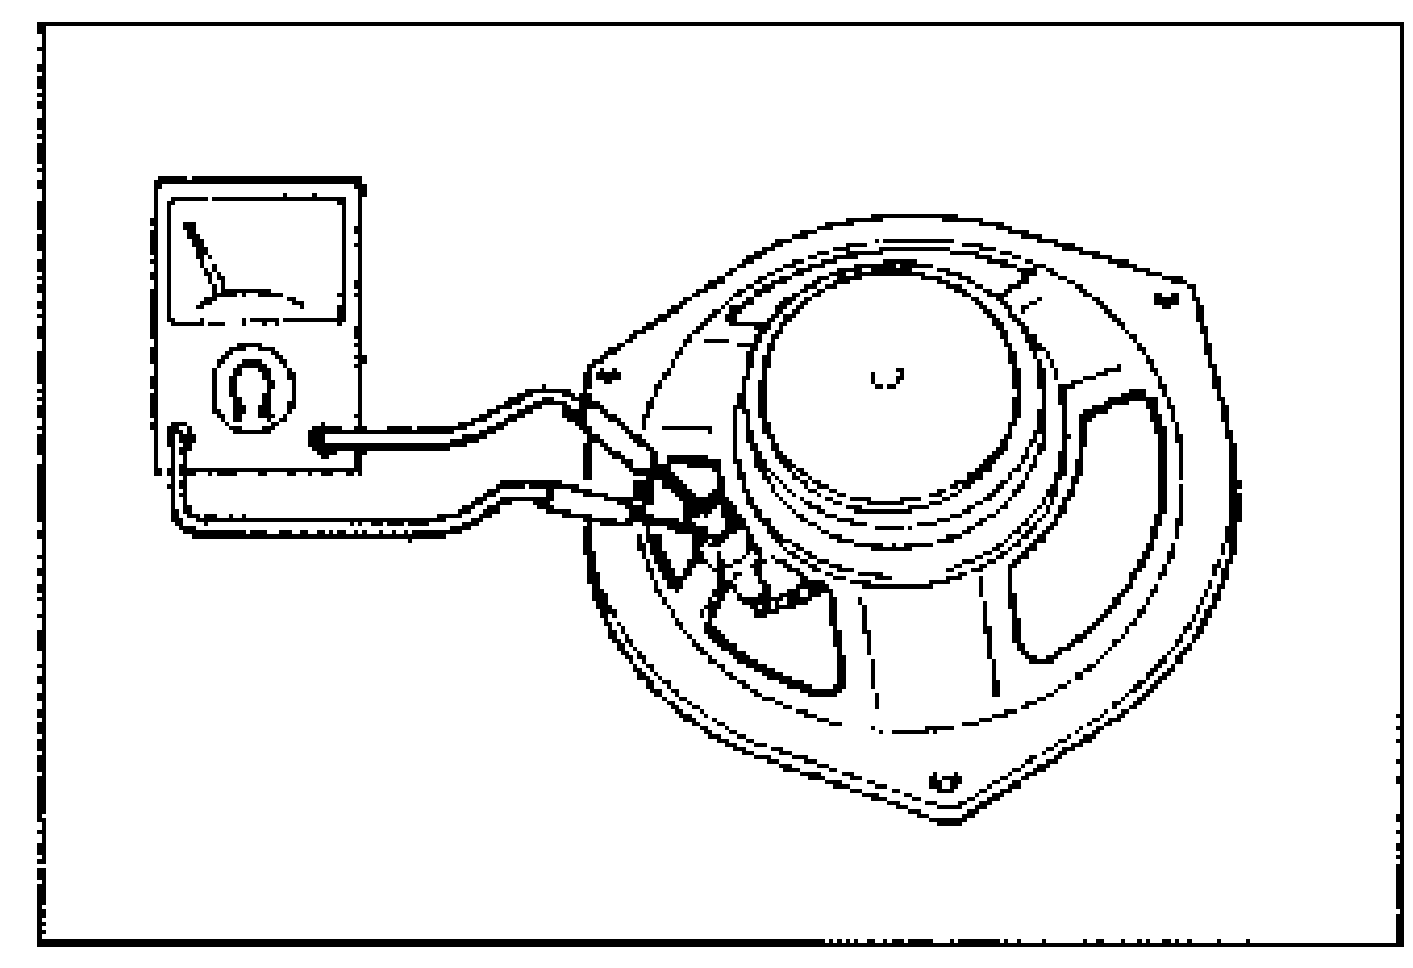
- 2Touch the leads of an ohmmeter to the speaker terminals and verify that the speaker clicks. Range: x 1 Ω
- 3If not as specified, replace the speaker.
| Specification | Value |
|---|---|
| Door speakerresistance between speaker terminals | 3.6Ω |
| Rear speakerresistance between speaker terminals | 4Ω |
| Rangeohmmeter range | x 1Ω |
Door speakerresistance between speaker terminals
3.6Ω
Rear speakerresistance between speaker terminals
4Ω
Rangeohmmeter range
x 1Ω
ROOF ANTENNA
Removal
- 1Remove the dashboard. (Refer to the 1995 MX-3 Workshop Manual, section S.)
- 2Remove the front side trim.
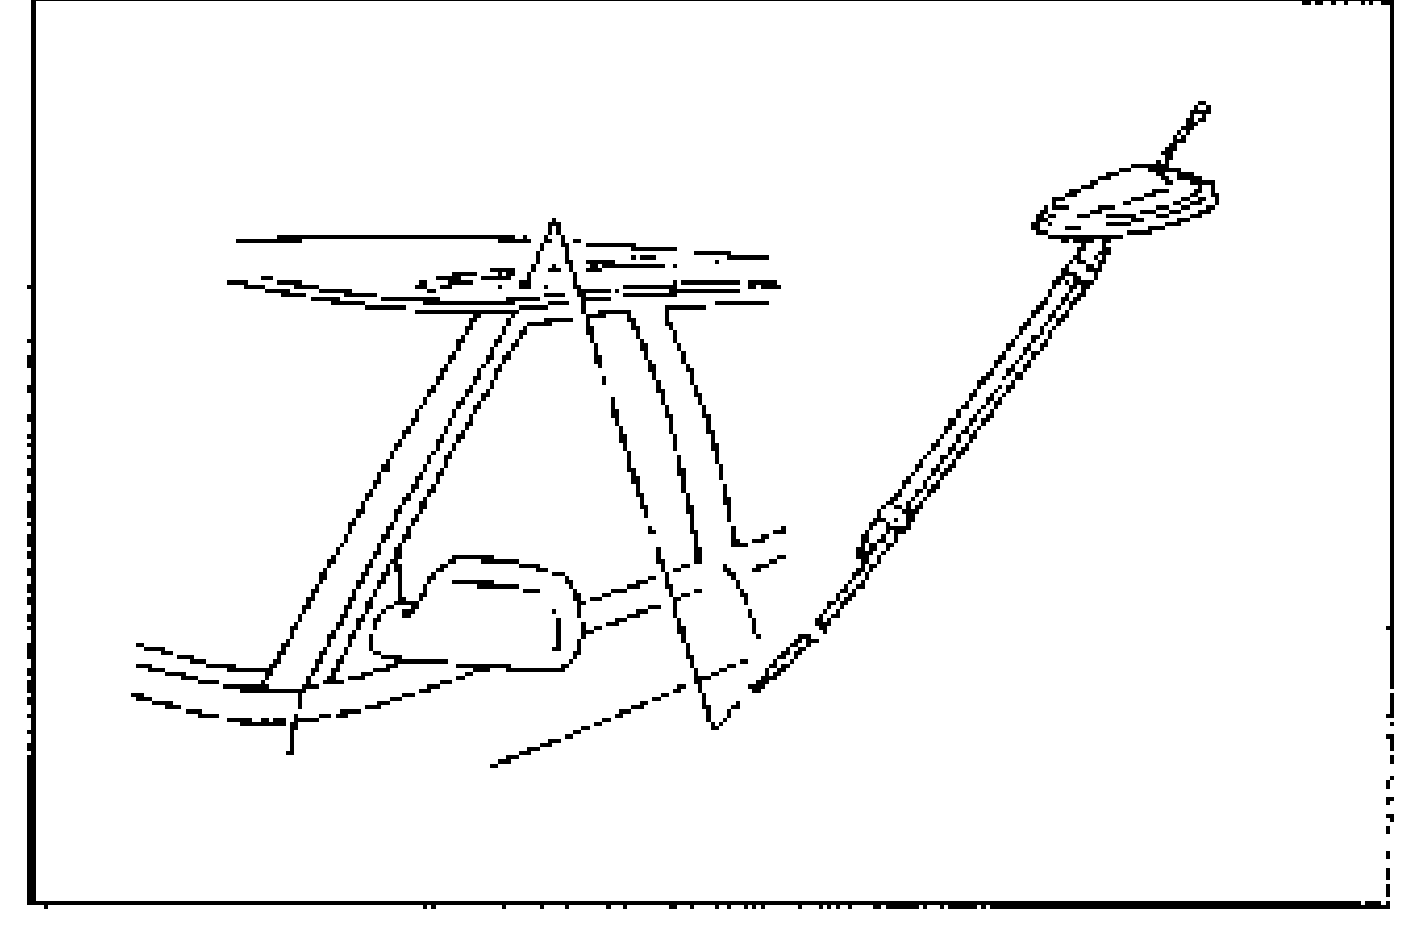
- 3Remove the antenna feeder from the clip.
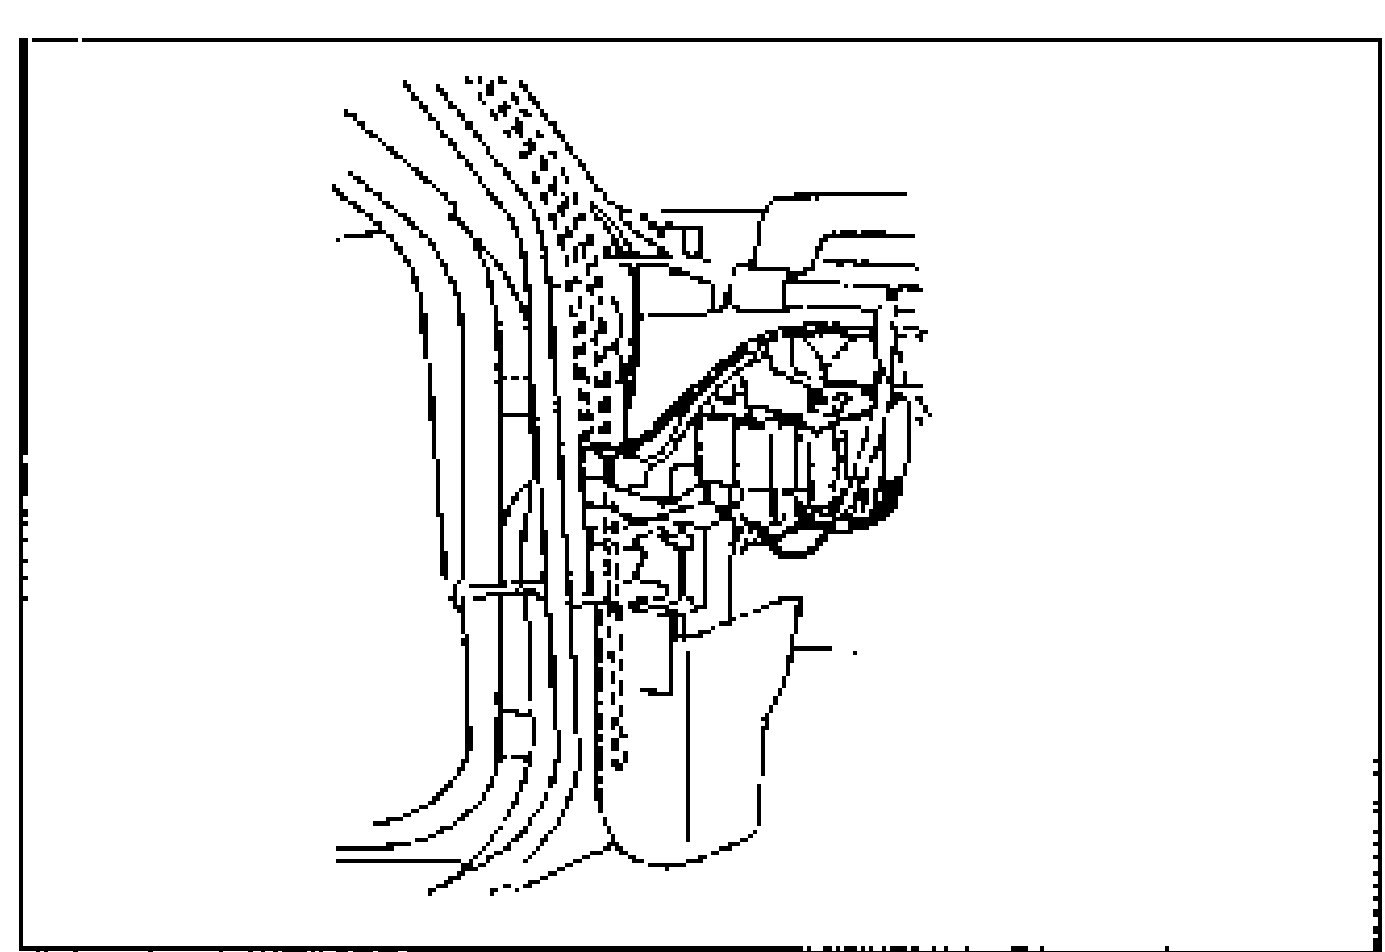
- 4Remove the screws and the antenna assembly.
Installation
- 1Extend the antenna. Insert the antenna feeder and the drain pipe through the hole in the roof toward the front pillar.
- 2Fix the antenna feeder.
- 3Install the antenna base in the order shown in the figure.