
AUDIO — Troubleshooting Flowchart No.2 (continued, Steps 2-5)
J-10flowchartStep 2
- 1Remove the door speaker. (Refer to page J-20.)
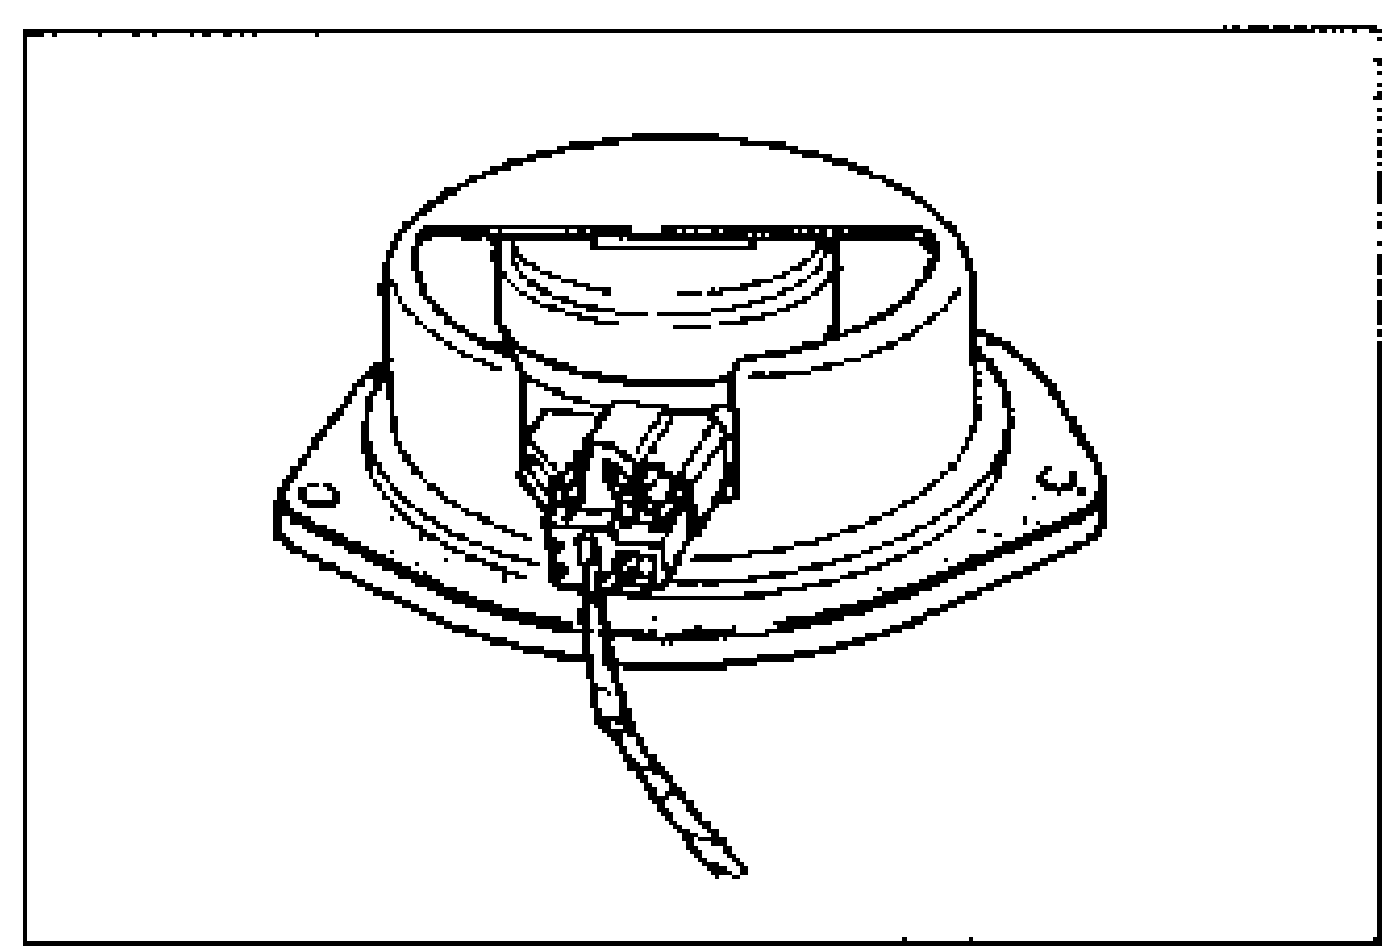
- 2Verify that the door speaker connector is properly connected. Reconnect it if necessary.
- 3If the connection is OK, go to Step 3.
Step 3
- 1Disconnect the door speaker connector.
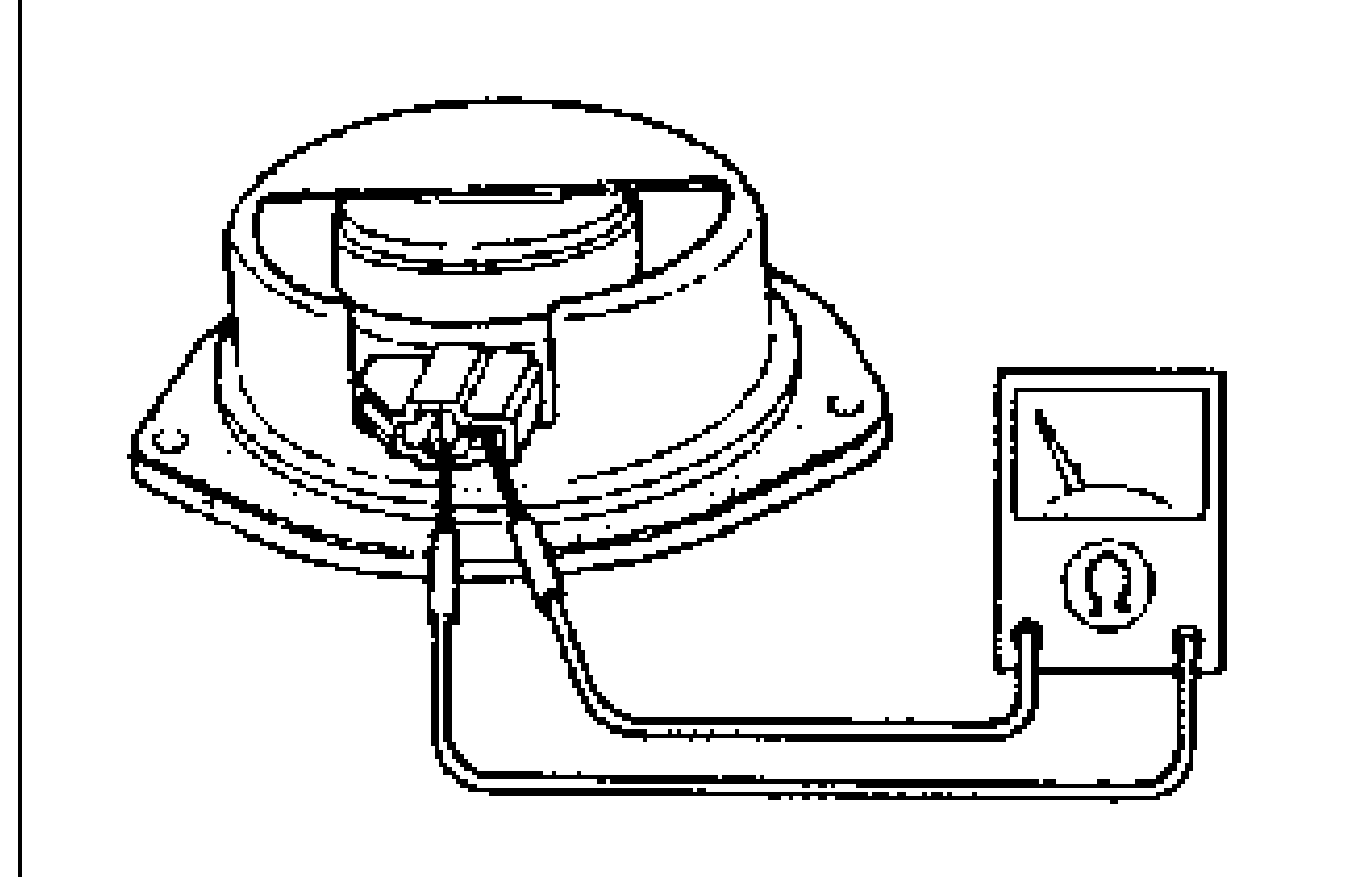
- 2Measure the resistance between the terminals of the door speaker.
Step 3 — Door speaker resistance
3.6 Ω
ActionGo to Step 4
Other
ActionReplace door speaker (Refer to page J-20.)
Step 4
- 1Remove the audio unit. (Refer to page J-20.)
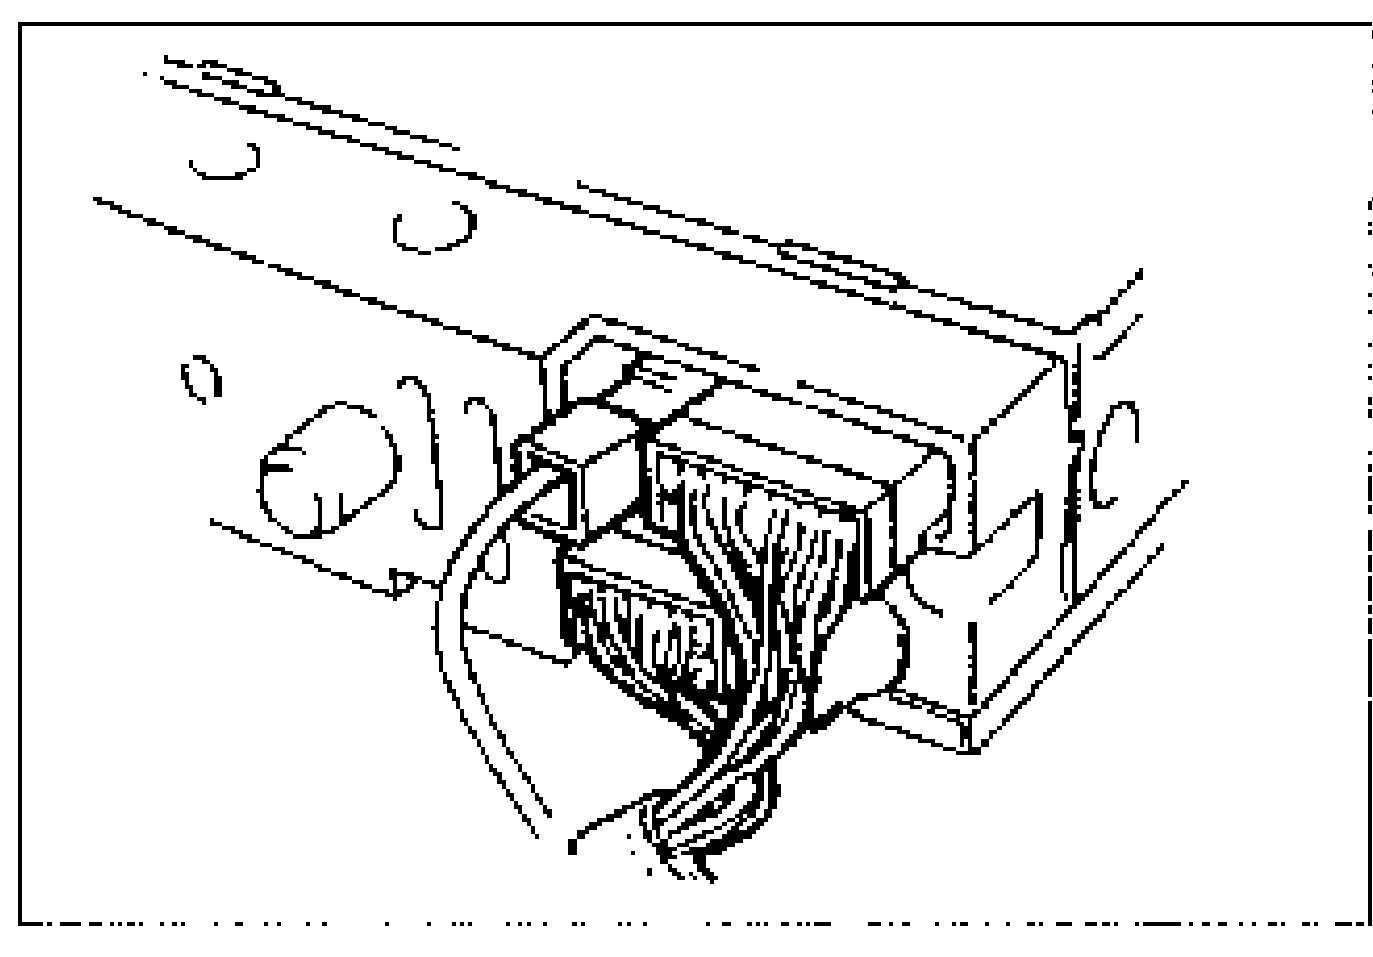
- 2Verify that the audio unit connector is properly connected. Reconnect it if necessary.
- 3If the connections are OK, go to Step 5.
Step 5
- 1Disconnect the audio unit connector and the door speaker connector.
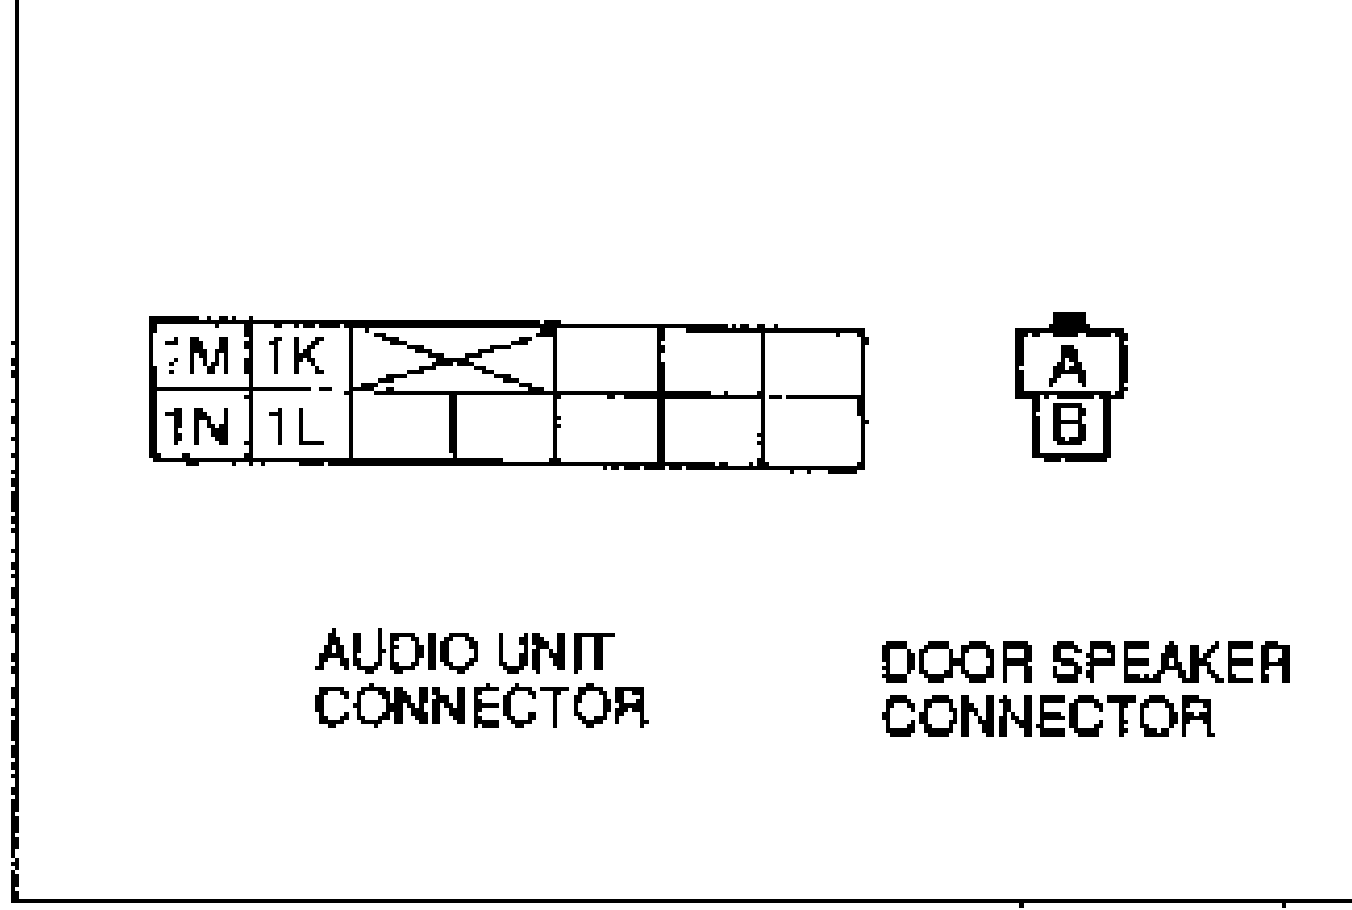
- 2Check for continuity between terminals of the audio unit connector and the door speaker connector.
- 3If correct, go to Step 6.
- 4If not as specified, repair the wiring harness (Audio unit — Door speaker).
Step 5 — Continuity (audio unit ↔ door speaker)
Right door
Audio unitTerminal 1M
Door speakerTerminal B
ContinuityYes
Right door
Audio unitTerminal 1N
Door speakerTerminal A
ContinuityYes
Left door
Audio unitTerminal 1K
Door speakerTerminal B
ContinuityYes
Left door
Audio unitTerminal 1L
Door speakerTerminal A
ContinuityYes