
AUDIO — Troubleshooting Flowchart No.2 (continued, Steps 6-8)
J-11flowchartStep 7 'Other' action reads 'Replace door speaker' in the source although this is the rear-speaker branch — transcribed verbatim from the page.
Step 6
- 1Remove the rear speaker. (Refer to page J-20.)
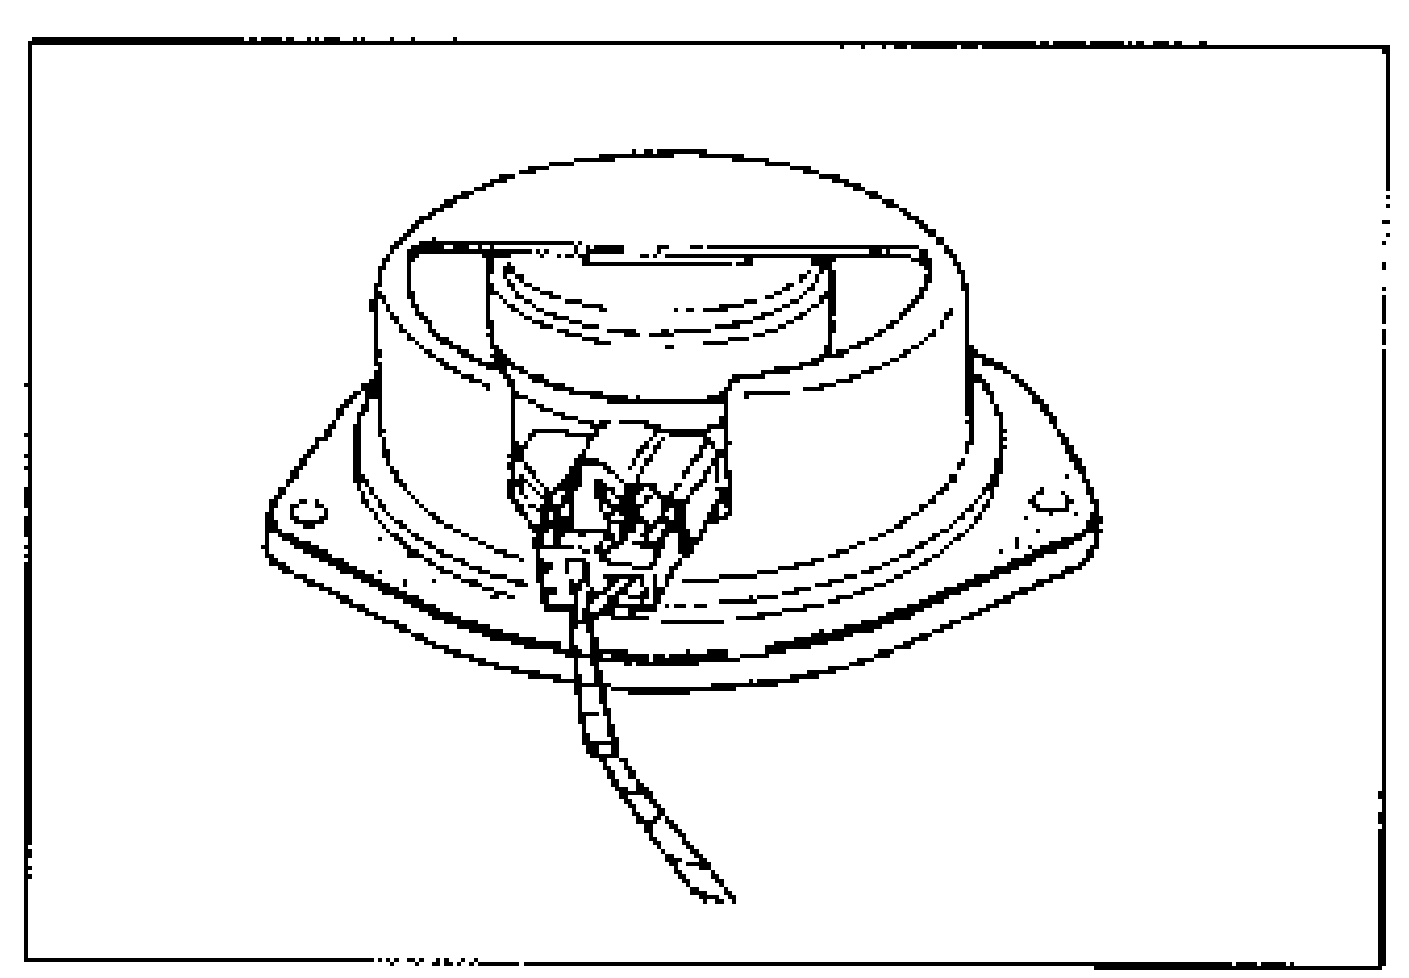
- 2Verify that the rear speaker connector is properly connected. Reconnect it if necessary.
- 3If the connection is OK, go to Step 7.
Step 7
- 1Disconnect the rear speaker connector.
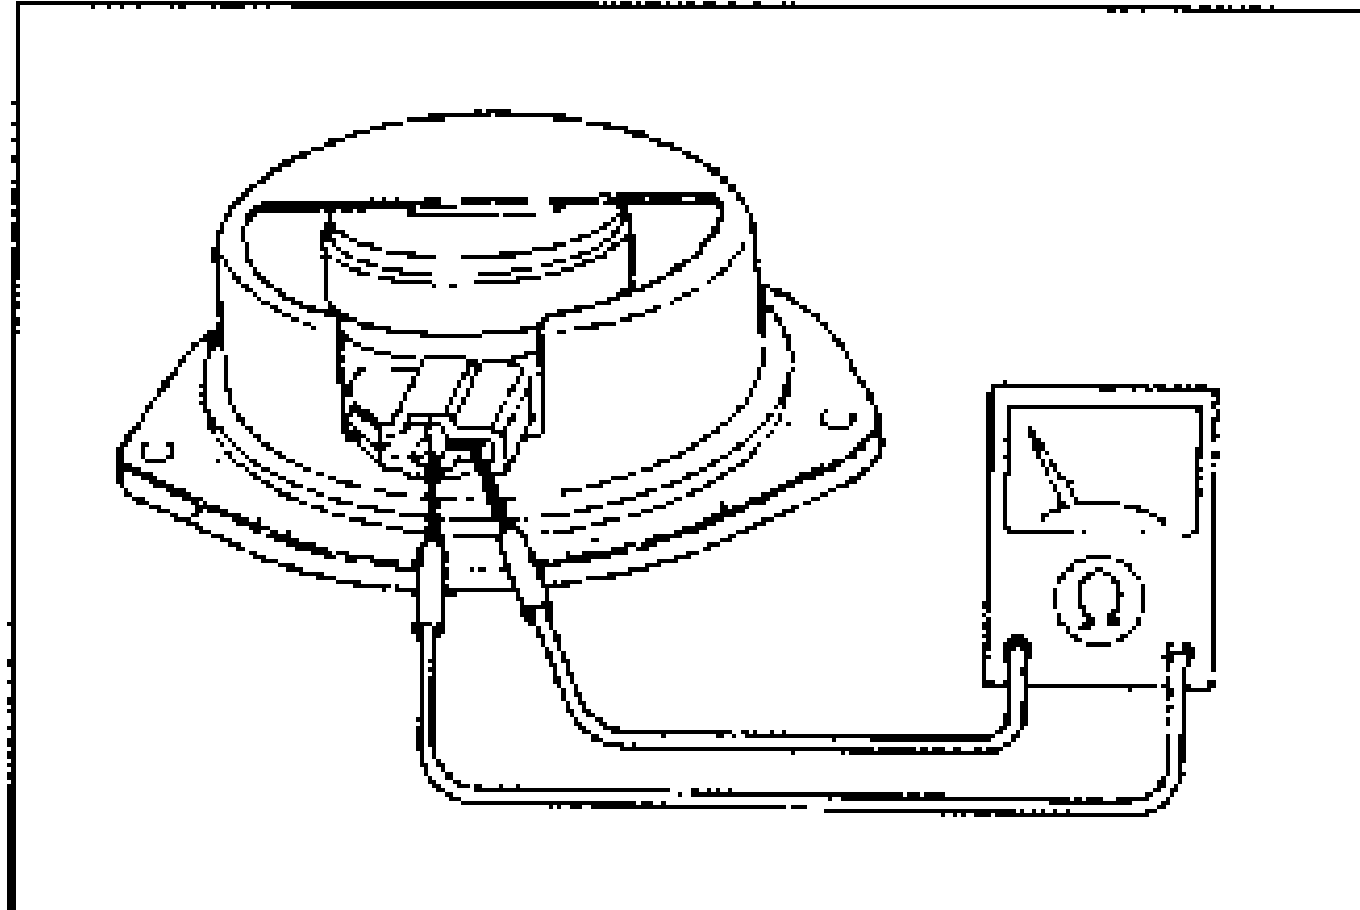
- 2Measure the resistance between the terminals of the rear speaker.
Step 7 — Rear speaker resistance
4 Ω
ActionGo to Step 8
Other
ActionReplace door speaker (Refer to page J-20)
Step 8
- 1Remove the audio unit. (Refer to page J-20.)
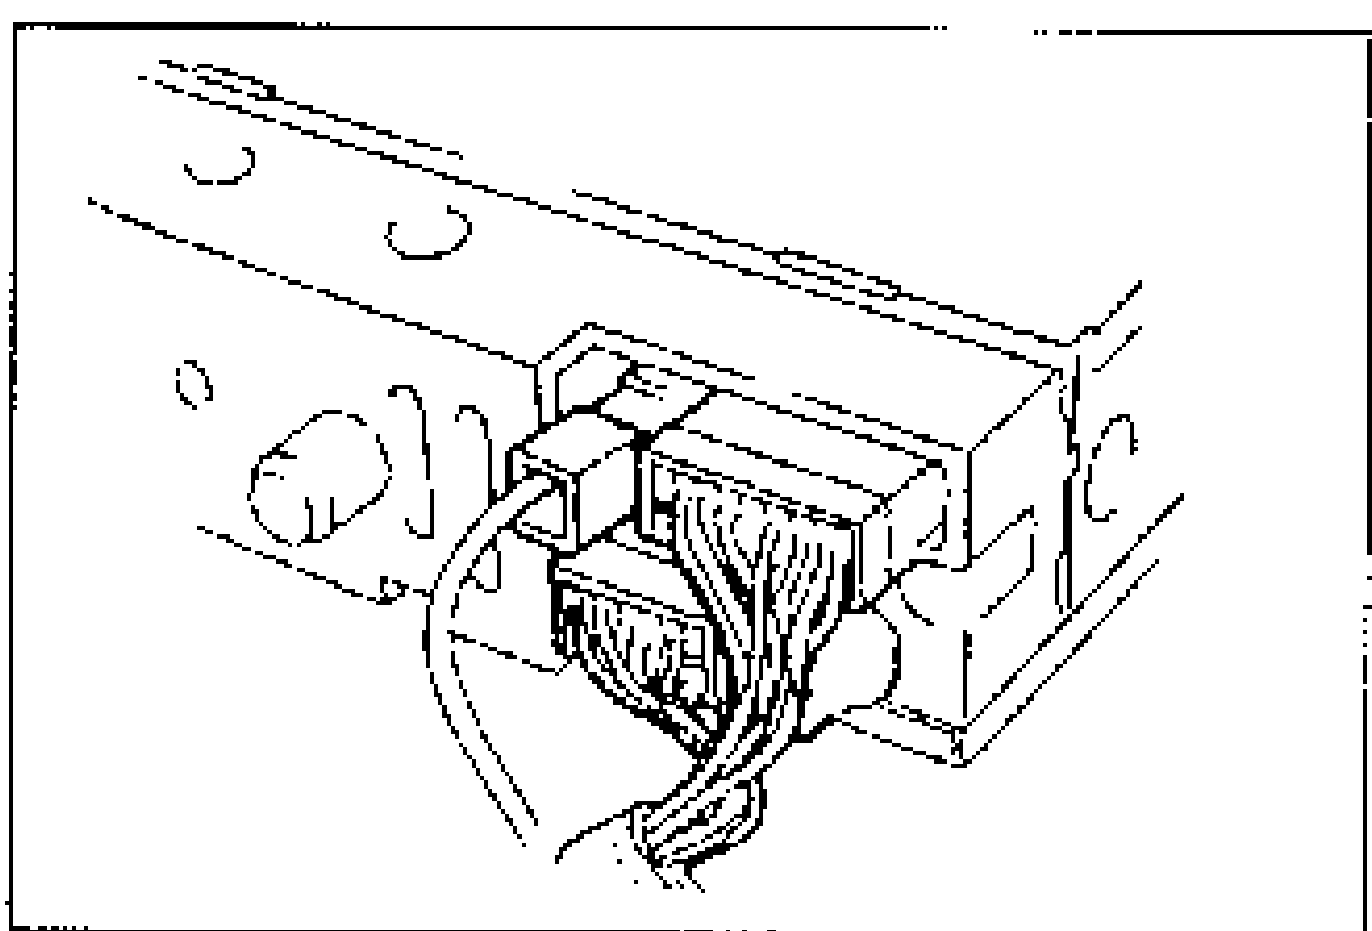
- 2Verify that the audio unit connector is properly connected. Reconnect it if necessary.
- 3If the connections are OK, repair the wiring harness (Audio unit — Rear speaker).