
ENGINE COOLANT / RADIATOR CAP
E2-6prose procedureRefilling
Use the proper amount and mixture of ethylene-glycol based coolant. (Refer to Coolant Protection, page E2-5.)
Refilling
- 1Slowly pour the coolant into the radiator up to the coolant filler port.Filling pace: 1.0 L {1.1 US qt, 0.9 Imp qt}/min. max.
- 2Fill the coolant reservoir up to the FULL mark.
- 3Fully install the coolant filler cap.
- 4Start the engine and let it idle until it warms up.
- 5If the temperature increases beyond normal, there is excessive air in the system. Stop the engine and allow it to cool; then repeat steps 1-3.
- 6Run the engine at 2,200—2,800 rpm for five minutes.
- 7Stop the engine and allow it to cool.
- 8Repeat steps 1-7; then go to step 9.
- 9Remove the filler cap and verify that the engine coolant level is near the filler neck. If not, repeat steps 1-8.
- 10Fill the reservoir up to the FULL mark.
| Specification | Value |
|---|---|
| Filling pacemaximum | 1.0 L {1.1 US qt, 0.9 Imp qt}/min. max.L/min |
Filling pacemaximum
1.0 L {1.1 US qt, 0.9 Imp qt}/min. max.L/min
RADIATOR CAP
PREPARATION
SST
49 9200 145
NameAdapter set, radiator cap tester
UsageFor inspection of radiator cap valve
49 9200 147
NameAdapter B (Part of 49 9200 145)
UsageFor inspection of radiator cap valve
INSPECTION
Radiator Cap Valve
- 1Remove foreign material (such as water residue) from between the radiator cap valve and the valve seat.
- 2Attach the radiator cap to a radiator cap tester with the SST. Apply pressure gradually to 73.5–102 kPa {0.75–1.05 kgf/cm2, 10.7–14.9 psi}.
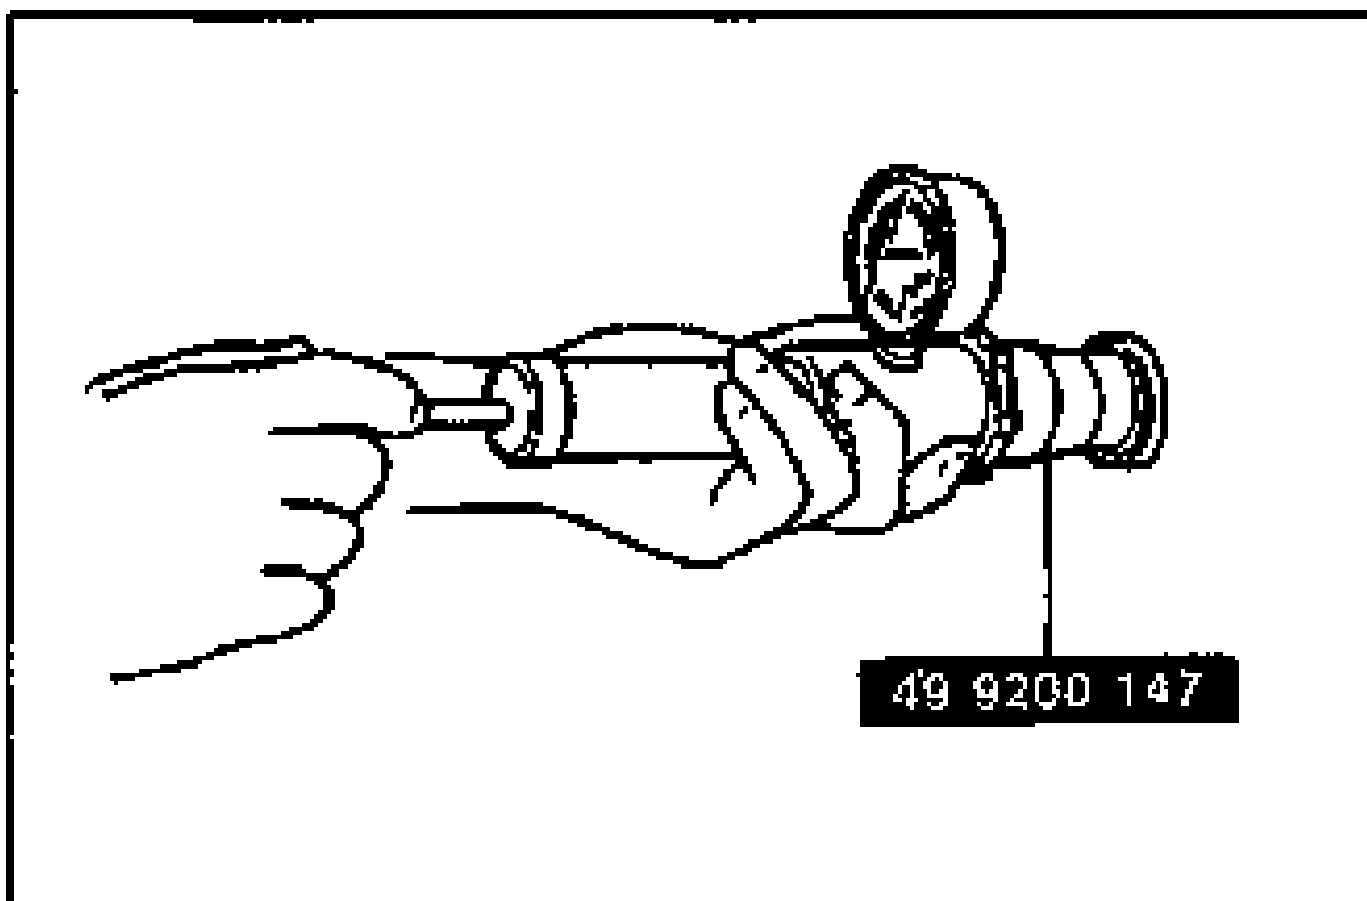
- 3Wait about 10 seconds. Verify that the pressure has not decreased.
Negative Pressure Valve
- 1Pull the negative pressure valve to open it. Verify that it closes completely when released.
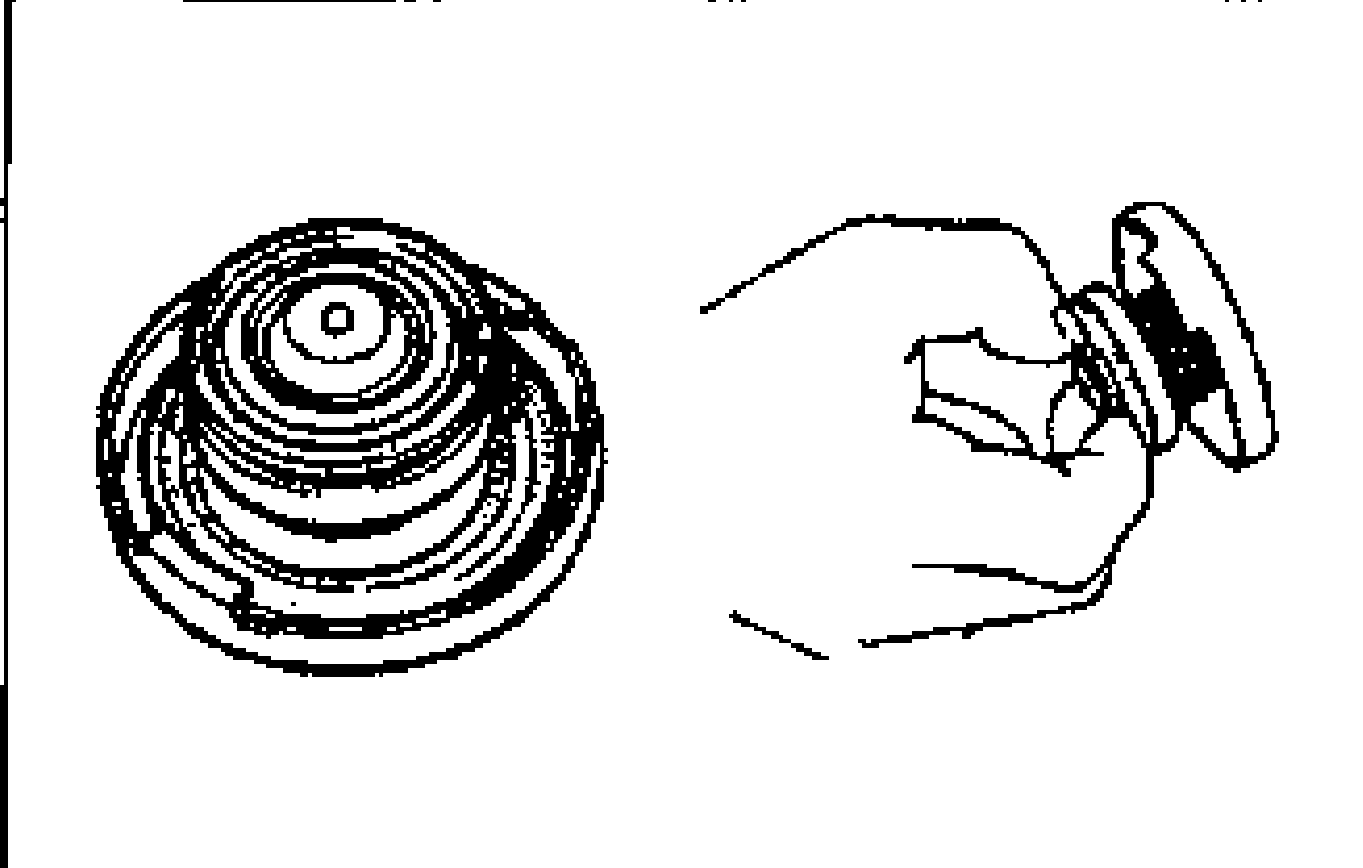
- 2Check for damage on the contact surfaces and for cracked or deformed seal packing.
- 3Replace the radiator cap if necessary.